| 
| 
| 
|
|
Spindle Sander Dust Port
| |||
|
|
|
|
|
|
Spindle Sander Dust Port
| |||
| Back to Dust Collection | Diagram | Original Port | JBOS-5 |
| New Port | Finished |
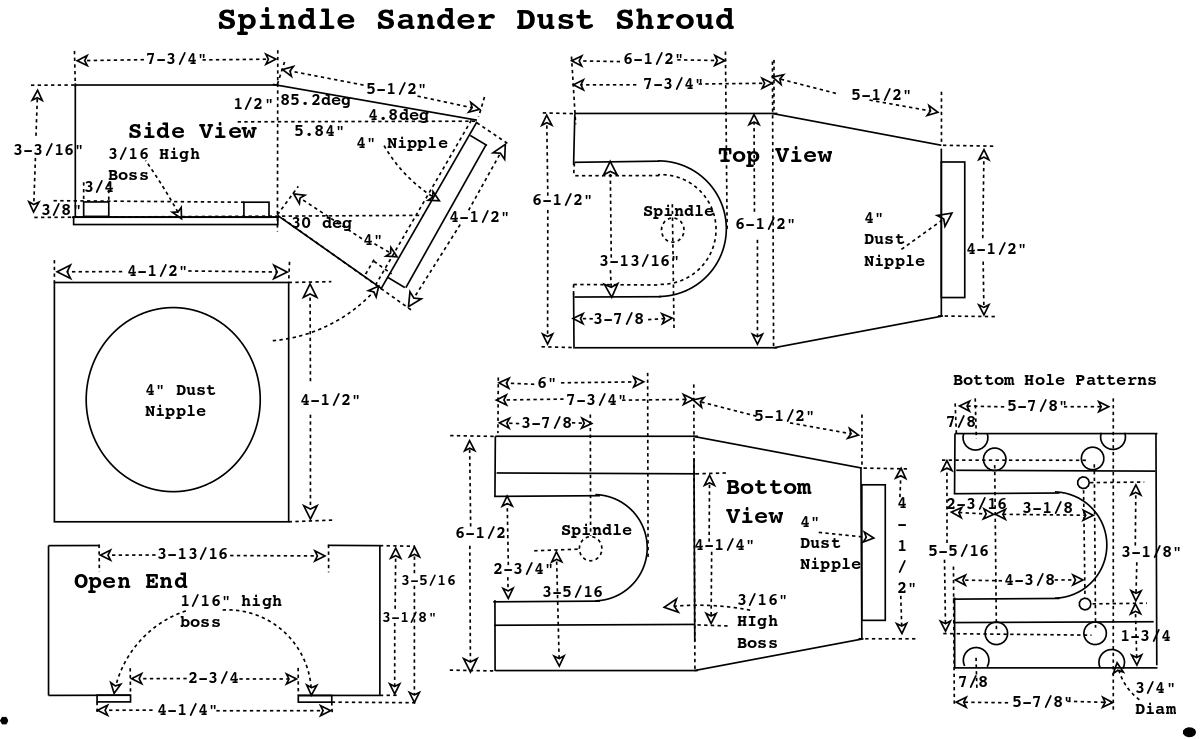
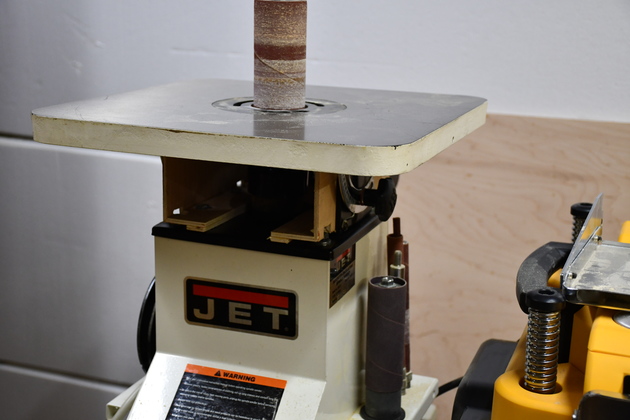
I have a Jet JBOS-5 Spindle Sander (SS) and have never been happy with it's dust collection. The dust port is not a standard size even though it is about 2" it doesn't fit 2-1/2 dust hose (the designers were probably thinking Festool 36mm when they designed this thing). And a 2" or less dust port doesn't really get enough air volume to sweep the dust out. I read several articles about using PVC to build a dust port, when another idea occurred to me. The only thing round about this is the dust hose connection and the cutouts around the spindle (half circles). Note the two circular cutouts are different sizes, the top cutout is larger, I'm thinking so the bed can be angled.
After automating my 6" dust collection system, I decided to connect the JBOS-5 to the same 4" dust hose I use for the planer (sits on the same roll-around bench).
I'll build a dust port for the JBOS-5 with 3/16" thick plywood, just like I build storage bins, and I built an extraction port for the top of my shopvac's cyclone.
I'll make the new dust port (or shroud) a little longer than the original, enclosing the spindle a little more.
Of course I'll use mitered corners on the 3/16" plywood and Titebond Polyurethane glue (or even Gorilla Glue), it foams when setting, so far I haven't had one of these fail me.
BTW: when you use plywood to transport dust, give it a good paint job on the surfaces toward the dust (makes the air flow better).
Another reason to use a 4" dust hose, the planer and spindle sander share a roll around machine bench, that has a plug strip to power both machines. Both machines being on one circuit and both being able to use the 4" DC, means I can put another Isnsor (for Dust Automation System) and allow the DustAuto to control the valve and DC. All I have to do is connect the 4" drop to the correct machine then turn the machine on.
|
|
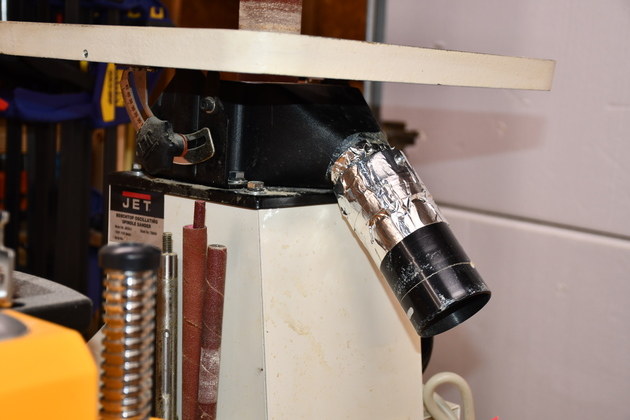
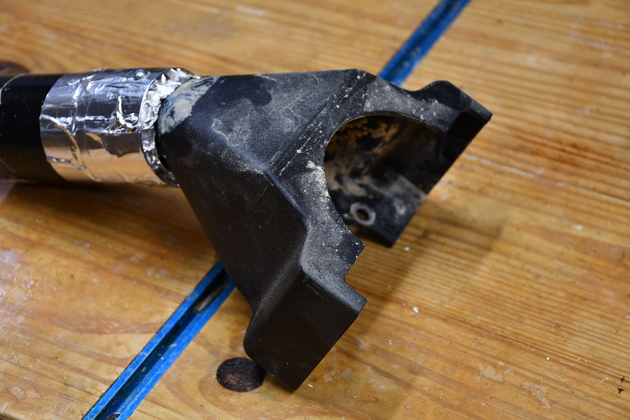
Original dust port on the JBOS05, note my kluge to make it fit a regular 2-1/4" dust hose. |
|
Original Jet dust shroud. Note, I had to kluge it to get a standard 2" dust hose to attach. |
|
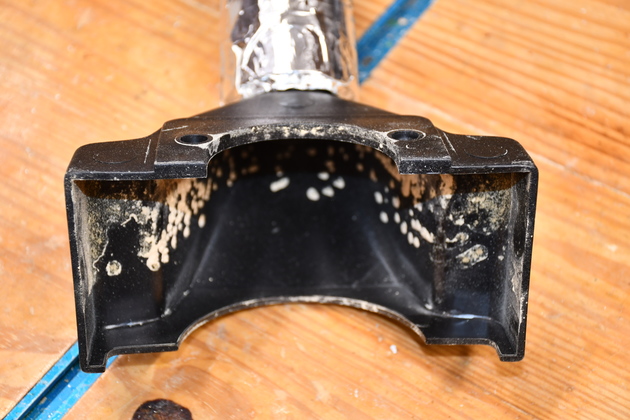
Open end (toward front of SS) right side up. |
|
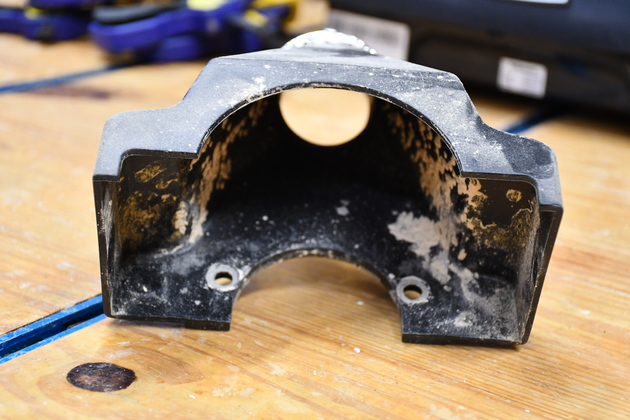
Open end, upside down. Note the clearance cutout on the bottom (up in pic) is smaller than the cutout on top. |
|
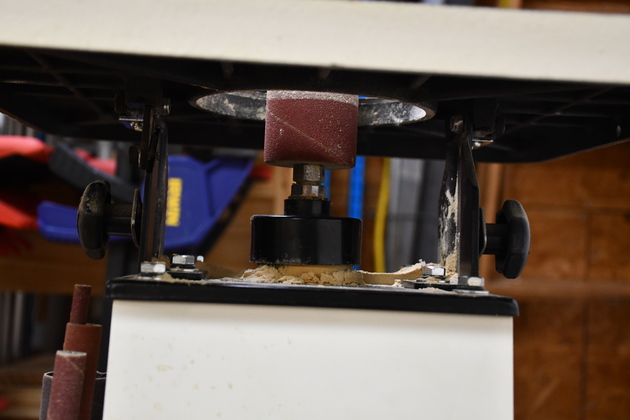
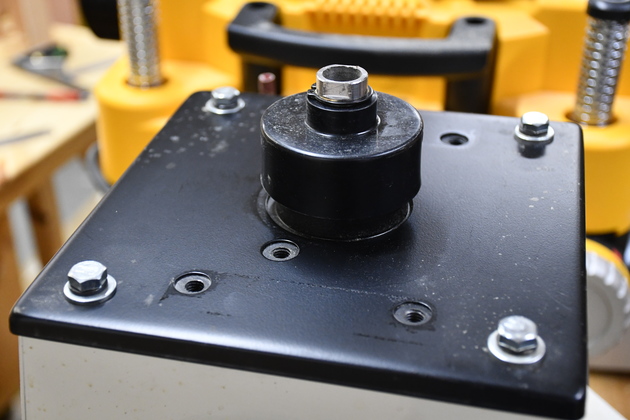
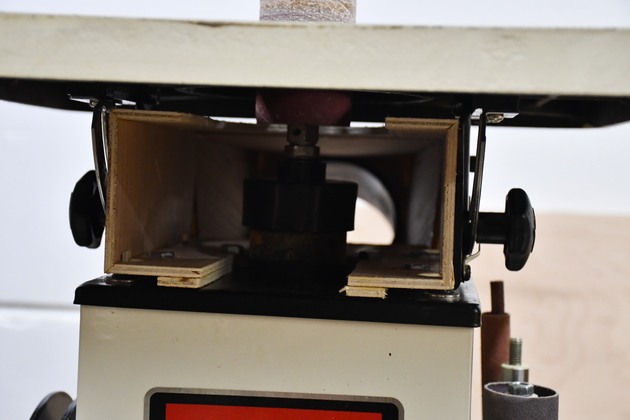
Back of JBOS-5 with dust shroud removed. |
|
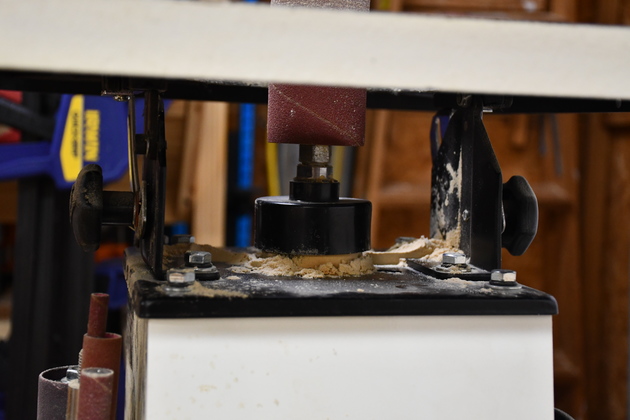
Closer look at the back of JBOS-5 without it's dust shroud. The only thing round here is the spindle and the dust hose, when one is connected. |
|
Different perspective back of JBOS-5 without dust shroud. You can see the clean spot and mounting holes where the dust shroud was. With the original port, this are is normally piled up with dust. |
|
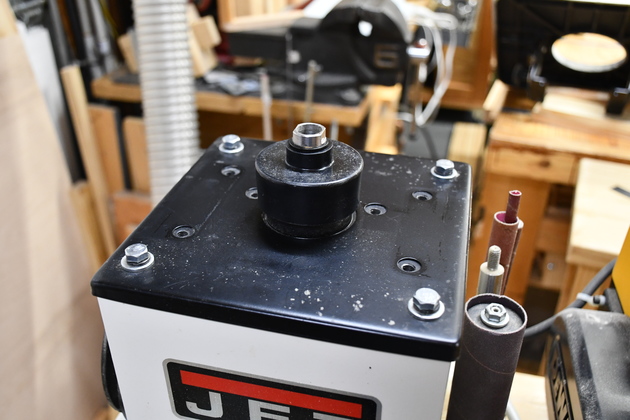
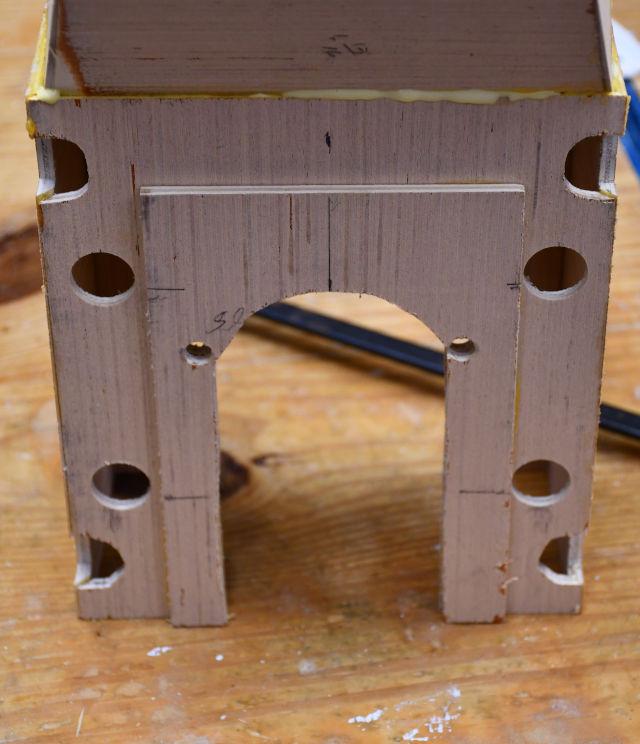
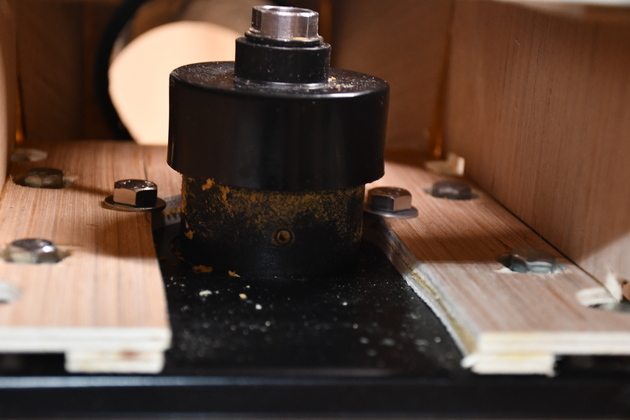
Front of JBOS-5 with bed removed. The two holes nearest the spindle are dust port mounting holes. All holes are tapped 8mm. |
|
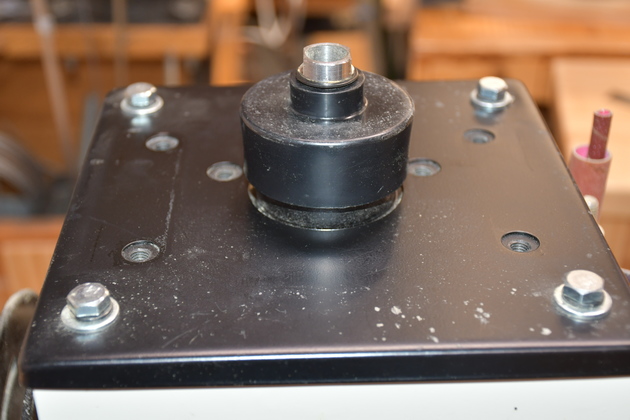
A little closer look at the front. Note there are 10 bolts in the top of this thing, the outer 4 must hold the top onto the JBOS-5, the inner 4 held the bed on, the two closest to the spindle hold the dust port. |
|
Left side of JBOS-5 with bed removed. Good look at bolt hole positions. |
|
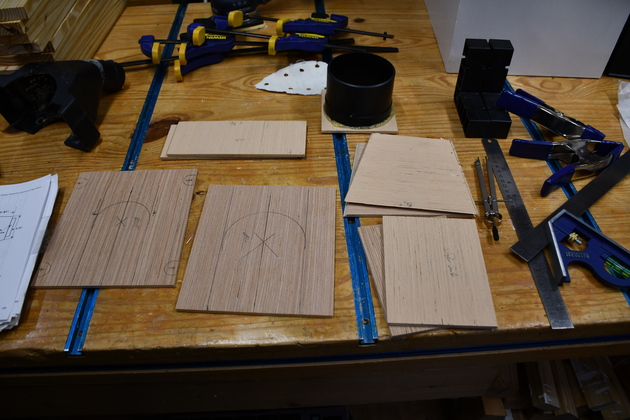
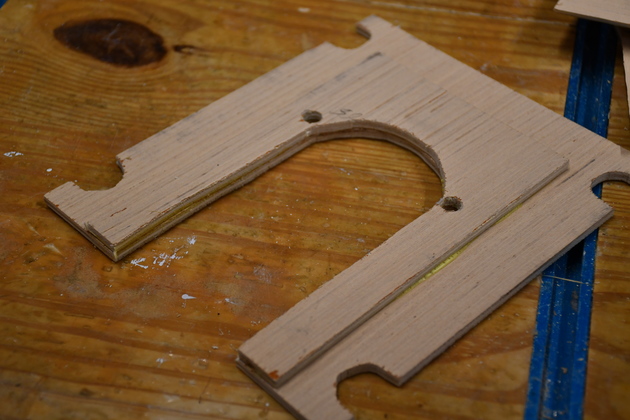
All 3/16" plywood cut. |
|
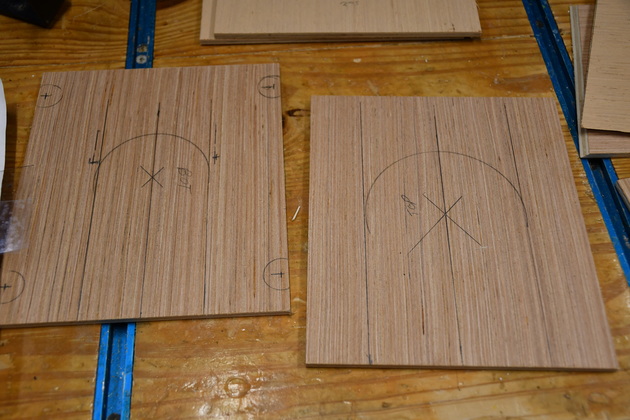
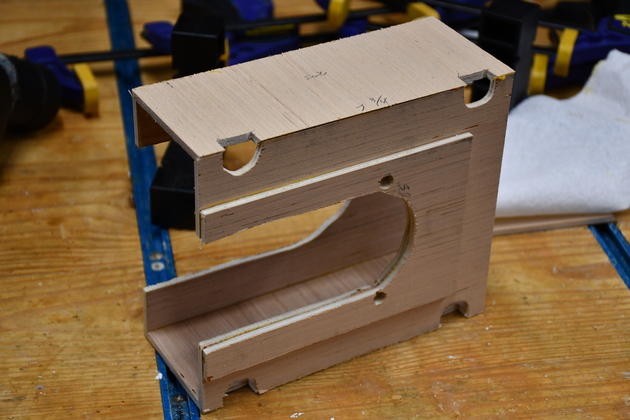
I'm building this in two sections, the box and slope sections. The box section fits around the spindel proper, the slope section attaches to the rear of the box and slopes down to the 4" dust hose. This is the top (right) and bottom (left) of the box section. You can see where I've marked the cutouts and some bolt clearance holes in the bottom of the box (left side of pic). |
|
1st trial fit of the box bottom. |
|
Boss fit to box bottom (upside down). The boss elevates the bottom between the sides of the table mount. |
|
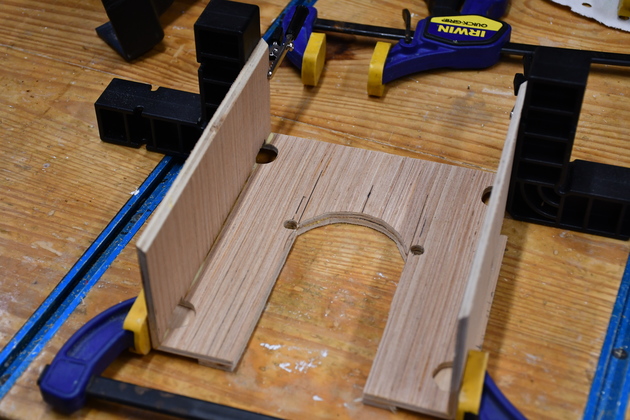
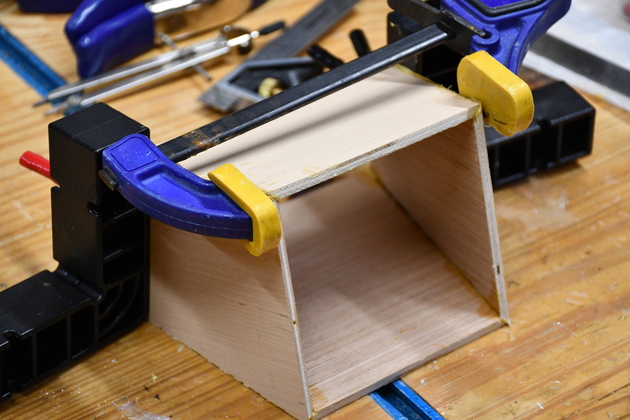
Box sides being glued to the bottom. |
|
You can see the boss glued under the box bottom. |
|
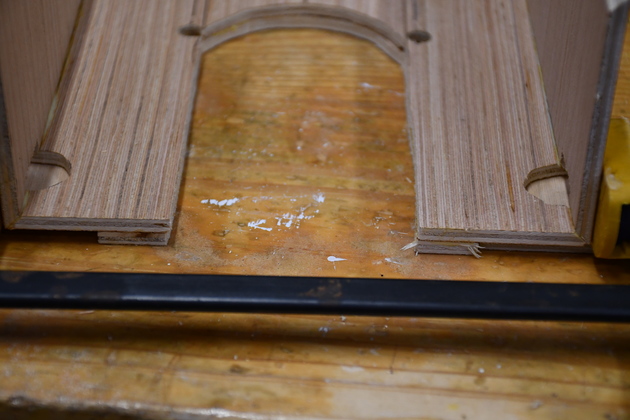
Box top being glued on. |
|
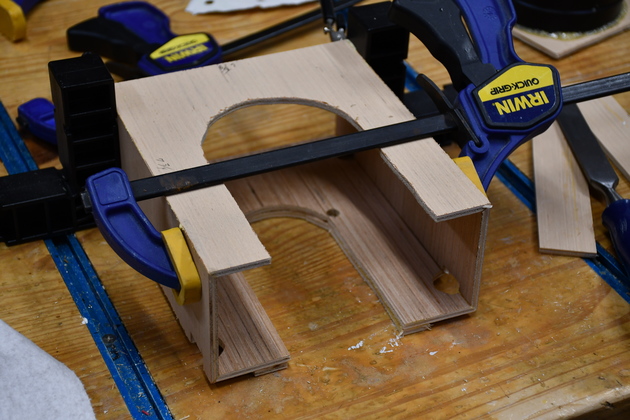
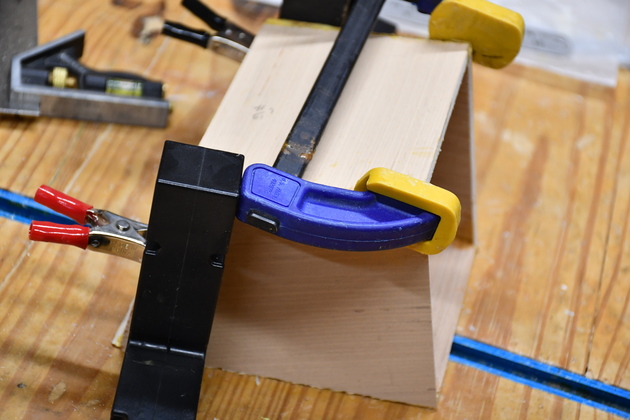
Slope section being glued. |
|
different perspective on Slope section, you see the alligator clamps holding the sides to the small ClampIt. |
|
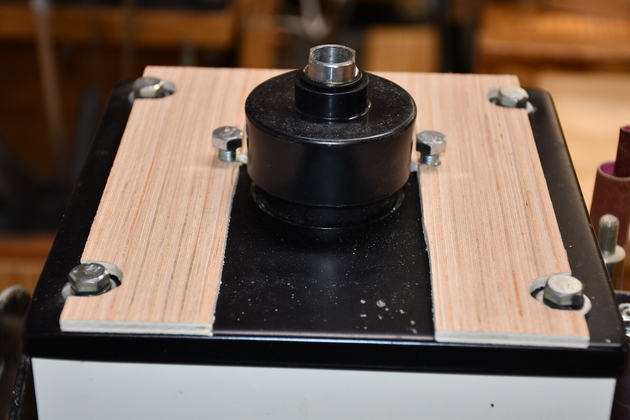
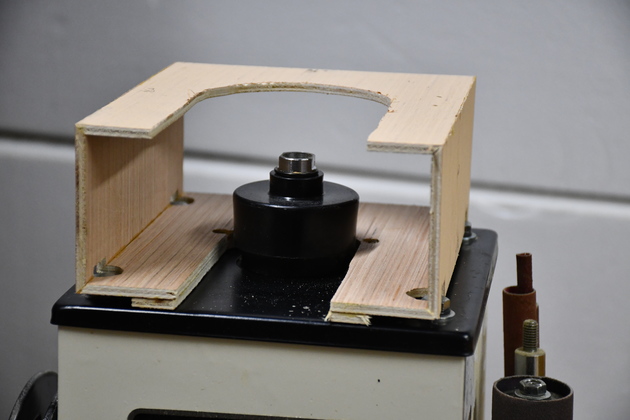
Trial fit of Box section to top of JBOS-5. I still need to drill 4 clearance holes for the 8mm bolts & washers that hold the bed on. |
|
Quarter view of Box section on top of JBOS-5.
|
|
Box section bottom, note the boss glued on. |
|
|
Gluing Slope to Box section. This is sureley a strange shaped device. |
|
Bottom of Box section with last 4 clearance holes drilled. Note there are 10 bolt holes in the bottom, 2 for the dust port, 4 for the bed, and 4 that apparently hold the JBOS-5's top on. |
|
|
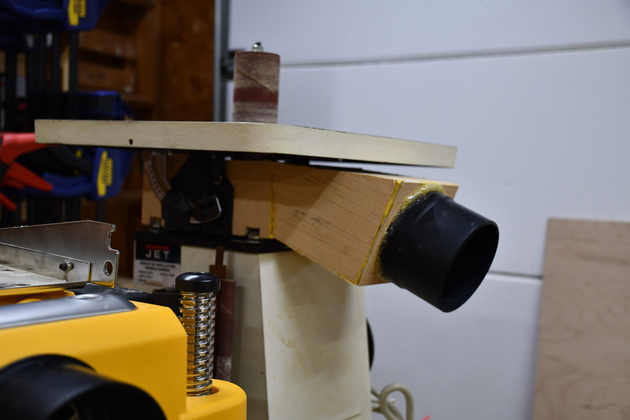
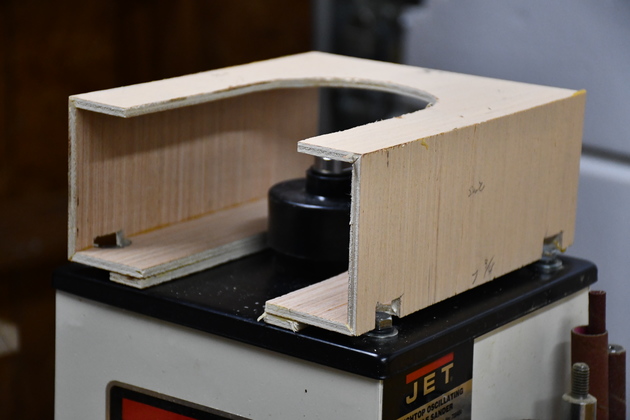
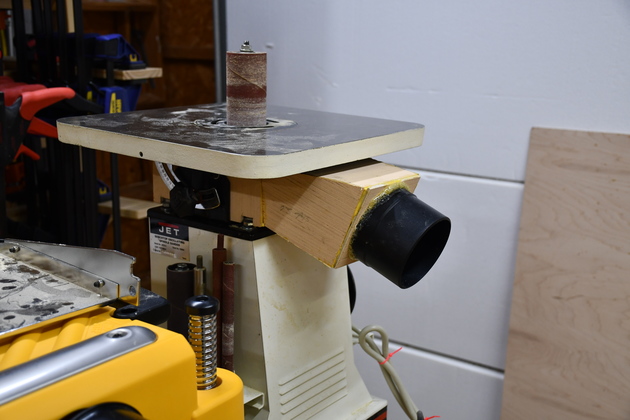
Dust port fitted to JBOS-5, right side. |
|
Different perspective. |
|
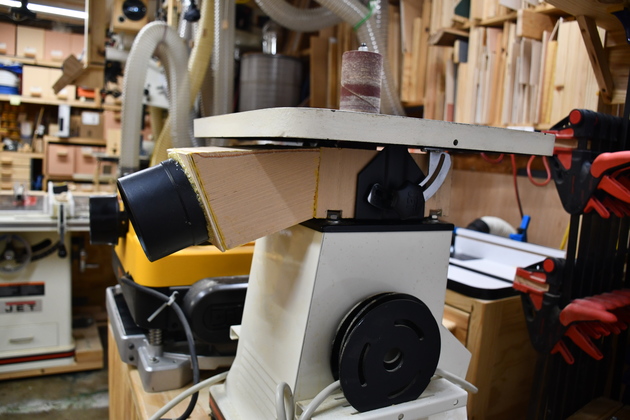
JBOS-5 left side with 4" dust port. |
|
Front quarter view of dust port on JBOS-5. |
|
looking down the throat of the 4" dust port. |
|
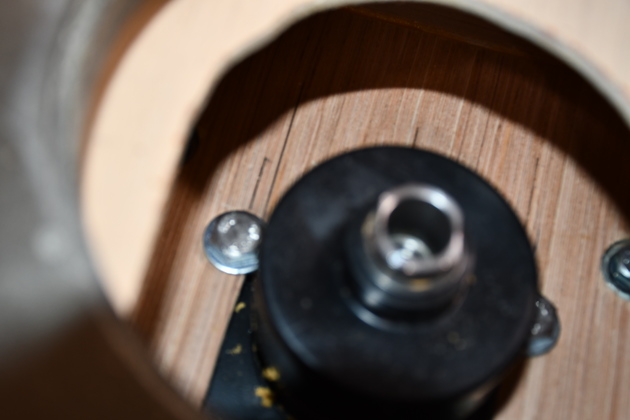
Looking at bolts holding dust port onto JBOS-5.
The two original 8mm-1.25 x 15mm bolts nearest the spindle were too short to reach through 3/8" plywood and a washer (original didn't have a washer).
So I replaced them with 8-1.25 x 25mm bolts and a washer.
|
|
Looking down at the replacement bolts and washers. Flex head metric sockets work well here. |
|
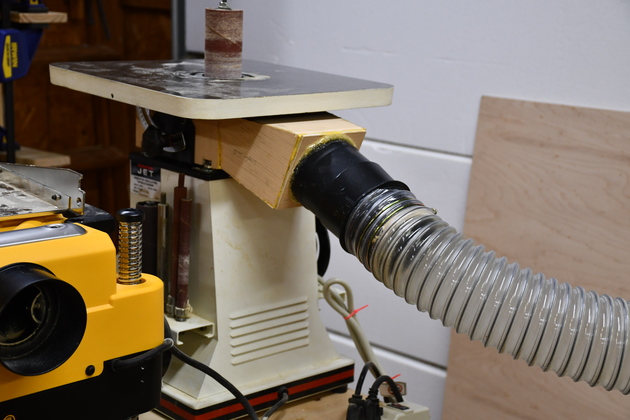
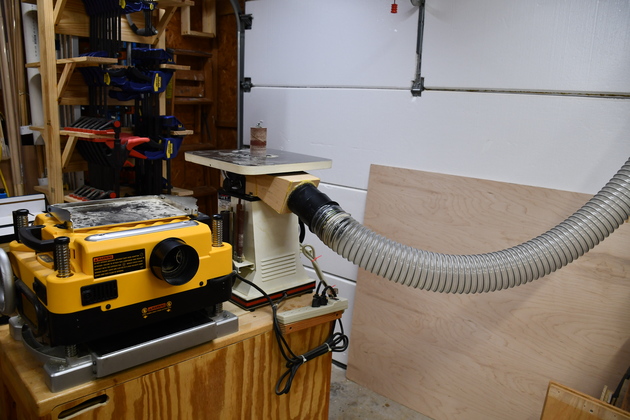
With 4" dust hose attached. |
|
|
Closer look at dust hose attached. |

|
|