| 
|
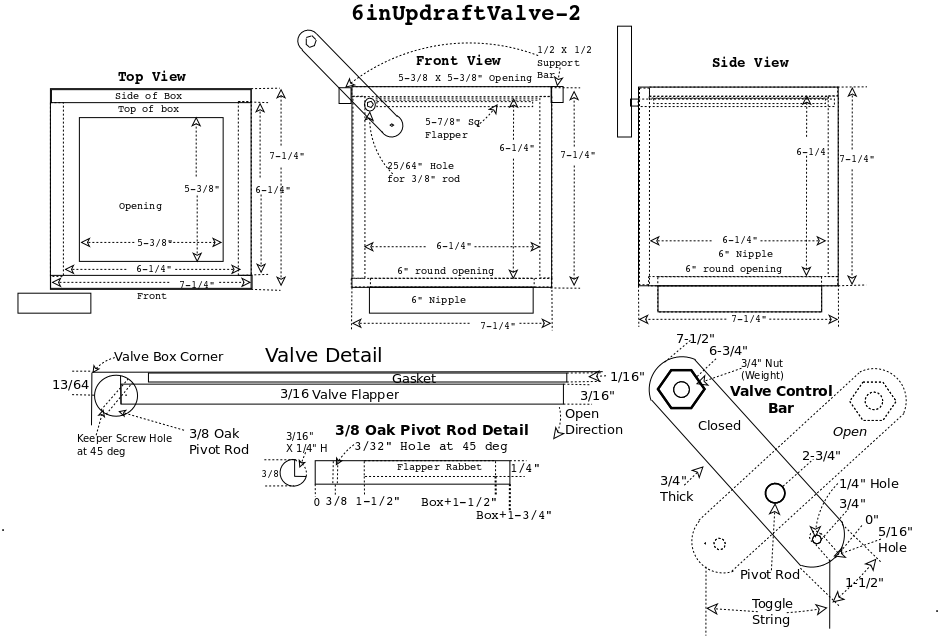
| 6" Updraft Valve | |
|
|
|
| 6" Updraft Valve | |
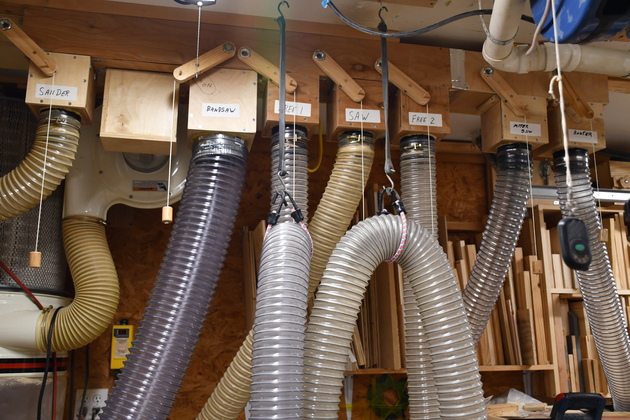
| Back Dual 4" Ports | Construction Info |
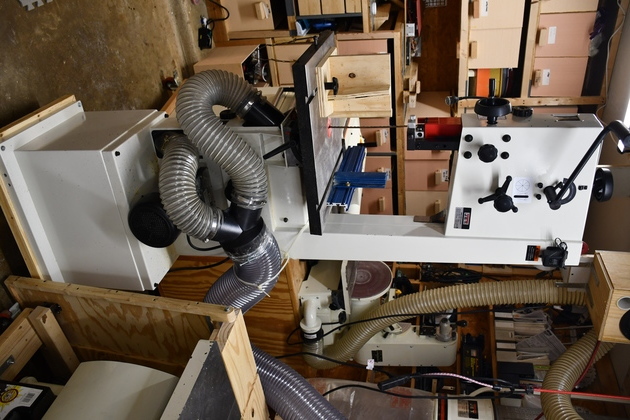
My new Jet JWBS-14SFX requires two 4" ports for dust collection.
I like to dedicate a DC port and valve to each requently used machine and the bandsaw is used a lot.
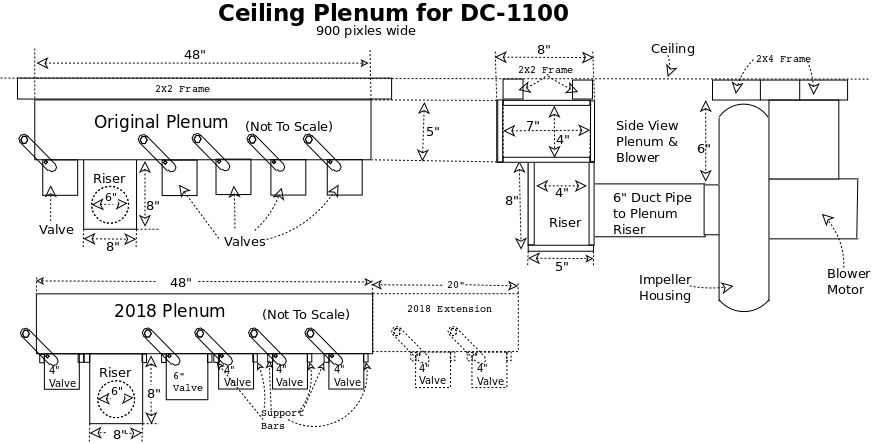
I didn't have an extra 4" port, so I have to expand my DC plenum and add valves.
I am going to replace the #3 4" valve with a 6" valve and hose with a 6" to dual 4" 'Y' and two 4" hoses to the saw, so there is only one valve I turn on to use the saw.
I will also add a 20" extension to the ceiliing plenum, to the North, with two 4" valves and hoses.

|
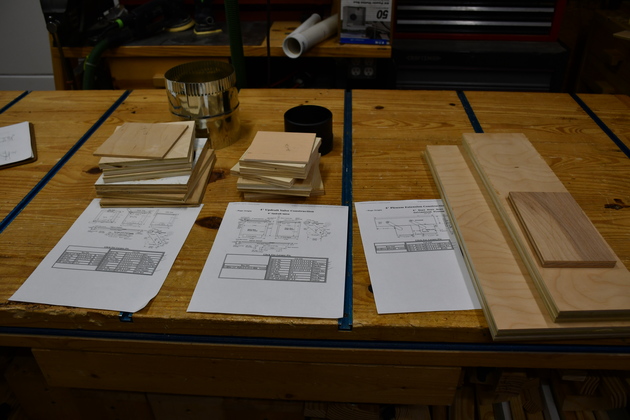
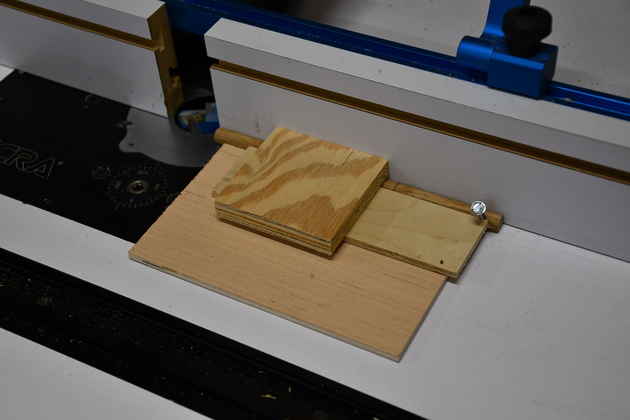
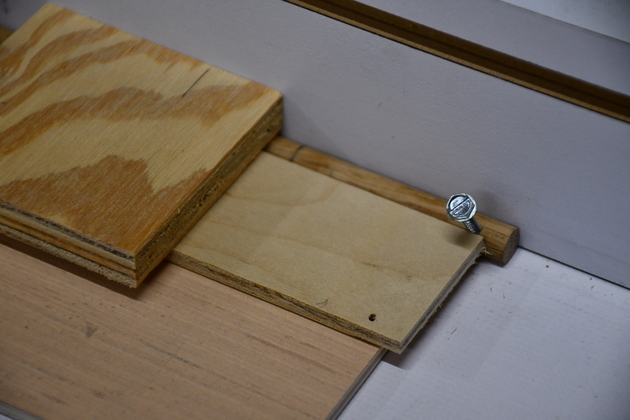
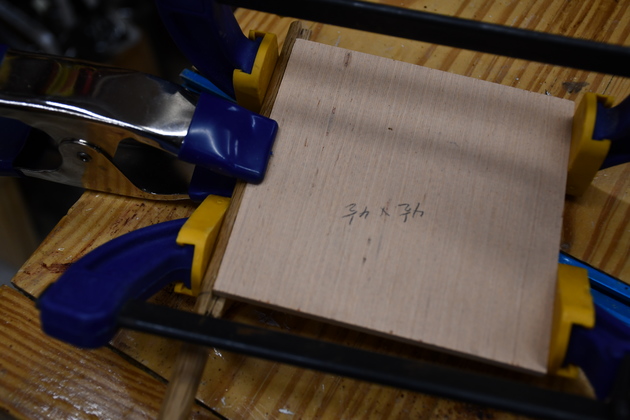
Pieces for the two valves and the new plenum extension laid out on the workbench. |
|
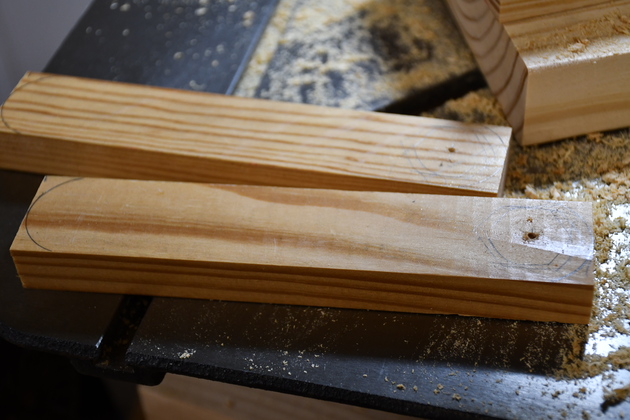
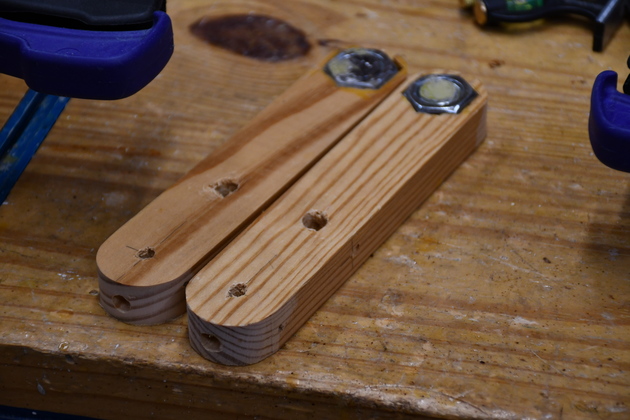
I've cut the 1x2 to length for the two control bars, here I'm drilling the 1-1/8" X 1/27quot; deep holes for the weights. You can see the marks for the round ends on the left end. |
|
Weight holes drilled, next I have to carve out the corners of the nuts. |
|
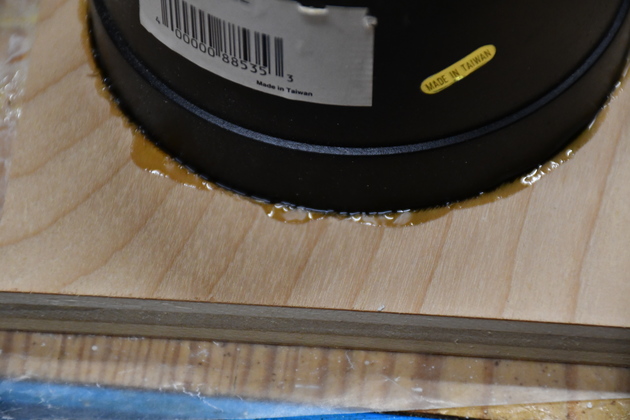
I'm gluing in the 6" and 4" nipples in the valve bottoms. |
|
Closer look at the polyurethane glue. Polyurethane glue foams up and expands so it will fill cracks and make this air tight. |
|
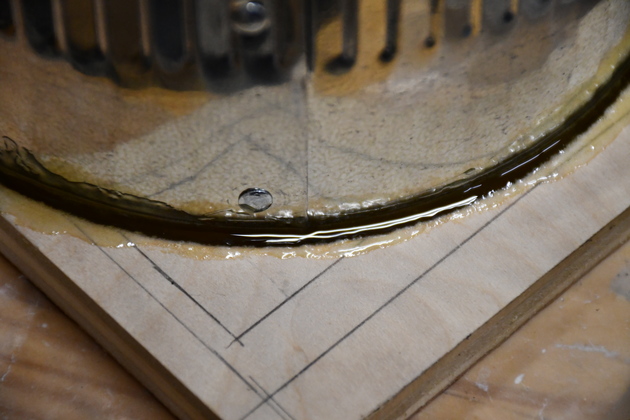
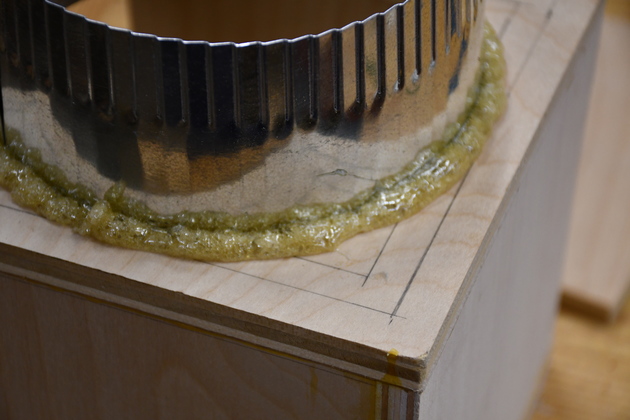
And the fresh polyurethane glue on the 6" nipple. |
|
After the polyurethane glue has expanded and set. |
|
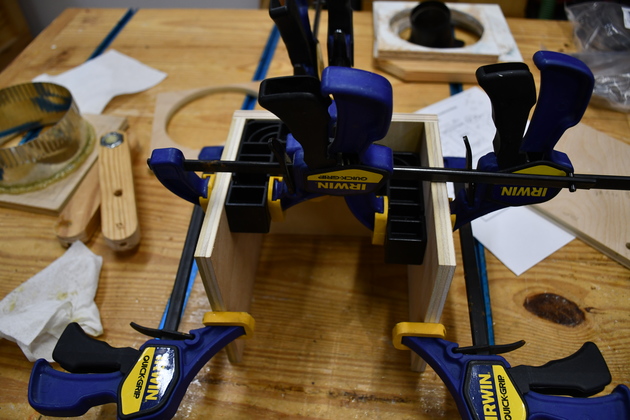
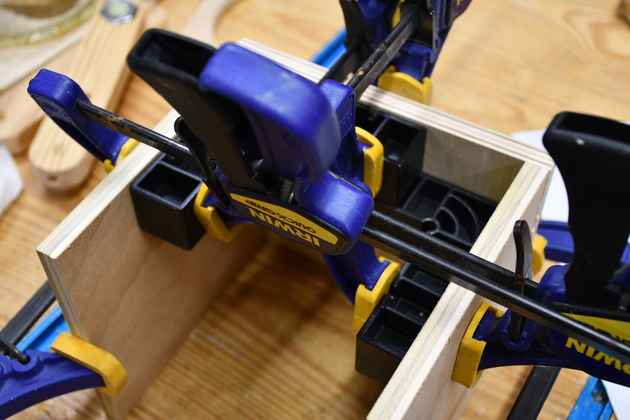
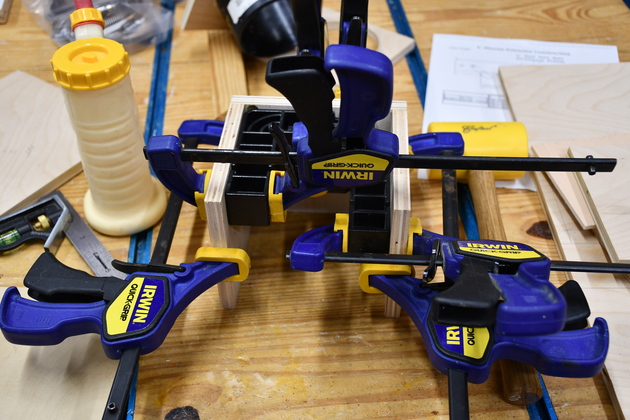
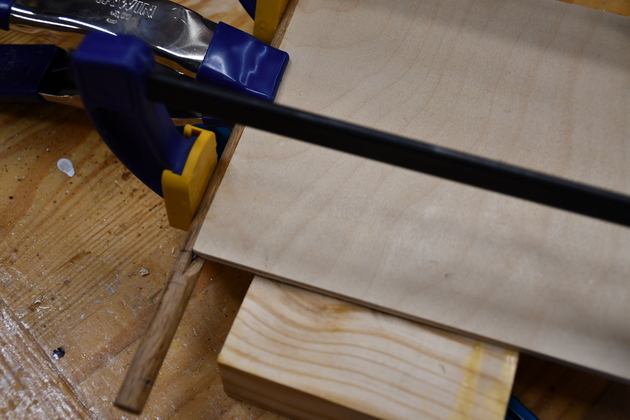
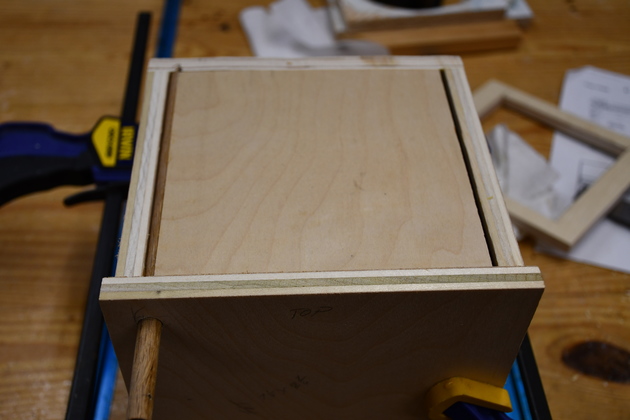
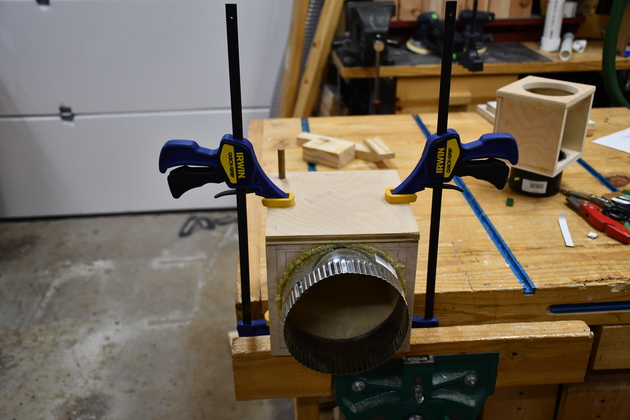
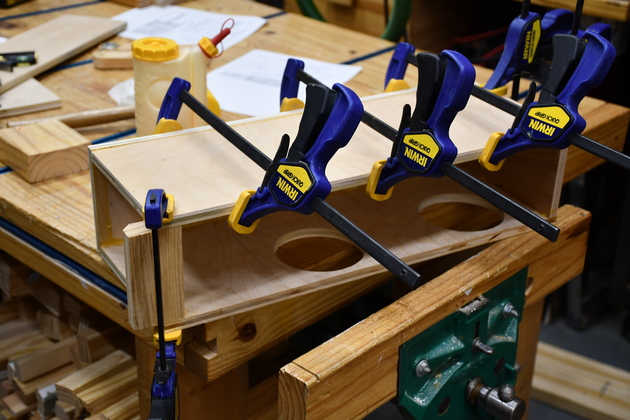
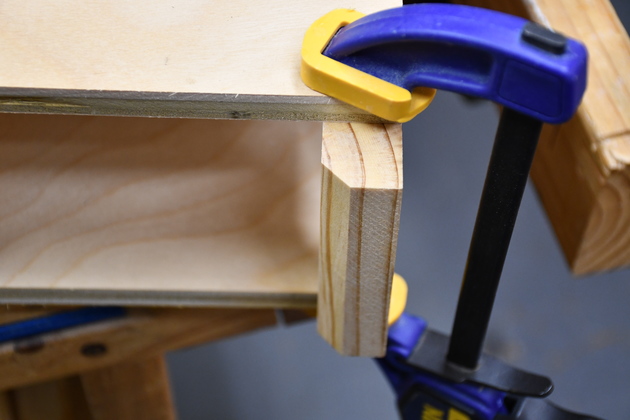
Gluing the boxes together. Here I'm gluing the sides to the back of a 6" valve box. |
|
Note: lots of ClampIts go keep things square. |
|
A 4" box being glued. |
|
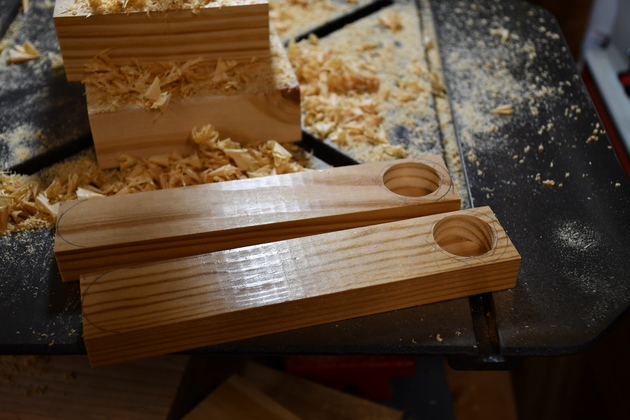
Both valve control bars. |
|
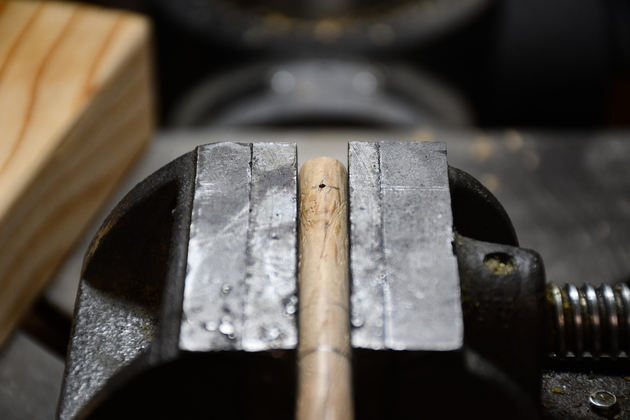
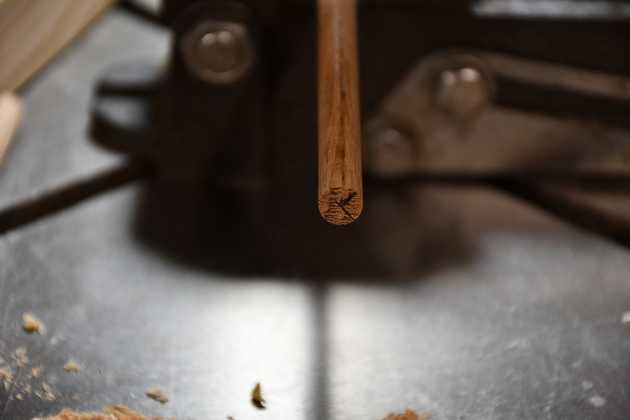
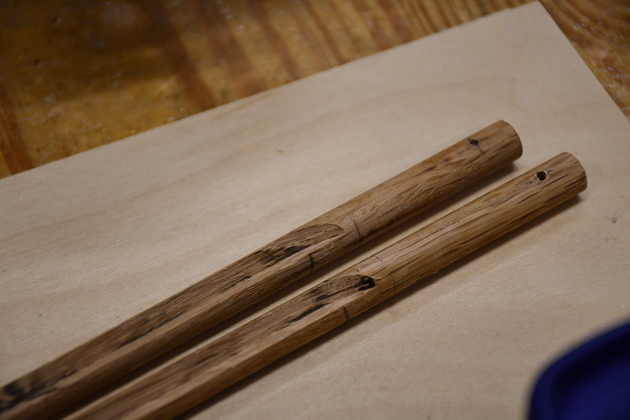
Here I'm drilling the keeper hole in the end of a 3/8" pivot rod. |
|
I drew where the notch would be milled. |
|
You can see the pivot rod against the router table fence, the plywood makes a holder/push block. You can see I put a small screw into the keeper hole and it's at a 45° angle to the router table. |
|
Closer look at the 45° angle of the screw in the keeper hole. |
|
Here are the two pivot rods after milling a rabbet for the flapper. The flapper top surface must be flush with the edge of the pivot rod. |
|
Gluing the flapper to the pivot rod. |
|
Closer look at gluing the flapper to the pivot rod. The lines on the pivot rod are where the control bar and the box will go. |
|
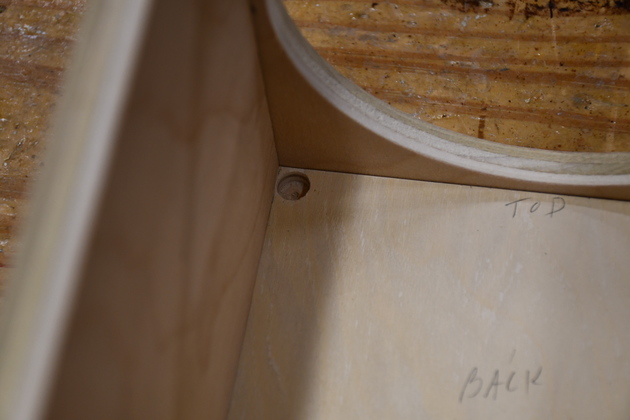
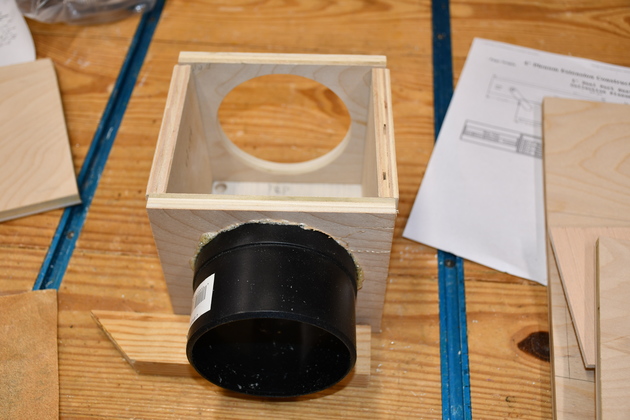
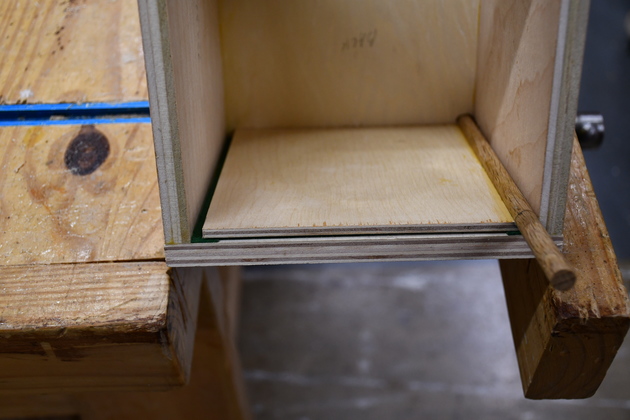
Here is a look at the blind pivot rod hole in the back of a valve nox. Note its about 1/16" from the top to allow for the gasket. |
|
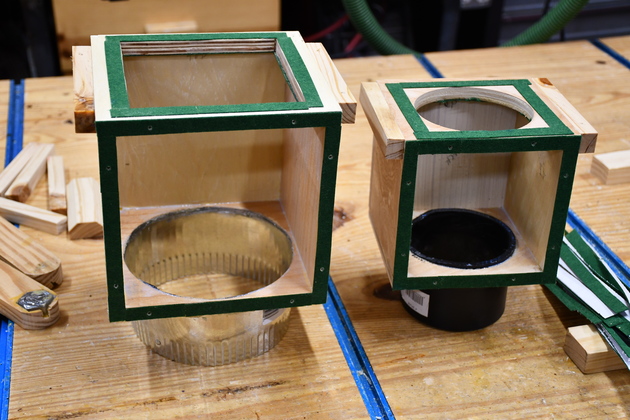
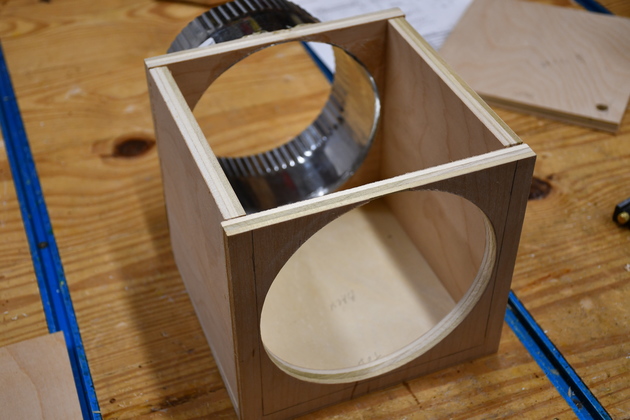
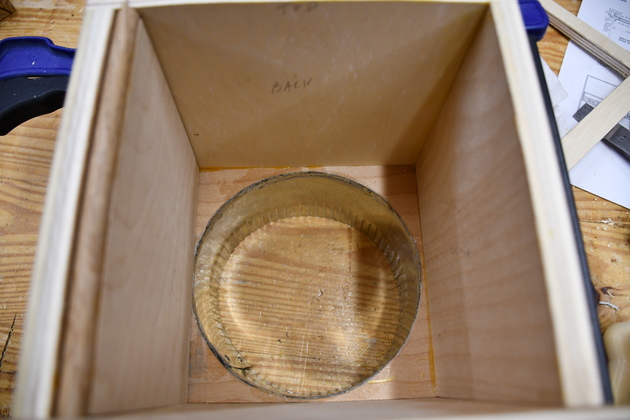
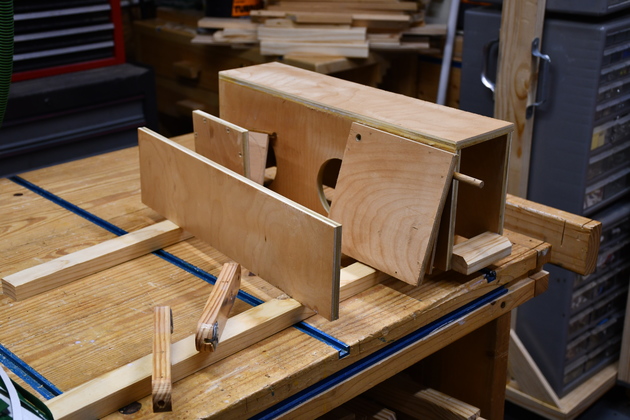
The whole 6" valve box. |
|
A 4" valve box. |
|
|
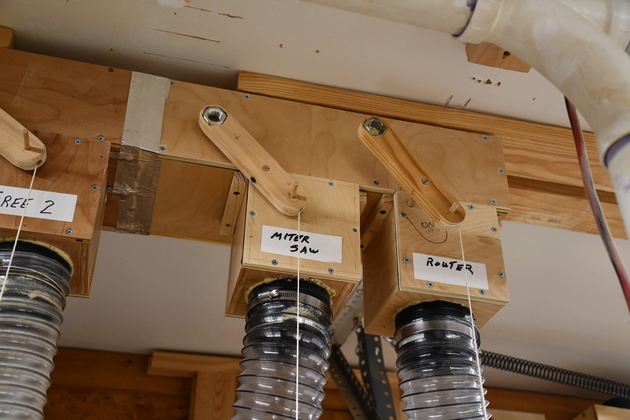
The control bars. |
|
Looking down into the 6" valve with the valve open. |
|
Looking at the top of the 6" valve with the valve closed. |
|
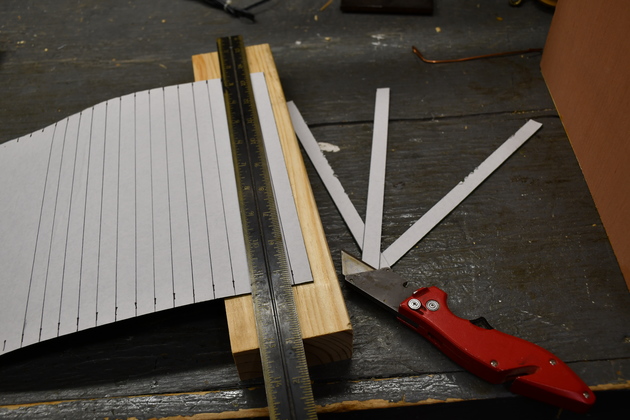
Cutting felt strips for gaskets. These are what I call "stickey backed", hobby felt, you just peel and stick. |

|
The valve seat. |
|
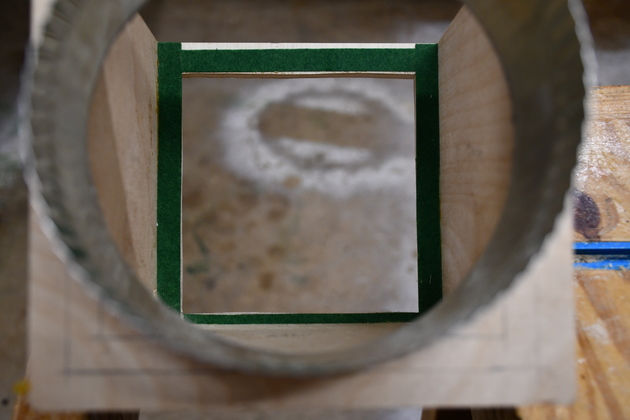
Looking down into the 6" valve at the valve seat. |
|
The flapper laying on the seat. |
|
Front clamped on to drill screw holes. I line the valve flapper up so it opens and closes easily the clamp and drill. |
|
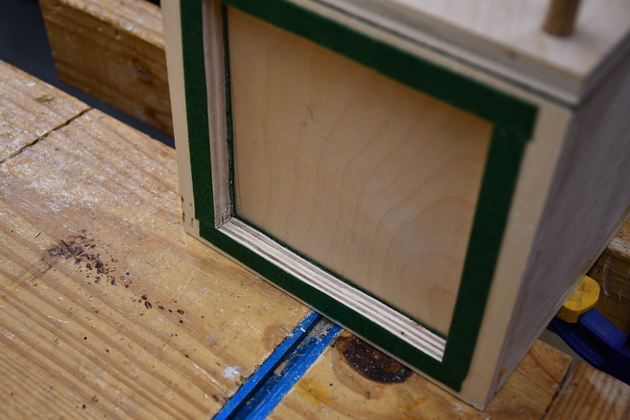
Gasket on top of valve box with valve flapper closed. |
|
Gluing pelenum extension top on. |
|
I added this little block to give support to the junction of the two plenums. |

|
The two new valves with gaskets. |
|
Plenum, flappers, and control bars being painted. |
|
Old plenum after removing #2 valve. I had put the gaskets on the plenum on the first go-round, now I put the gaskets on the valve box. |
|
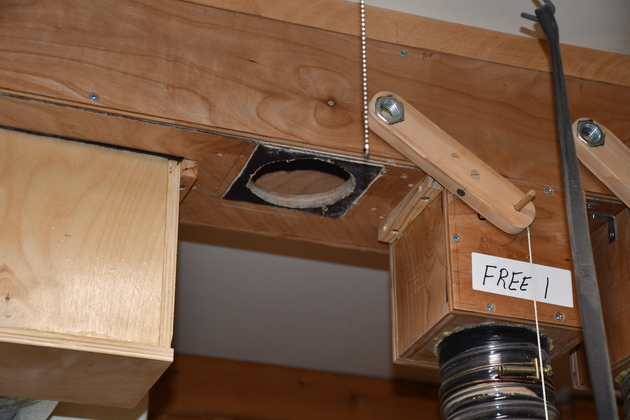
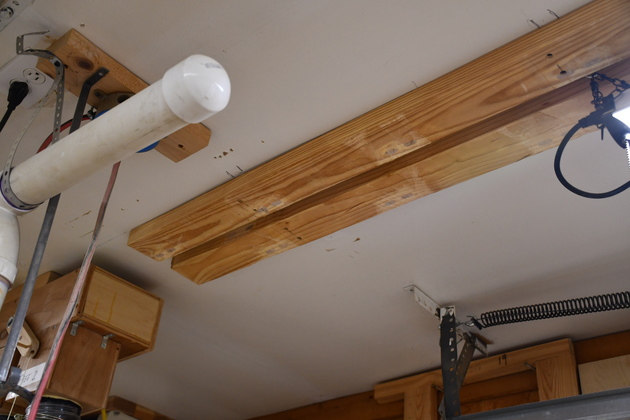
2x4s screwed to the ceiling as a base for the extension. You can see the original plenum on the left, I'll remove the end panel to allow air flow in. Removing the panel and not having any support on that end of the extension is why I added the little block to the new plenum. |
|
|
Note the 6" valve and hose where the 4" used to be, just to the right of the riser. |
|
The new extension with two 4" valves. |
|
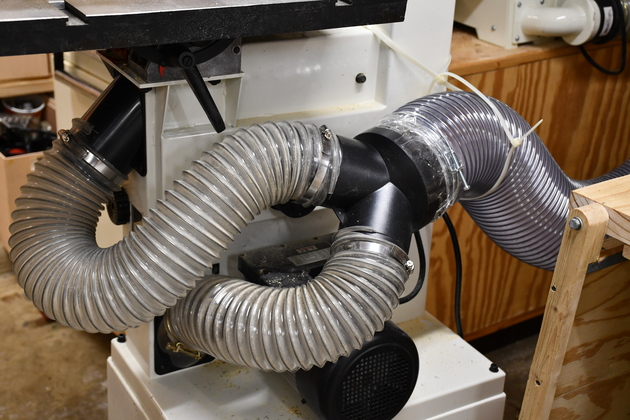
BandSaw with 6" line, 'Y', and 4" to each port. |
|
Closer look at BandSaw's DC plumbing. There is still a problem with the saw, like most bandsaws the designer didn't take into consideration that you need air flow to get the particles out. So I have to keep the lower front door open a crack, then it stays clean! |

|
|