I put one and a half gallons of spring water in the pan and brought it to a boil. Then I added the four quarts of honey and let it simmer over 160 degrees for fifteen minutes. This 160 degrees is important to make sure all impurities are killed.
|
|
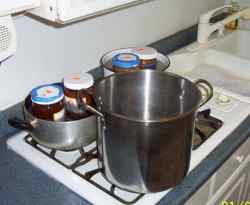
Here is where we begin. A pan for our Mead mixture (This mixture of water and honey is called Must) The four bottles of honey are sitting in hot water so it will flow easy and be easy to handle.
I put one and a half gallons of spring water in the pan and brought it to a boil. Then I added the four quarts of honey and let it simmer over 160 degrees for fifteen minutes. This 160 degrees is important to make sure all impurities are killed. |
|
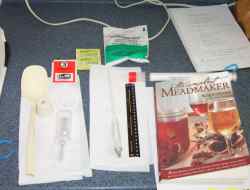
Let's take a look at some of the accessories for Mead Brewing.
Notebook for carefully logging what you do and when. A book about mead making ( I'll give you a link to this book later). A large spoon for ladling and stirring. Thermometer, hydrometer, yeast, yeast accelerant (yeast food), Flocculent for keeping the mead clear (very optional) |
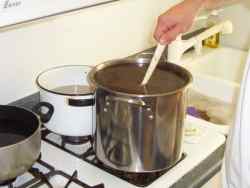
| Here we go. The honey and water has been mixed and we are heating and stirring it. This is a pasteurization. Keep it going without boiling it over and you will be ready for the next step. |
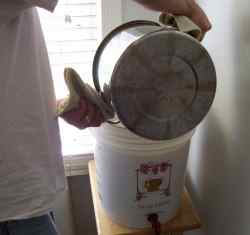
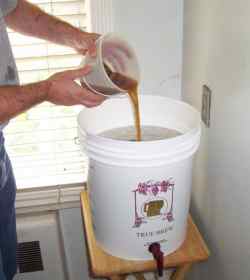
| Pour the Must into your fermentation bucket. The must will stay in here for about two weeks. |
| Now prepare your yeast for addition to the must. Generally you add yeast to warm water and let it sit for 15 minutes. This brings the yeast to life and prepares it for growth without a shock. This treatment of yeast has many variations and some people will prepare the yeast and give it nutrients a day or two before making the must. You don't need to worry about this for now. Just prepare the yeast according to the instructions that come with it. |
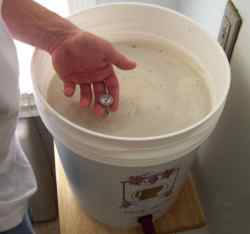
| Checking the temperature of the Must. When your activated yeast is ready to be stirred into the honey/water mixture (called Must) You must be very careful that the temperature of the Must is under 80 degrees fahrenheit. If the Must is too hot it can instantly kill the yeast. So, cool your must down by waiting or by putting this bucket in a larger bucket with bags of ice. Or you can add frozen spring water. |
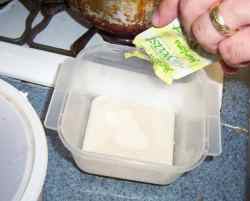
| Adding the Yeast accelerator. I have opted to add a yeast food to the mix. This will help to insure the yeast takes off and is healthy and happy. It will grow faster and work better. As with the yeast, you just follow the recommended instructions. |
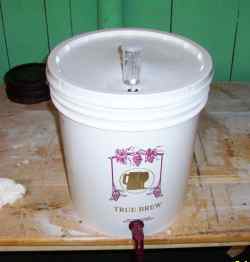
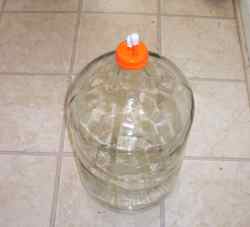
| Okay, This part of the process is done. Now you just store your Must in a cool dry place (60-75 degrees) for about two weeks. The little clear plastic air valve on the top will start bubbling within a day or two. This means the yeast is working well. And this will go on for as long as two weeks. When the bubbling has slowed down significantly (about 1 bubble every 30 seconds) you will be ready to move the mead to its glass bottle. |
|
Here is the glass carboy we will be moving our Mead to.
|
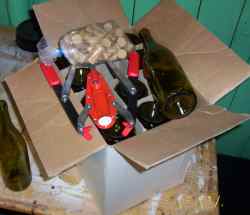
Bottling supplies |
And here is the bottling equipment. Maybe you won't be bottling your mead but for me it is one of the best parts of the process. This picture shows a case of bottles, a bag of corks and the manual corking tool.
I will be going over all of this stuff with you. The Next section is ready: Go to the section on Racking the Mead into your glass carboy |