|
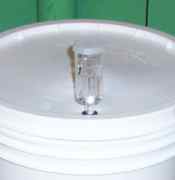
| This picture is a close up of the air lock that will bubble as the fermentation process gets underway. Once this slows down to about 1 bubble every 30 seconds you are ready to move the brew to the glass carboy. |
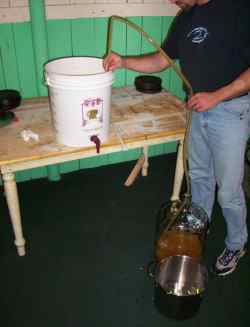
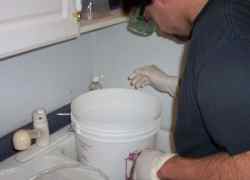
| Remove the cover from your fermentation bucket and siphon the mead into your carboy. |
| Doesn't look much like mead at this stage, well , because it isn't! But you should be able to smell and taste the alcohol content. This is why you put it in a glass bottle. You will be able to watch it as the fermentation process develops and it clarifies into a honey wine. |
|
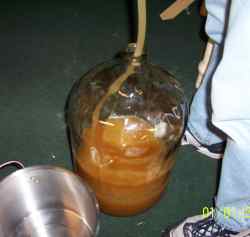
Here is the Must in the carboy with an airlock in place. It will continue to bubble for quite a while and over time it will clarify.
Now is the waiting game and depending on how much honey you added to your water it could take anywhere from several weeks to several months. The next stage of this tutorial on mead will cover the process of bottling. But we will just have to wait until the Mead is ready! Until then I am going to cover a few other things like how to use a wine thief, recipes and more. |
|
An Important note about Brewing mead.
It is a food product and it uses live yeast. You have created a batch of honey and water that is a breeding ground for bacteria and other living organisms. You don't want any of this to contaminate your next batch of mead so you need to sanitize everything. I don't mean clean everything with some type of cleanser. I mean "sanitize" everything with something that is designed to kill bacteria and living organisms. This picture above shows our mead brewer wearing safety goggles and gloves. The sanitizer is very potent and all precautions should be taken to protect yourself. |
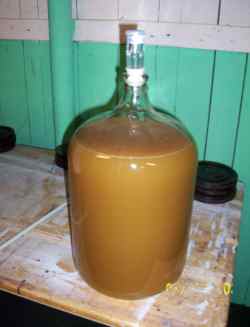
| Here is a look at the batch of Mead after it has been setting for a week. The clarification process has slowly begun and there is a small amount of sediment on the bottom of the carboy. Ok, That's everything about this step of the process. Continue on to the next step: Bottling your mead |