I haven't been using the turret for loading much lately, since I got everything working with the Pro2K, but these sequences are still used by Kyle and others.
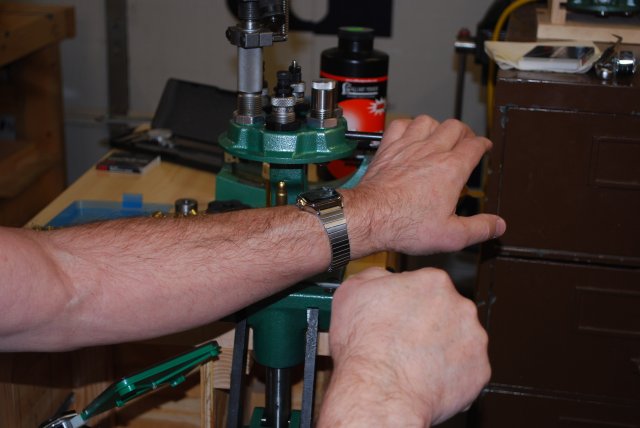
I have tried to show how I use my hands during the loading sequence to rotate the turret while I am operating the press handle to maximize my throughput.
I always rotate the turret clockwise in all these, but you can go either way, whatever is most convenient for you.
In these pics I am using my mobile loading bench.
I have not been able to make the RCBS Turret's priming tool work reliably, so I use a hand priming tool.
For a look at the .45 sequence using only the CAPD and expander die, please click here.
I load everything this way now.
In some of these pics I was using a separate expander die before charging the case, now I use a powder through expander at the charge station to eliminate the extra operation (saves a step).
I stopped using a universal depriming die, now I use a caliber specific resizer die to resize and deprime when cleaning (saves another step).
Loading 357Sig requires 2 resizes (to avoid lube and clean), resize-1 .40 carbide then resize-2 357Sig steel resize die.
In these older pics, I did both resizes during the loading sequence, currently, I do Resize-1 (& deprime) during cleaning between tumbling and ultrasonic cleaning.
A simpler loading sequence and the "Bullet Setting Roll" may be seen in the 9mm load sequence.
I don't use the priming mechanism that came with the turret, I couldn't make it work dependably.
It wouldn't seat the primers below the case face and some were left high.
This indicates an allignment problem, but I couldn't solve it with this hardware.
I ended up using the hand primer tool in the pics below.
I use the CAPD (Case Activated Powder Drop) by Hornady (RCBS also makes one, CAPM, its just a little more expensive) and I use the RCBS powder expander die in the powder drop except for .355 cal.
This allows me to eliminate one operation (ram stroke) from the sequence.
The CAPD flares and charges the case it in a single ram stroke.
The Hornady expander dies are difficult to use because they're rough and have a long contact area, making it VERY difficult to pull the case back out of the expander die.
The RCBS expanders are smoother and have a gradual, constant taper in the flaring area (easier to polish) where the Hornady's diameter is about the same size as the bullet for a long distance, then abruptly flares out leaving the case stuck on the large diameter area, polishing helps a little (difficult to get polish), turning it down helps a lot.
Please click here to see the CAPD and expanders.
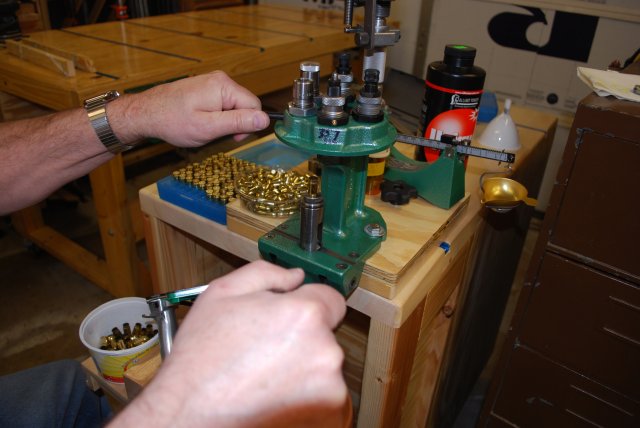
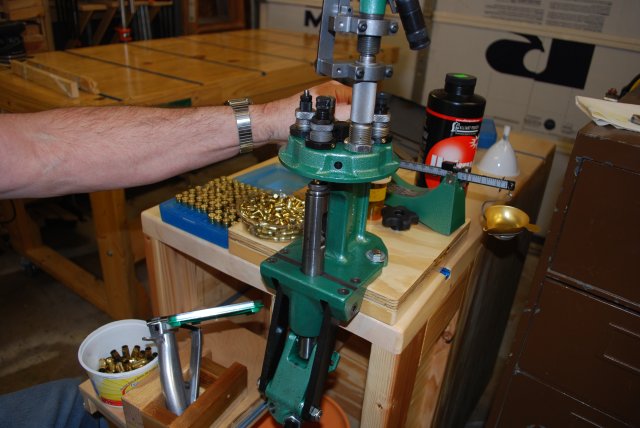
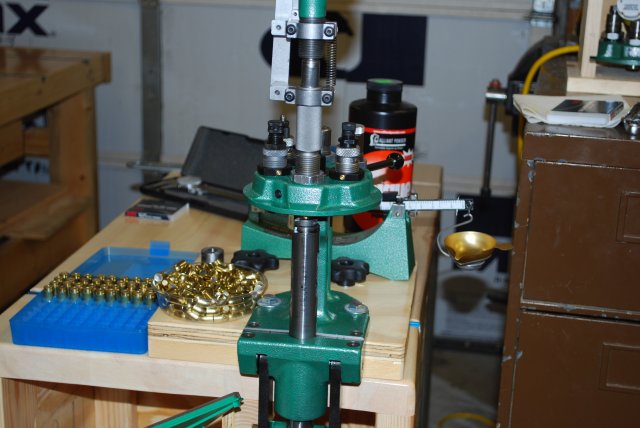
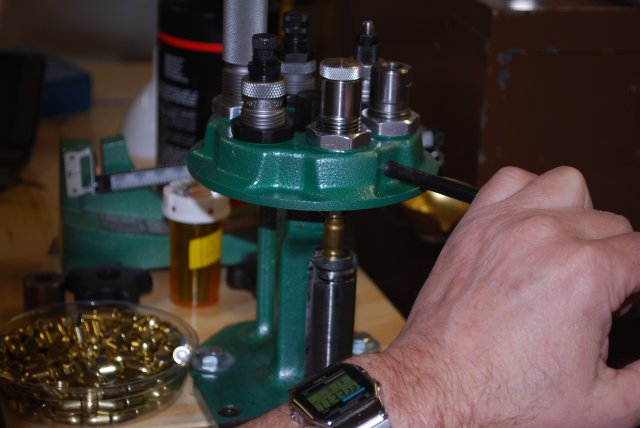
The die placement in the turret in relation to the position of the rotation handle is fairly important to making it more comfortable to use and the right hand left hand changes.
In a 3 step sequence I start at the powder drop die, charge, seat, and crimp in that order.
The sizer decaper is placed between the factory crim die and the powder drop die with a gap on each side.
I normally put the powder drop die just to the right (from the front of the turret on the press) of one of the rotation know hole and then proced so the turret rotates clockwise as I move from station to station.
The rotation handle then goes in the opposite side of the turret from the charge station.
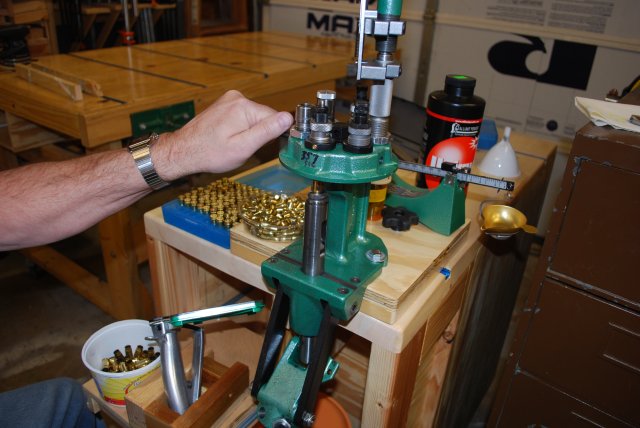
Here is a pic from the .45 sequence showing die placement and rotation handle as the bullet is being seated.
In the case of the 357 Sig, I put the extra 357Sig sizer die in the gap just to the left of the powder drop die and start loading from that position.
I got the "Hornady Quick Change Powder Through Expander Linkage" to make it a little easier on the Uniflow.
This is actualy a device that fits around the spring mount studs and has adjustable stops to limit the Uniflow's travel just before it hits the top.
It works but I had to chamfer the area where the spring rubs against the inside corner to eliminate aluminum filings falling onto the large washer and shoulder bolt that holds the turret down.
I start out with
clean unprimed cases
that were previously
deprimed and resized during the cleaning process
.
These are 357SIG cases being reloaded:
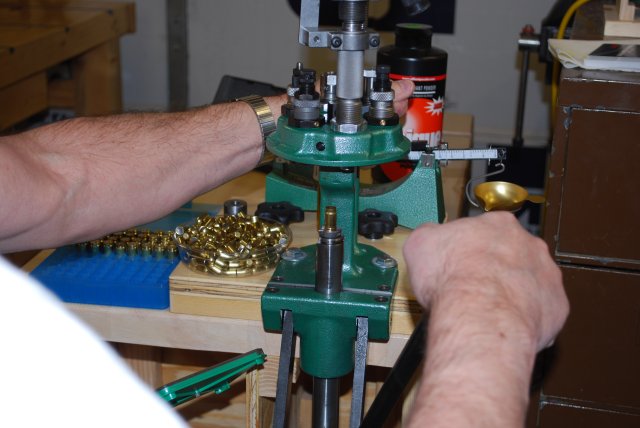
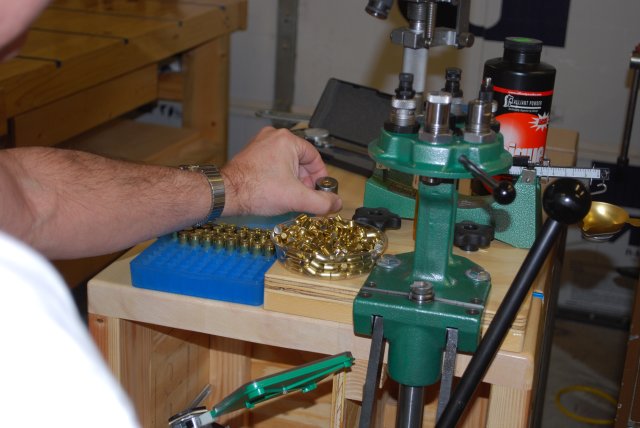
You will note that I rotate mostly with my left hand while the right hand operates the ram.
|
Note the relation of things I use in loading, the press on the right, the bullet tray just to it's left, and ammo box to the left of the bullet tray.
Also note the clean cases and primer tool holder on the loading shelf below.
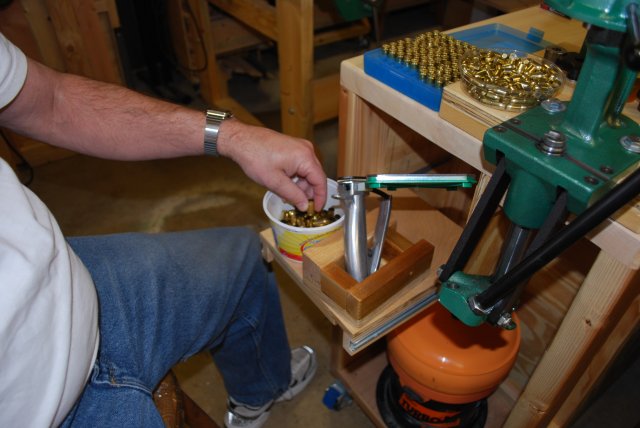
Get a case from the cup.
|
|
|
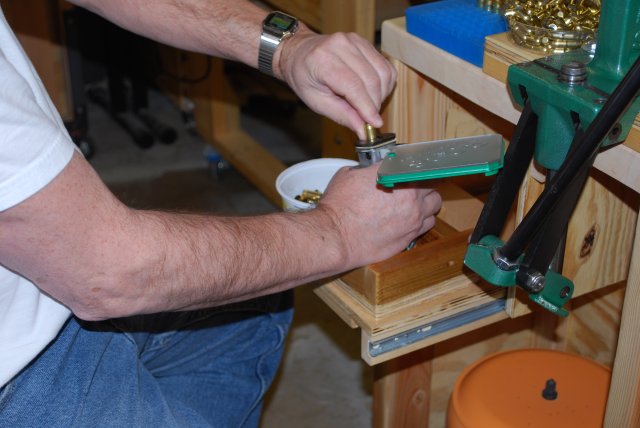
Place it onto the primer tool.
|
|
|
Prime the case (squeeze).
|
|

|
Move the case to the shellholder.
|
|
|
First Resize (the .40 cal part).
This is now done when cleaning.
Since I started out with deprimed cases and then primed them at the beginning, I removed the decap pin from the .40 sizer die to avoid popping out my brand new primer.
|
|
|
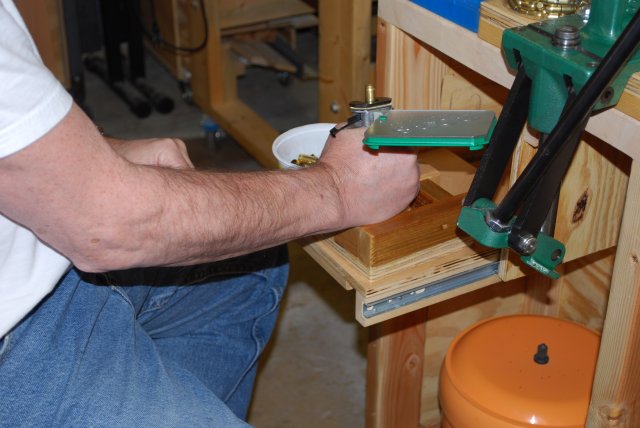
Rotate the turret to the 2nd resize station.
Note: left hand rotates, right hand is on press lever.
|
|
|
Second resize.
This resizes the neck (9mm part).
Note: I removed the deprimer pin from this die also.
|
|

|
Rotate to the expand station.
These two steps will be skipped in the future when I expand and charge in a single stroke.
For an idea of what that will look like, please see the 9mm Luger load sequence.
|
|
|
Expand The case.
As I said this step will be combined with the charge stroke in the future.
Here I am using the RCBS 9mm carbide expanding die.
|
|
|
Rotate turret to Charge Station.
|
|
|
Charge the case.
|
|
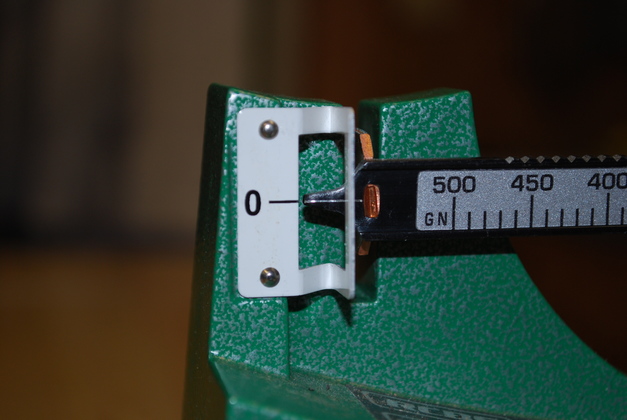
Here I check every 10th charge.
|
|
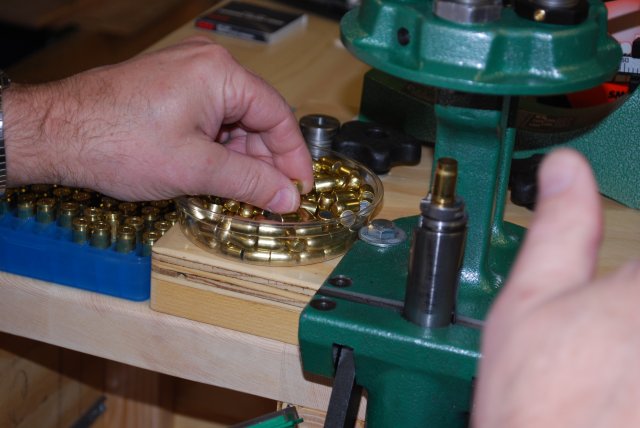
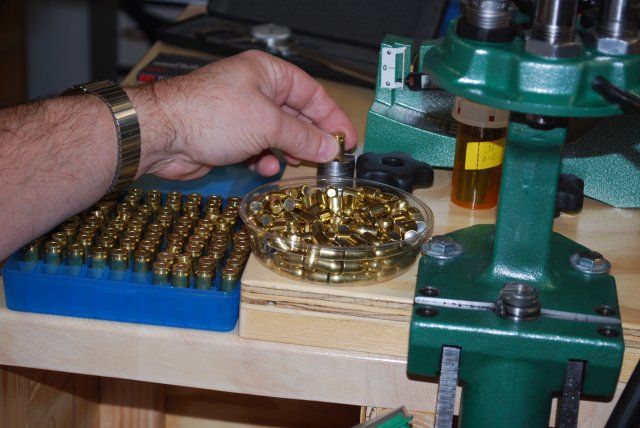
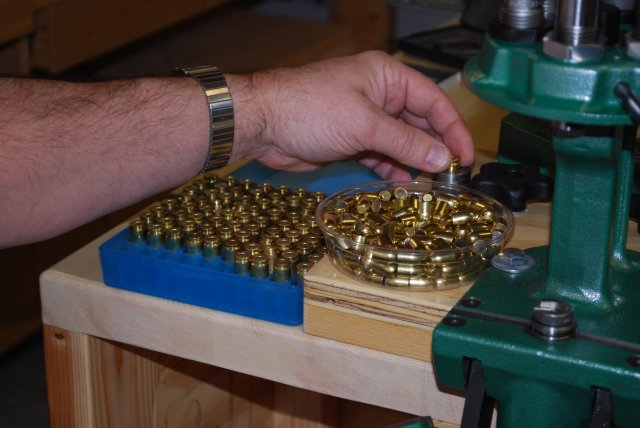
Pick up a bullet as I charge the case.
Note the small clear bowl, it's from Home Depot in the garden section.
It keeps me from "fumbling" to pick up a bullet quite so much.
|
|
|

|
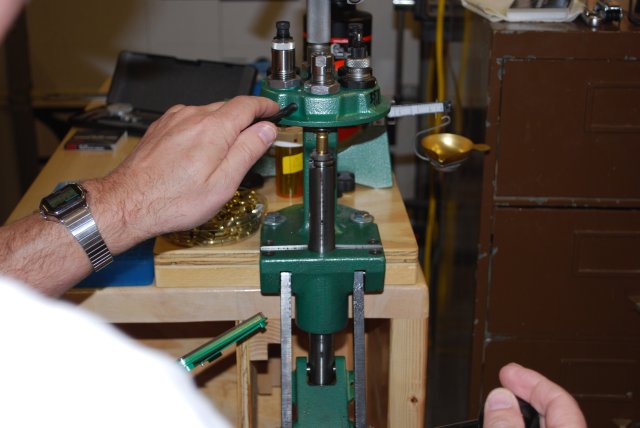
As I set a bullet on the case, rotate turret to seater station.
Note that I place bullet on case with my left hand, I rotate the turret with my right.
|
|
|
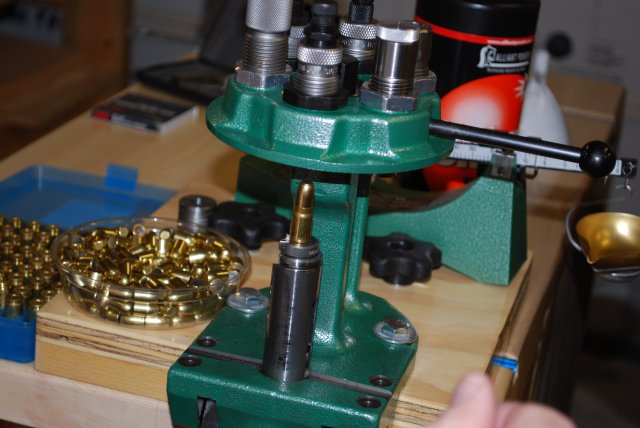
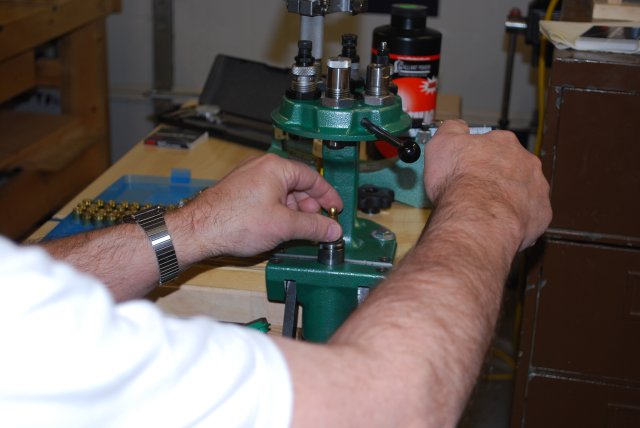
Seat the bullet in the case.
Note: the die has been set to NOT crimp since I will use the factory crimp die next.
|
|
|
Rotate to the Factory Crimp station.
Left hand rotates again.
|
|
|
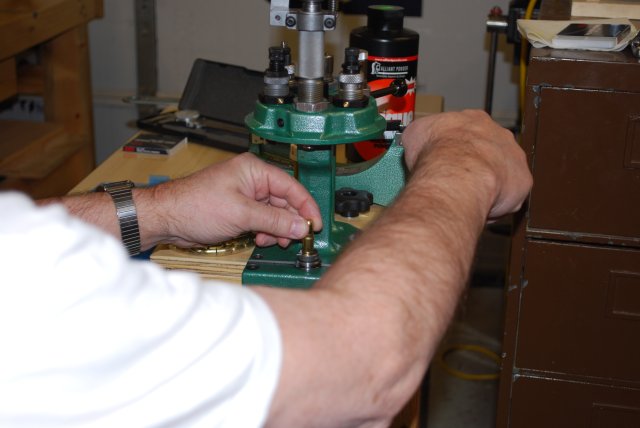
Crimp in the factory crimp die.
Remember the factory crimp die does another resize on the entire case, this works wonders for .40SW and .357Sig.
|
|
|
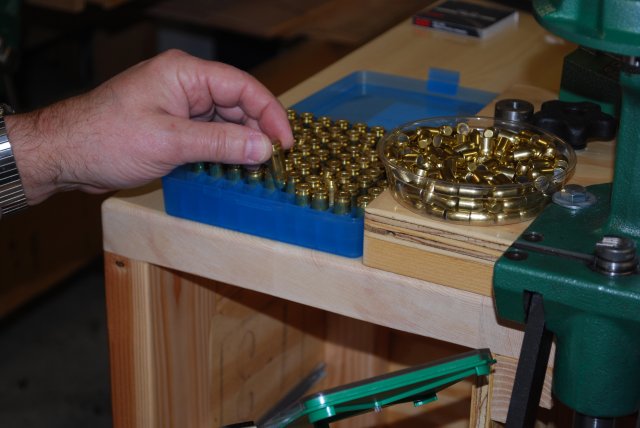
Remove new round from shellholder
|
|
|
Right here is where I check the round in the case guage.
Drop the new round in the ammo box.
Not shown is rotating turret to resize 1 with my right hand as I move the round.
|
|
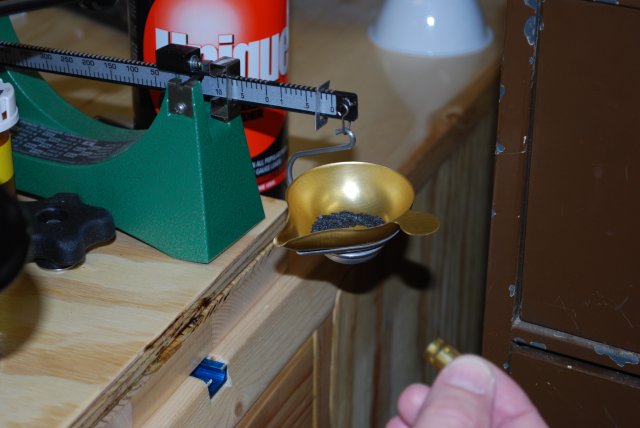
Check the powder charge. Three Steps Plus Scale Balance.
|
|
|
|
Check new round in case guage. Three Steps
|
|
Drop the new round in the guage.
|
|
|
Pick up the guage to see if round properly sets in guage.
|
|
|
Remove the round from the guage, then place in ammo box.
|
|

|
The die placement for a normal 3 die loading sequence, note the decapper by itself with a gap on each side.
This is not what the previous steps show, it is how I use it now.
|
|
