Installing a New Garage Door
06/20/14: Page Origin
A few days ago, we were moving some lumber out of the shop, so I opened the big door and when I closed it, a piece of EMT (pipe) slid over and caught one of the top door segemnts.
The door was mangled, at lease the top section and the opener attachment point (the door had already been mangled, before I bought the house, at the same point, the original owner had repaired it then and I had to beef it up to make it seal).
I decided the door had been compromised too greatly this time to be effective beeping weather and or bad guys out, so it had to be replaced.
I shopped around and found that a good insulated door was over $600, and a contractor door was just about $225 plus insulation (about $30).
The contractor door I bought (Clopay Model HDB, from Home Depot) was better built than the original door.
When I say contractor door I mean non-insulated steel door, 8' X 7'.
There are a few things I like to do to garage doors so they are more secure and hold out the weather better.
I get the seal packages from Home Depot, a top and sides seal and a bottom seal.
I also heavily reinforce the the top of the door, Clopay says to reinforce the opener attachment point, I REALLY REINFORCE the top (see pics below).
By making the top of the door as rigid as possible, I can better keep the top seal tight against the door.
I set the opener attachment bar so it is almost vertical when the door is closed, making it very difficult to break the opener by just prying up on the door.
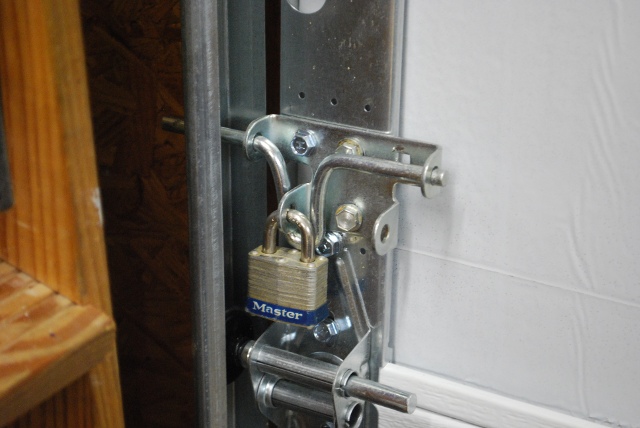
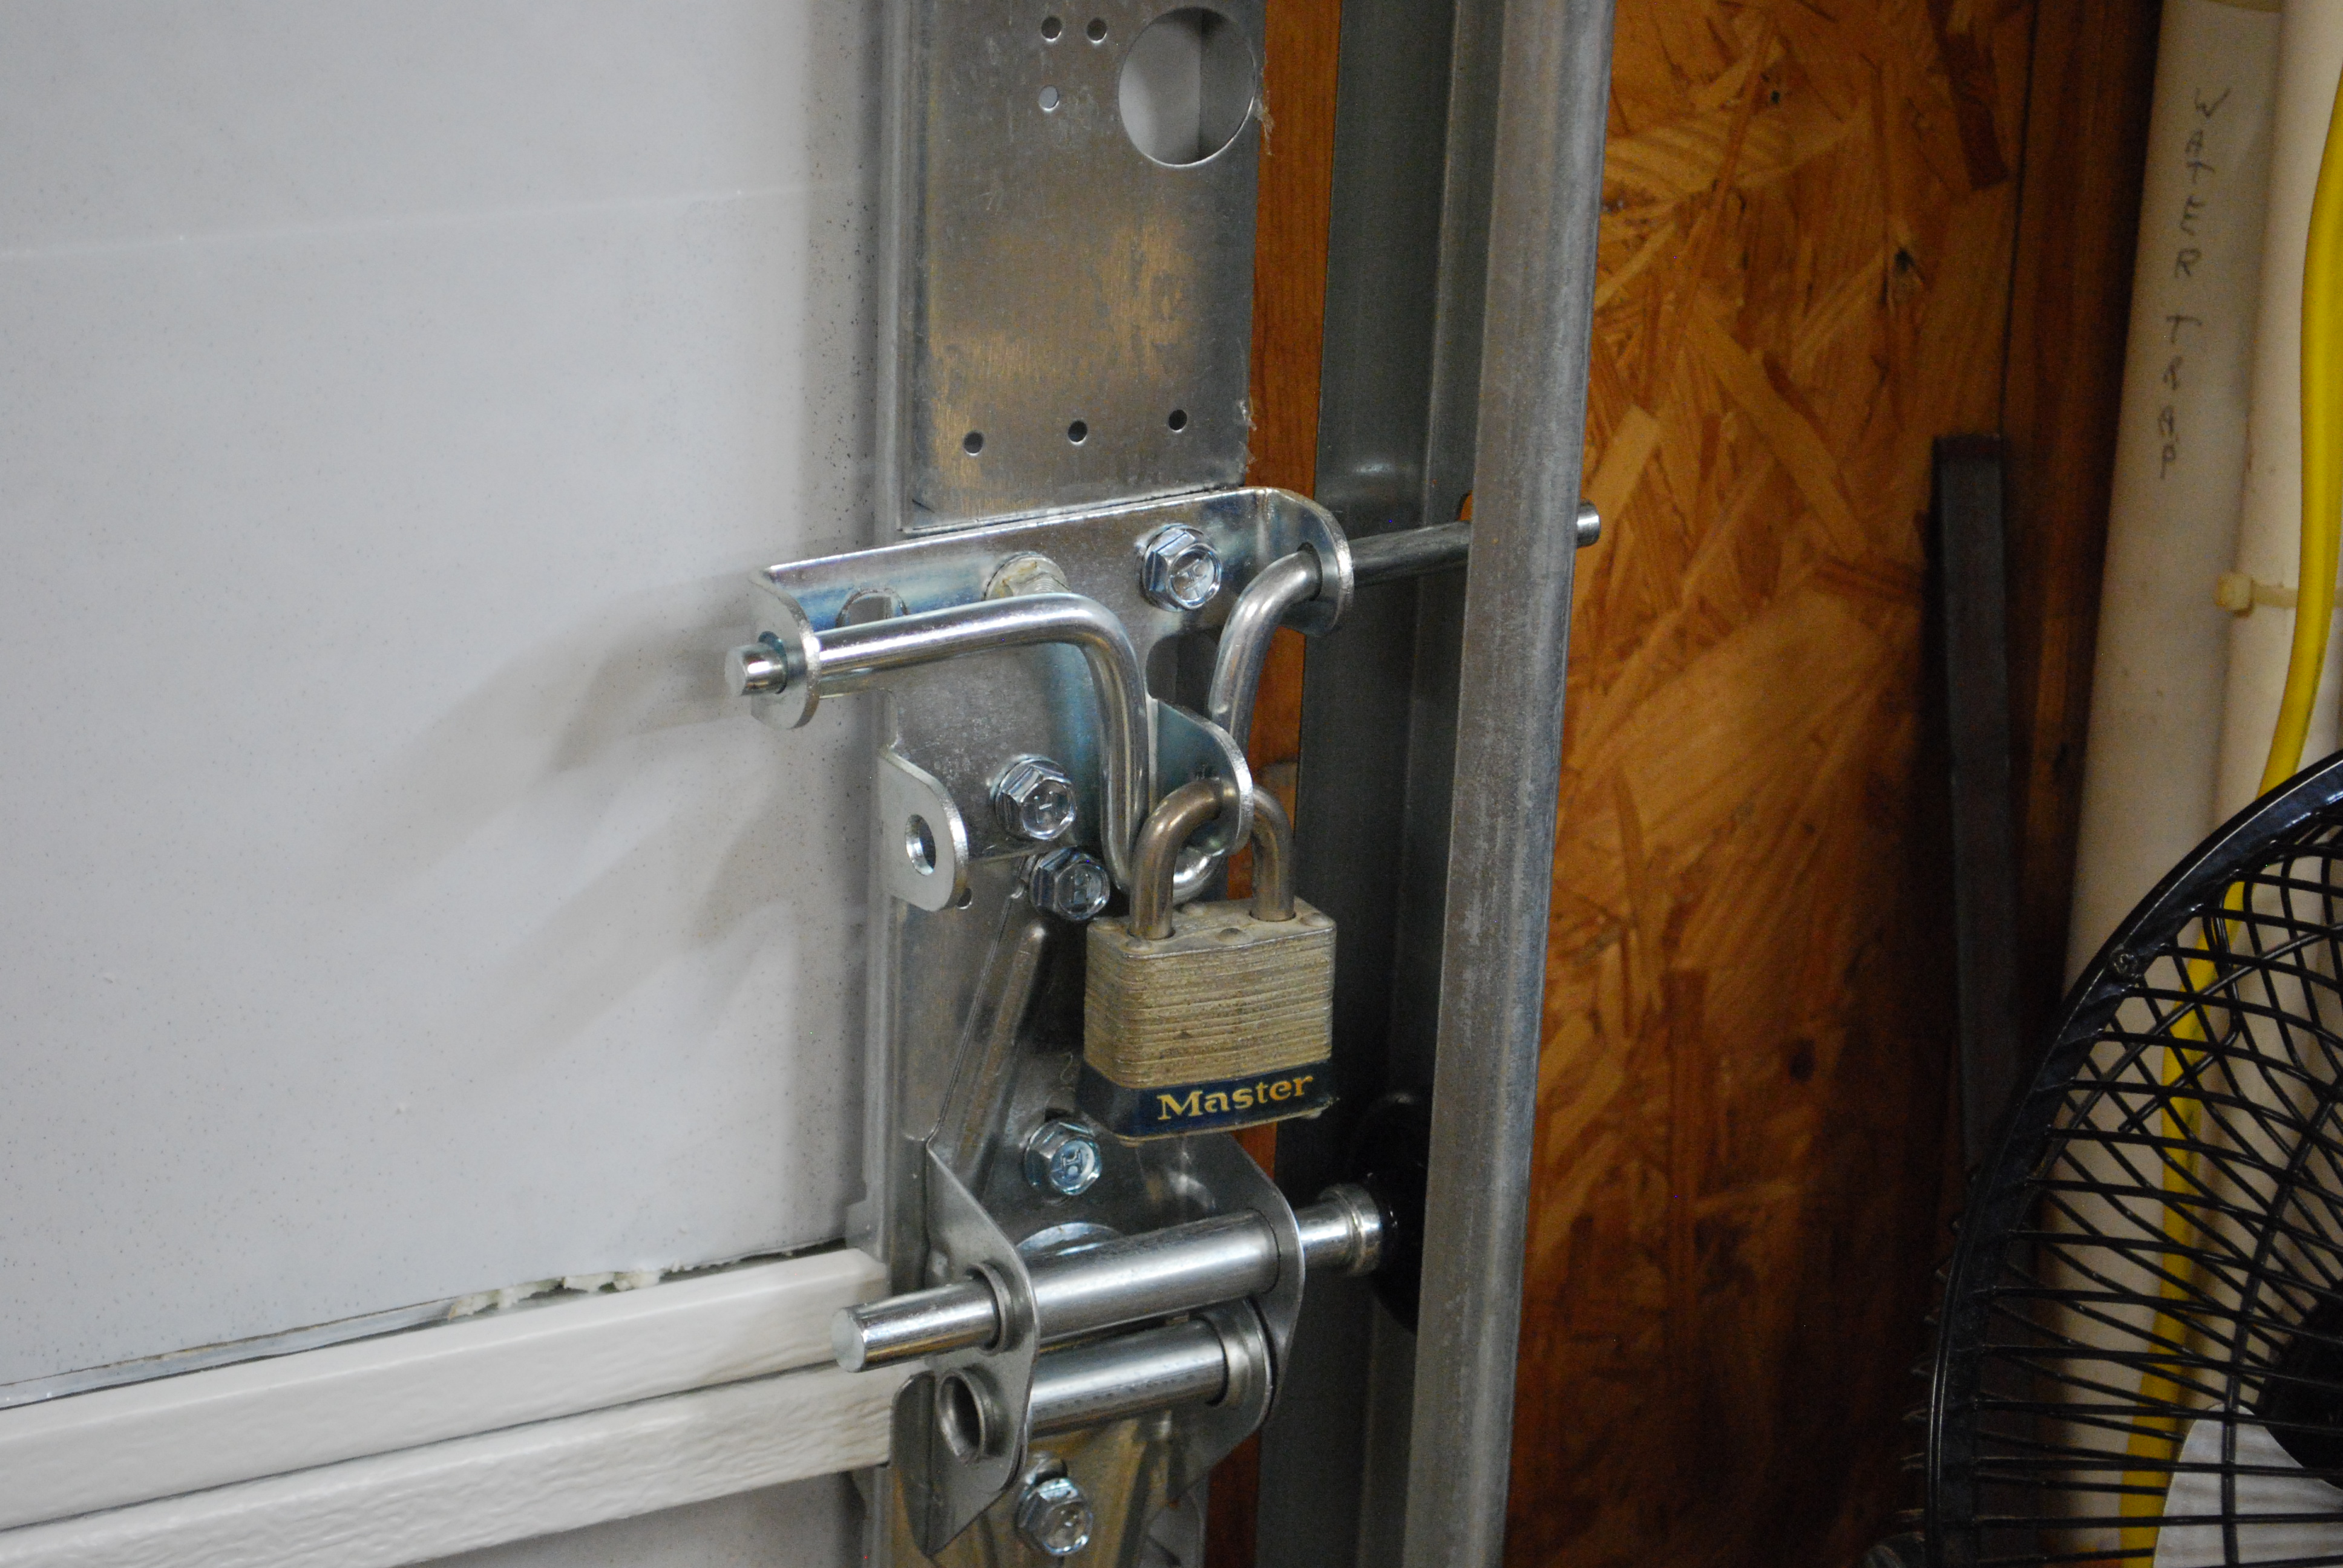
I also add a padlocked bolt on both sides of the door.
When I was replacing the door panels, no sooner than I started taking the panels down, the weather turned bad, so I got in a huge hurry and didn't take any pics, sorry!
|
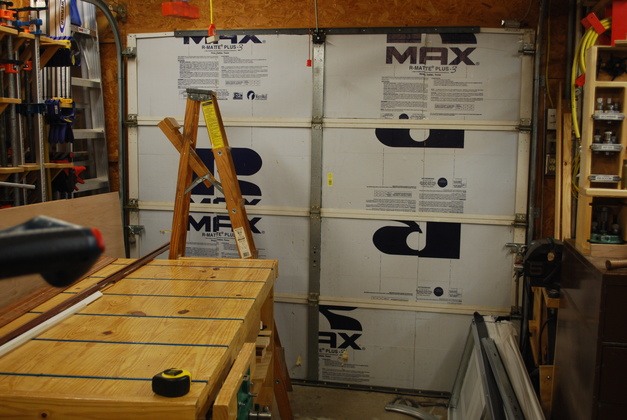
The old door.
Note, I insulated the old door with 3/4" foam board sections (R-5 rating from Home Depot).
You can see the sections of the new door on the floor at the lower right.
|
|
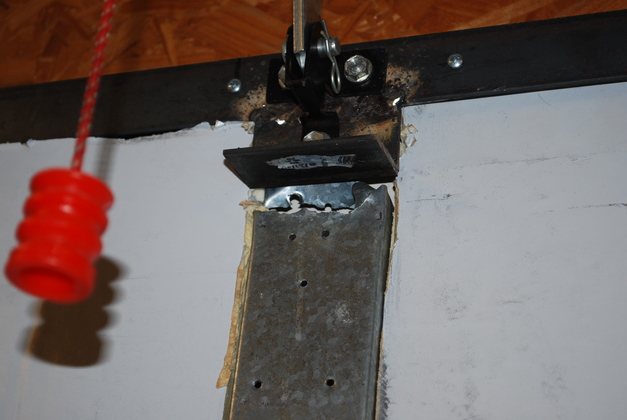
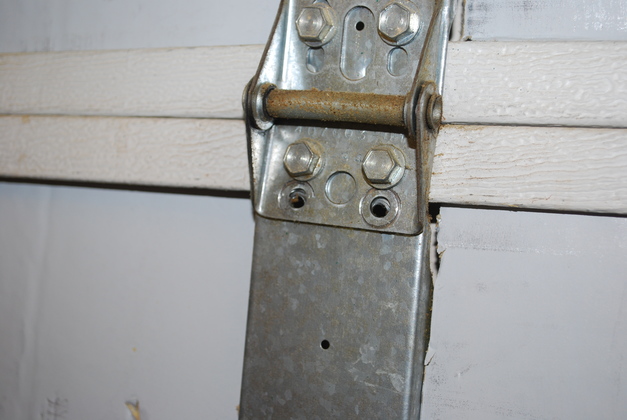
You can see where the opener attachment broke the center style.
This had been mangled by the original owner the additional flexing broke it completely, the top bar was also bent at the end of the steel angle reinforcement.
|
|
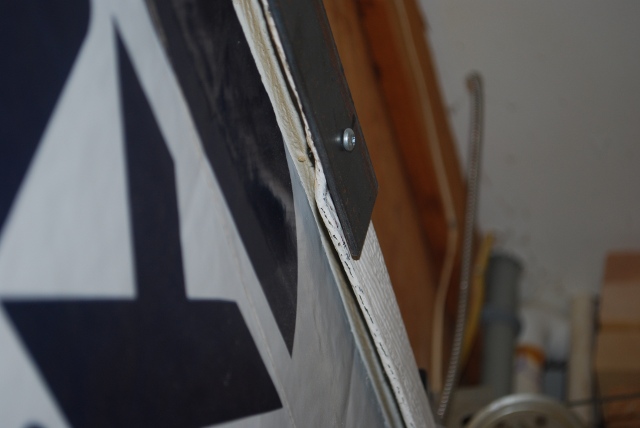
Some of the door's top panel buckling under the support bar.
Remember, this is after I straightened it out so the door would almost seal till I could get a new door.
|
|
More top panel buckling.
|
|
This was already done when I got the house.
|
|
|
|
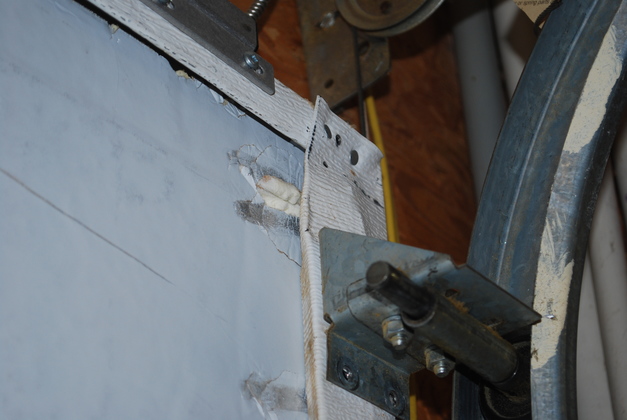
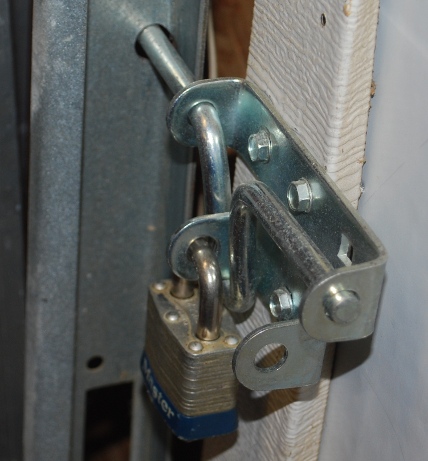
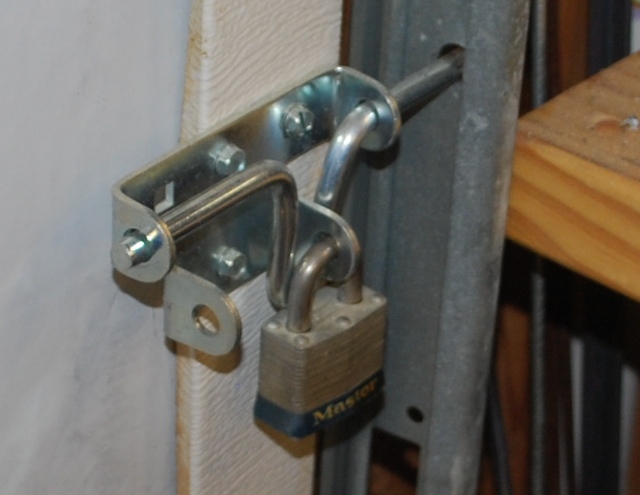
Left and Right bolts, I added these when I got the house and started putting my woodworking tools in the shop.
I know this isn't real theft prevention but it slows thieves down and this door is part of the monitored burlar alarm system so the police are on the way while thieves try to get around this.
|
|
You can tell from this a little of how the door top panel frame is bent.
|
|
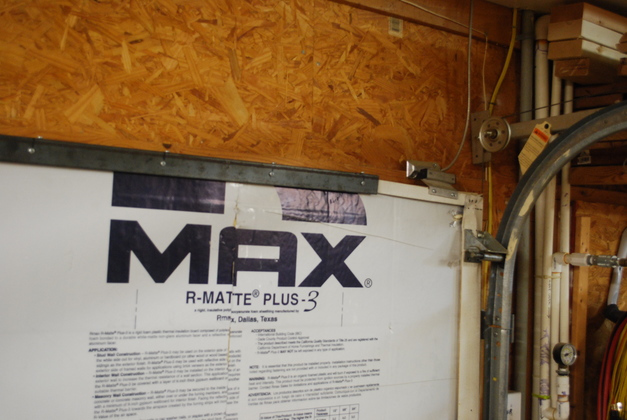
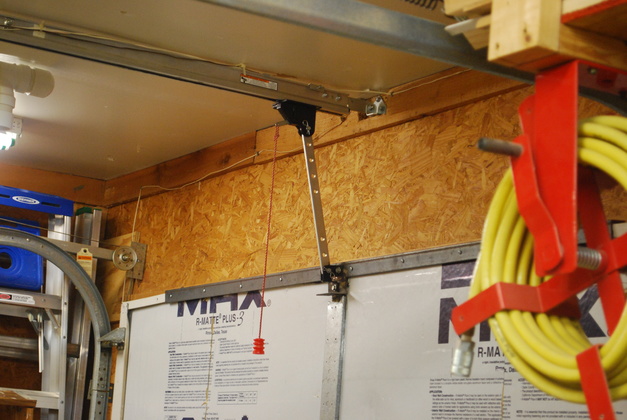
This gives you an idea of about where the opener's push rod should be set.
The straigher up, the harder it is to pry open the door by breaking the plastic opener trolley at the top.
A little angle is required to push the top of the door against the door frame so it seals.
Again, this is the old door.
|
Sorry, I was in a hurry and didn't take pics during the actual install, but here are the after install pics.
|
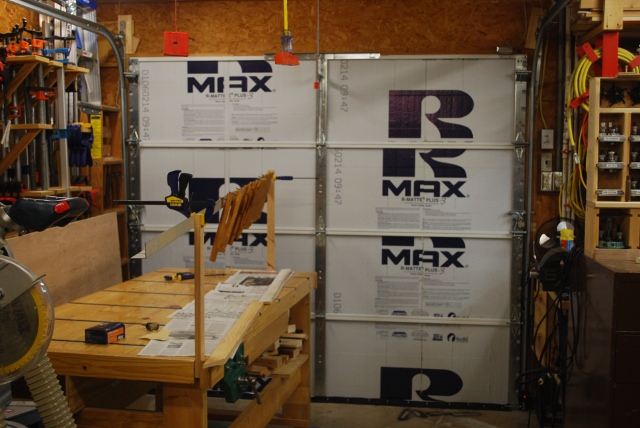
The new door, you can see how bright and shiny the metal frame is.
|
|
|
|
I moved the door bolts from the old door to the new one.
|
|
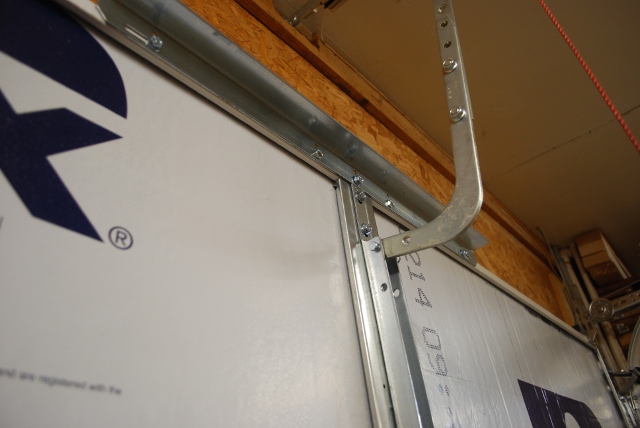
I got the original door opener push rod with the curved end to miss the top stiffener.
|
|
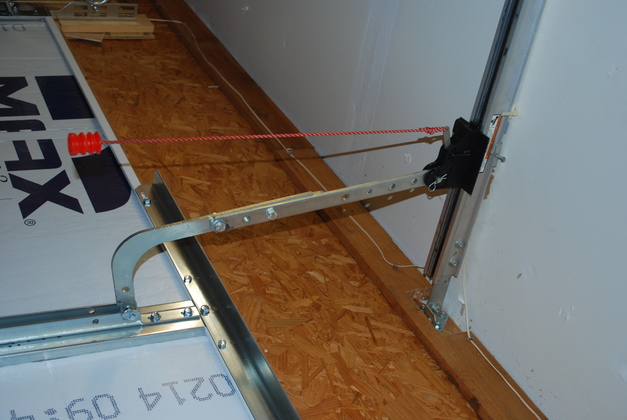
Note the overall angle of the pushrod, almost vertical, the slight angle pushes the door against the top frame to help the seal.
The top angle stiffener is turned out, I will probably reverse it then, if I want, I can get rid of the curved push rod.
Also, the Clopay stiffener is in two pieces, horizontal angle and vertical channel, I think the joint should be welded, with an added reinforcer bar, to reduce flex (after I turn the top stiffener around).
|