09/12/15: add comment about clamp holding since 2006, tweak up the diagram.
11/19/06: Page Origin.
When I bought the house it had a large, heavy, mediterranean mantel above the fireplace which drooped so bad you couldn't put anything on the mantel.
Since the mantel always drooped, things never stayed put on it.
The den also had really "busy" wall paper which had been placed over unsanded texture.
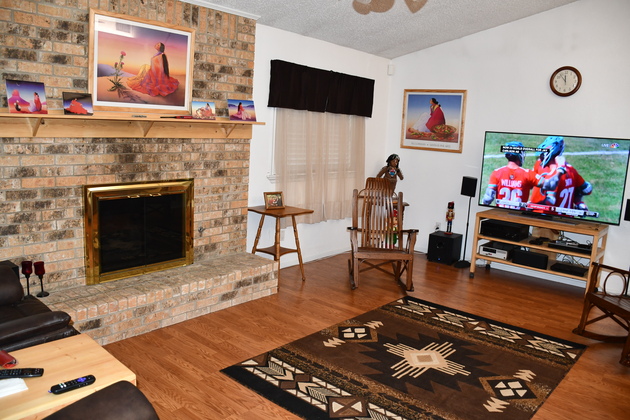
Today the wallpaper is gone, drapes have been added and a few other changes made, all thaks to Betty.
In about 2005, I decided it was time we had a real mantel so I got busy.
The old mantel was mounted with large rectangular blocks like tennons placed into mortises in the brick.
The new mantel's design completely covered the old mortise holes, there was no good way to shim the tennons to make them tight and not visible, but I wanted a good tight adjustable fit to the wall to allow for changes over time.
I thought about it and hit on the idea of making clamps or wedges that would fit into the old mortise holes and when drawn tight, would hold the mantel tight to the wall by clamping against the bricks inside the mortise holes in the brick.
Mantle Anchor
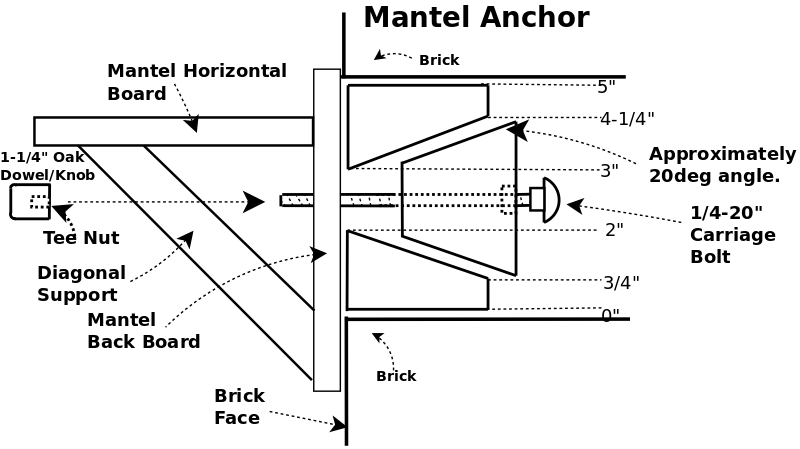
I didn't get any pics of the mount clamps when I installed the mantel so please see the Mount Anchor drawing, below, showing how the clamp works.
In the drawing of the mantel mount below the left side of the clamp blocks are flush with the front of the brick work and back of the mantel back board.
The top and bottom wedges actually push against the mantel backboard as the bolt is tightened and the center wedge moves toward (but never touches) the backboard forcing the top and bottom wedges to clamp against the brick.
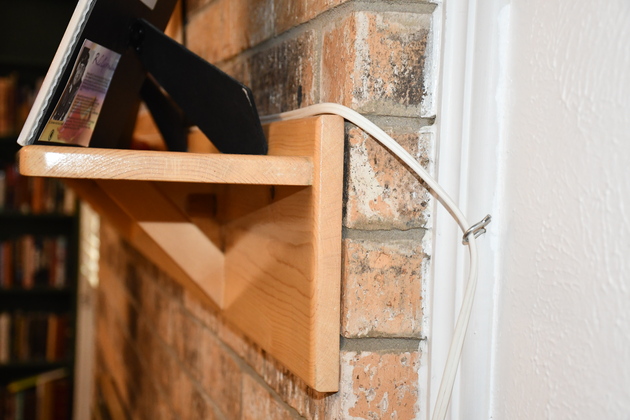
The 1/4" carriage bolt came out through the mantel's back board and was secured by a wooden knob that contained a 1/4" tee nut (see next to last image).
The mortise hole was 4" wide and 5" high, I cut four pieces of 2x6 and two pieces of 1x6 to 5" long.
I laminated one 1x6 between two 2x6s to make a solid block 4-1/4" thick, 5-1/2" wide, and 5" high (I made two blocks one for each side of the mantel).
Then I bandsawed the resulting blocks to 4" thick and 4" wide (depth of the brick mortises).
Next, I bandsawed the top and bottom 20° angles then sawed off about 3/4" of the center wedge's point.
Note the angled part of the wedges is about 1-1/2" high to get about 20°.
Since I used a bandsaw for the angled cuts and trimmed off the narrow end of the wedge, I didn't have to make the block longer than the hole, if you use a saw with a wider kerf, think about making the block about 1/8" taller than the brick mortise hole.
I ran the 20° angle surfaces across the jointer (or sanded) to make them smooth so they would slide easily.
Lastly, I drilled the 1/4" hole through the center of the wedge and used a 1/4" chisel to make the square hole for the carriage bolt's shoulder.
Installed the new mantel in 2005, and I haven't even had to tighten it, the clamp works great.
Its now 2021 and the mantel still hasn't budged, the anchors are working great.
Mount Anchor Drawing
Click for larger Pic
|
The mantel back board is on the left, the 1/4-20 carriage bolt protrudes through the back board, the top and bottom half wedges are flush with the brick on the left side.
The oak knob tightens against the face forcing the center wedge between the outer half wedges, forcing them to jam against the brick.
The center wedge is shorter than the upper and lower half wedges so there is room to tighten.
The square shoulder on the carriage bolt keeps it from turning when the knob on the other end is tightened.
I set the mantel so the backboard covered the brick mortise holes and the 1/4-20 bolt sticks through as near the top as possible.
|
|
The under side of the mantel in the house when I moved in was a heavy, mediterranean kind of thing with large blocks jammed into the brick mortises (but it still drooped).
You can see the large wooden blocks that went into the holes in the brick face, you had to shim under them to get the mantel to stay even remotely level or tight, but it was hard to hide the shims.
I'm guessing this was built by the former owner!
|
Construction
|
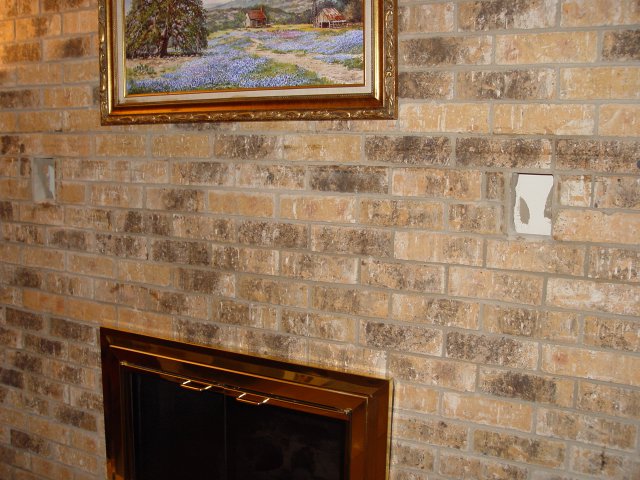
Wall with no mantel, note the rectangular holes about 4" by 5".
|

|
Mantel mounting holes.
|
|
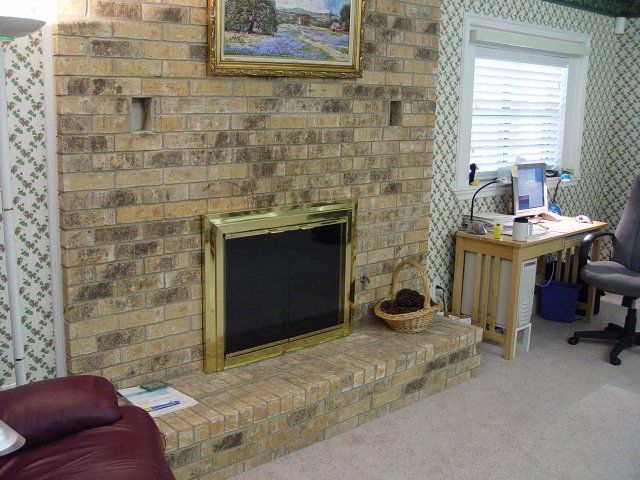
The den with no mantel, please ignore the awful wallpaper, it is now gone.
I have also moved the computer table to the office.
When I bought the house there was a large stained wood cover in front of the fire place and a pad running round the top edge of the hearth.
The old mantel did match the fireplace cover.
I assume there were todlers about.
|
|
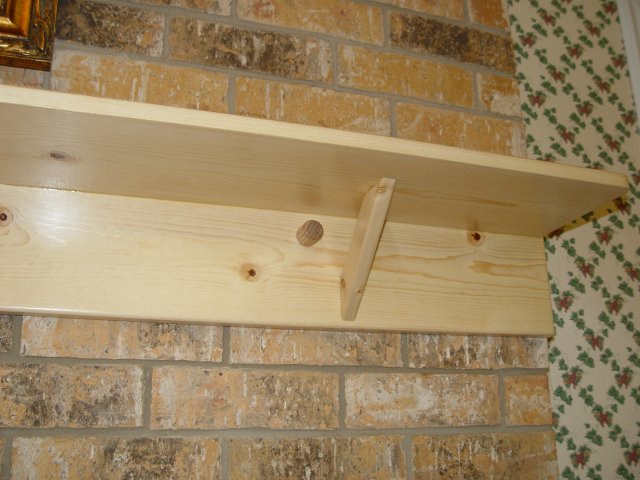
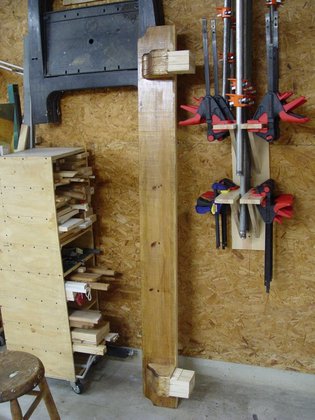
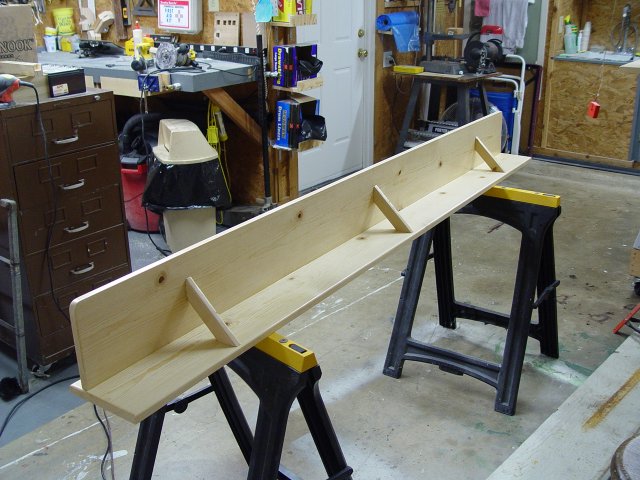
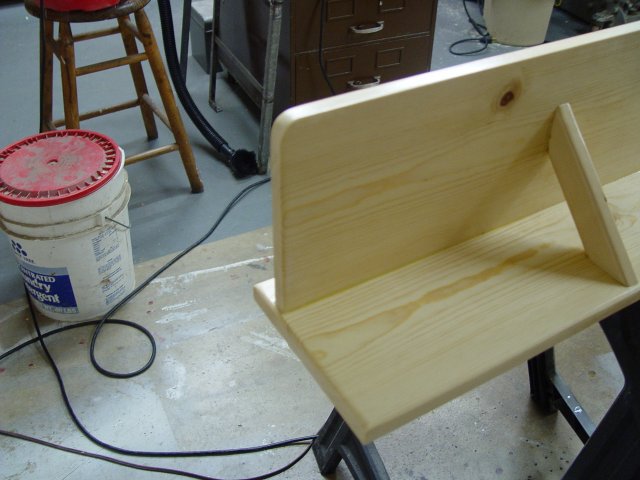
Bottom view of new Mantel under construction.
|
|
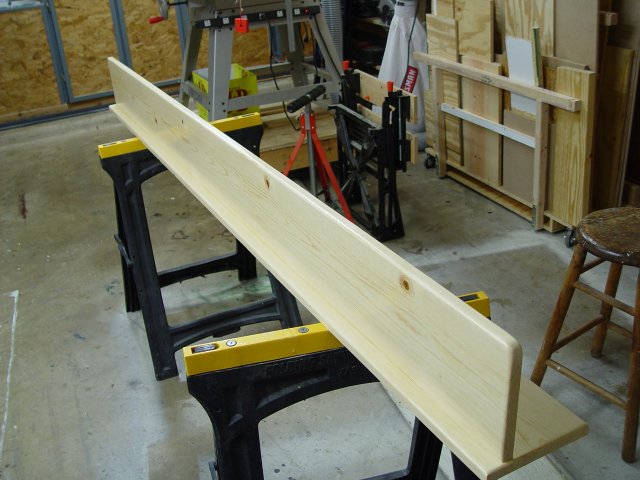
Top of new Mantel under construction.
|
|
New Mantel under construction.
Close view of diagonal support, the diagonals have tennons and the mantel shelf and face have mortises.
Here is a link to a description of how I make the tenon on the end of a diagonal.
These mantel tenons are a little deeper (3/8") than the tenons on the sliding shelves which are 5/16".
I didn't have a mortiser when I built the mantel so I used a router and rounded off the corners of the tenons to make them fit.
|
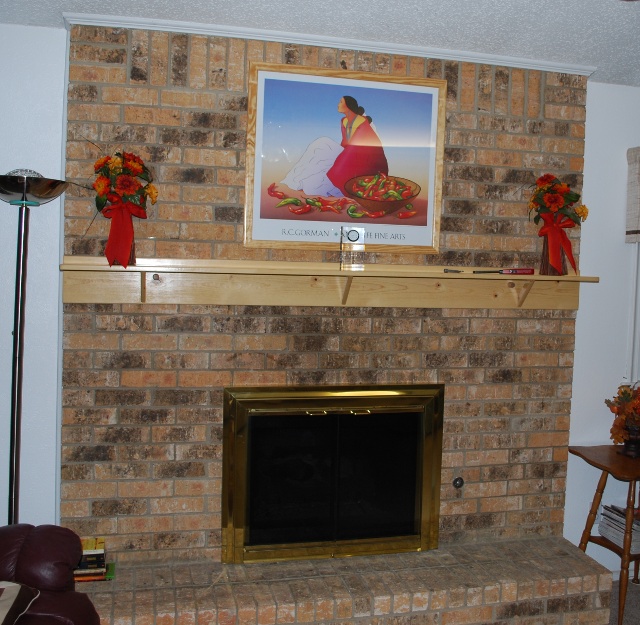
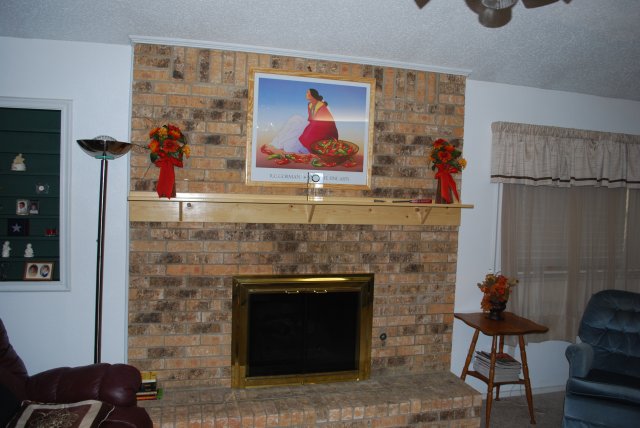
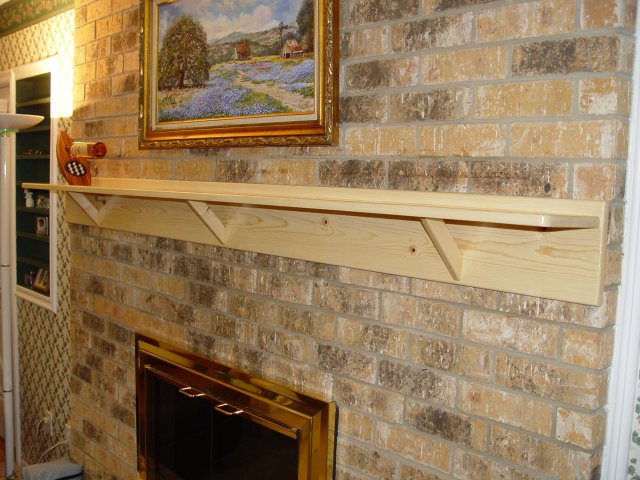
Installed
|
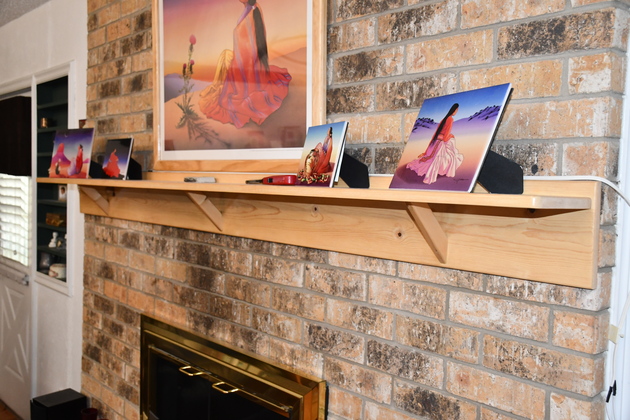
New mantel installed.
Sorry, I didn't get any pics of the mantel anchors, If I ever take the mantel down, I will get some pics.
|
|
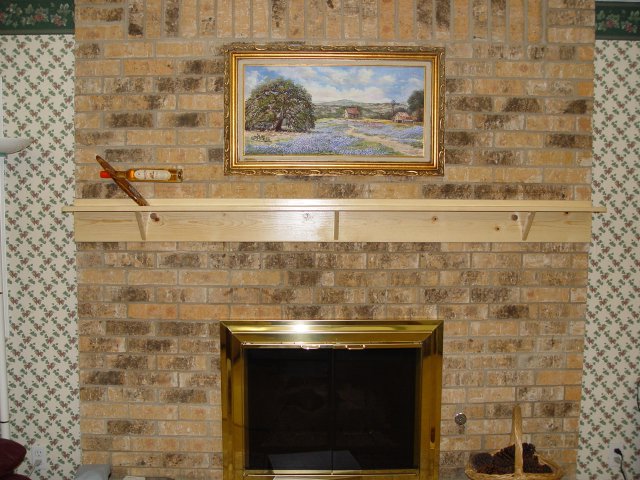
New mantel straight on view.
The bluebonnet picture was painted by Inez Wallace, the wine wing was made by my friend Rick Wild.
|
Sixteen Years Later