07/25/12: Begin.
The other day Ivy's Mom called and said Ivy
was trying to climb out of her crib and her Mom was afraid she would fall on her head.
Ivy's Mom, Kelsey, wondered if I could build Ivy a todler bed (very low to the floor) so Ivy wouldn't crack her skull falling out.
Naturally, I said I could, this is the tale of that adventure.
My primary concern was with paint, what constitutes non-toxic paint these days?
I researched and decided that the best thing I could get that would be tough and not poison Ivy was zero VOC paint.
After checking on Consumer Reports, I chose Glidden Brilliance white from Walmart.
I vascillated about whether the bed should come apart, it's much stronger if it is all in one piece but harder to move or store.
I decided that a take-apart bed would not be that hard to build and I could make it withstand kids bouncing on it.
When the bed is taken apart, there will be 5 pieces, headboard, footboard, 2-sideboards, and the bottom (with slats glued on).
The side boards would have two 1/4-20 hanger bolts at each end with holes in the foot/head boards and large wooden knobs with internal tee nuts to hold the foot/head board to the side boards.
The knobs must be large enough that a child can't swallow them (lest one come loose) and the tee nuts epoxyed to the knob.
The side boards would have decorative risers in two stages about half their total length.
It also occurred to me that I could decorate it with alphabet letters to help children learn the alphabet.
I could even put Ivy's name on it.
|
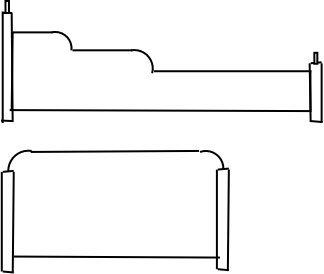
Here is a rough drawing of what I have in mind.
This will hold a baby's crib mattress, 52" long, 28" wide and 6" thick.
The mattress top will be about 9" above the floor, maybe a bonk but not a cracked skull.
|
Construction

|
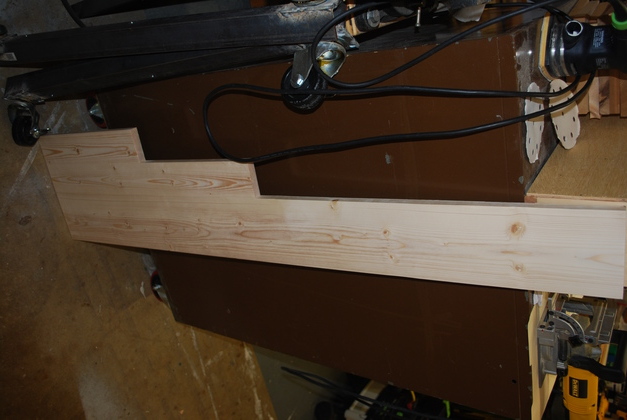
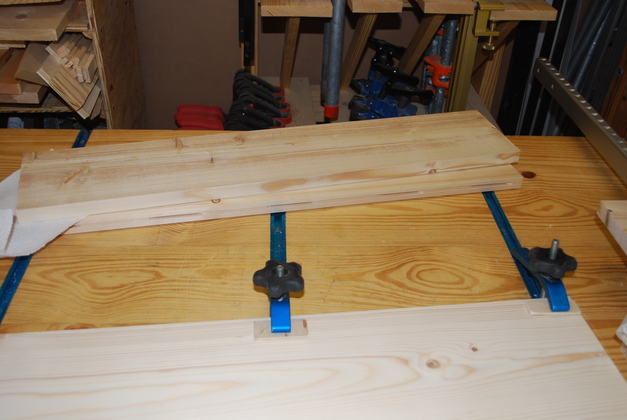
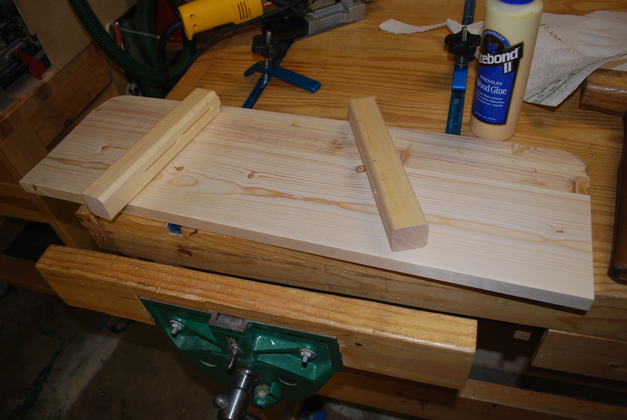
Side board laminated and sanded.
|
|
The other side board laminated and sanded.
|
|
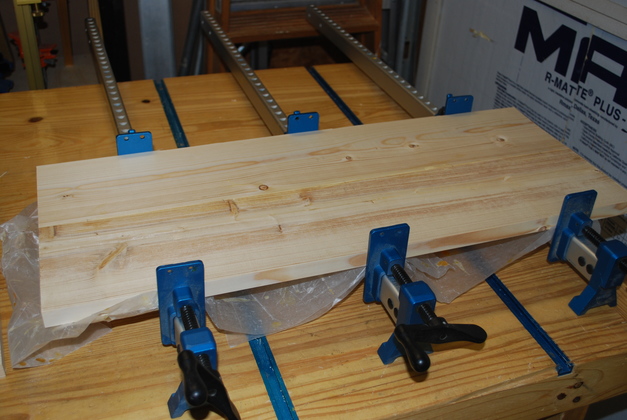
Head board being laminated.
When I need a solid board larger than something you can get at Home Depot or Lowes, I laminate multiple 1x boards into the size I need.
Here there are 3 1x6s edge laminated, using biscuits, into a solid 16.5" by 22.5" headboard.
I could use plywood but the edges would be ugly, especially since I want to machine the edges and corners.
|
|
Foot board cut out and slotted for laminating.
|
|
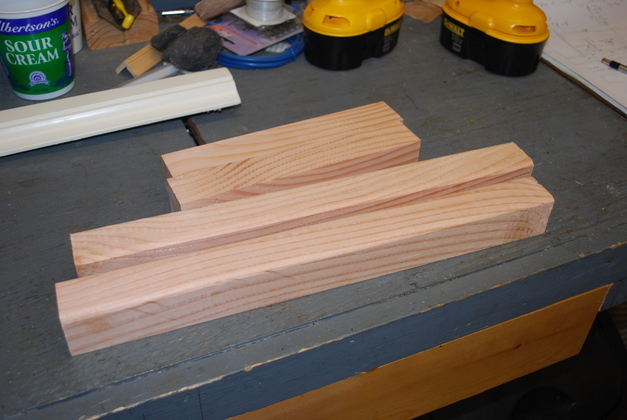
Legs cut out.
The legs are 1-1/2" square.
|
|
Foot board being laminated.
|
|
Head board and legs clamped.
I used loose tennons in all the construction of the headboard and foot board.
|
|
Footboard and legs ready for gluing.
You can see the biscuit slots in the legs.
|
|
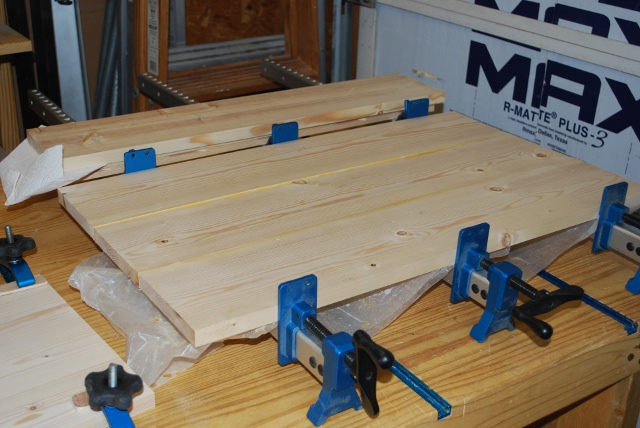
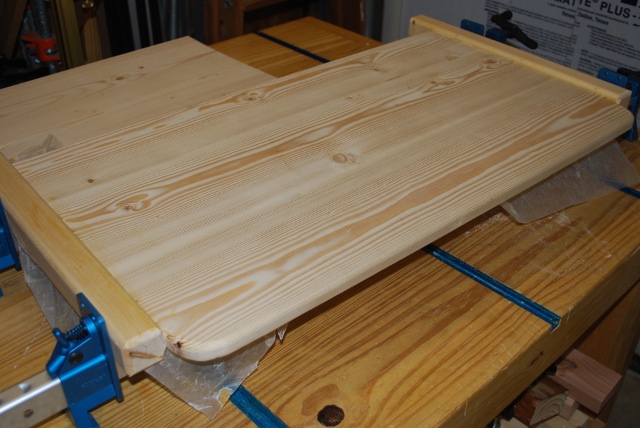
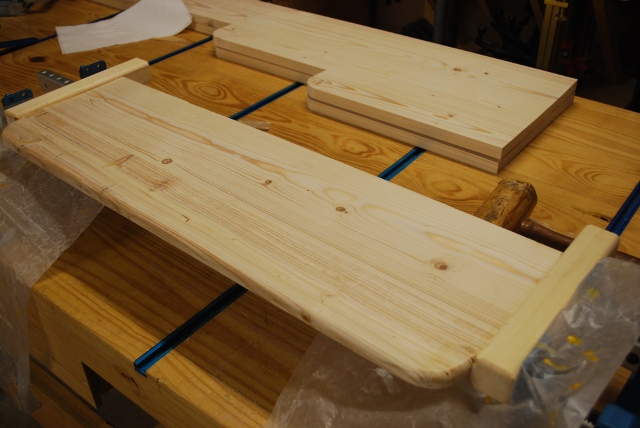
Footboard and legs glued and clamped.
You can see the sideboards in the background, with the corners are rounded.
This pic doesn't show it but the headboard, footboard and sideboards have the same radius (1-1/2") on all corners.
All edges are also rounded with 5/16" roundover bit.
|
|
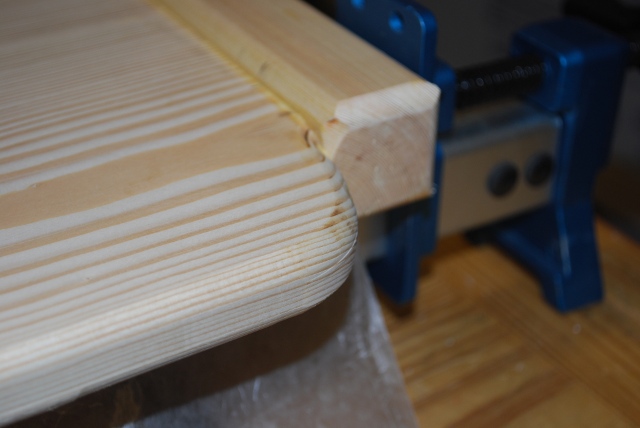
Headboard corner detail at the top of the leg.
You can see the rounded edges of the headboard, and leg both top and sides.
|
|
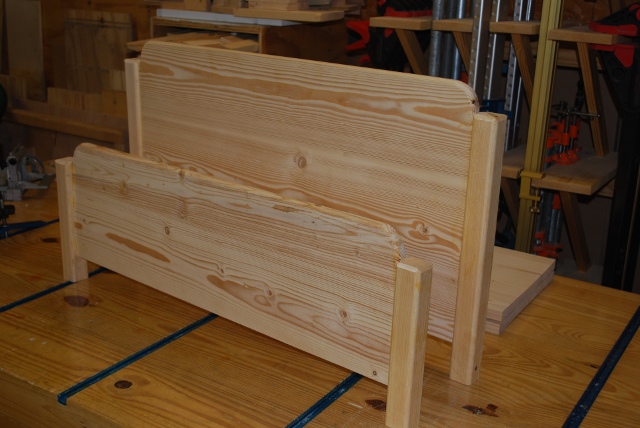
Headboard and footboard assembled, ready to drill sideboard hanger bolt holes.
|
|
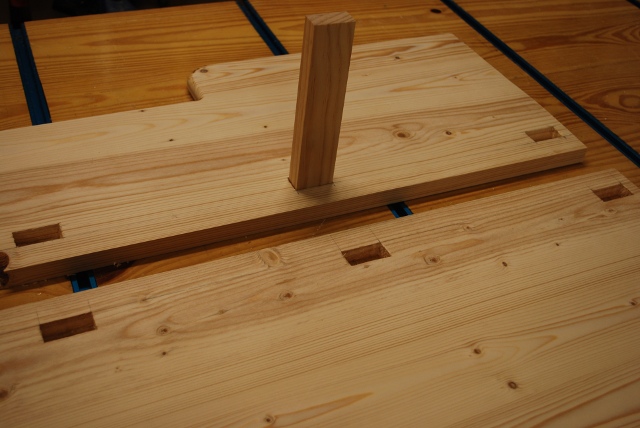
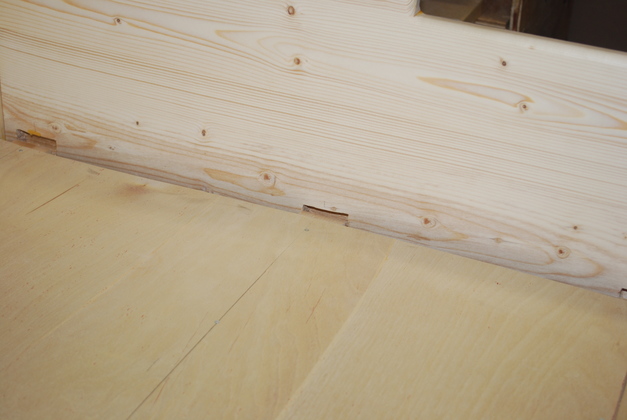
Sideboard mortises for slats (you can see my "test slat").
The bottom of the bed will consist of 1 x 2" slats on 10.5" centers, glued to a 1/4" plywood top layer.
|
|
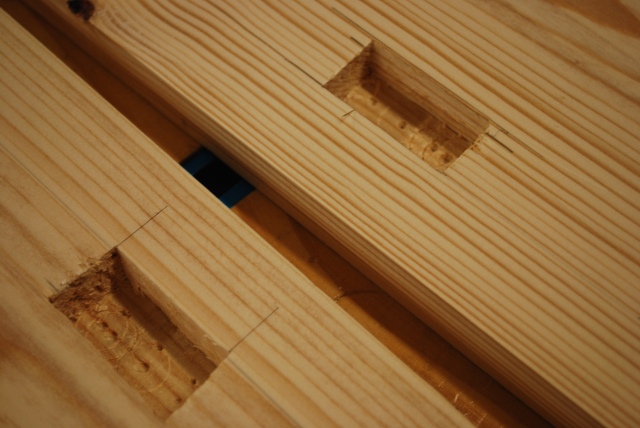
Closer look at sideboard mortises.
You can see the multiple center holes where the mortiser bit center was.
|
|
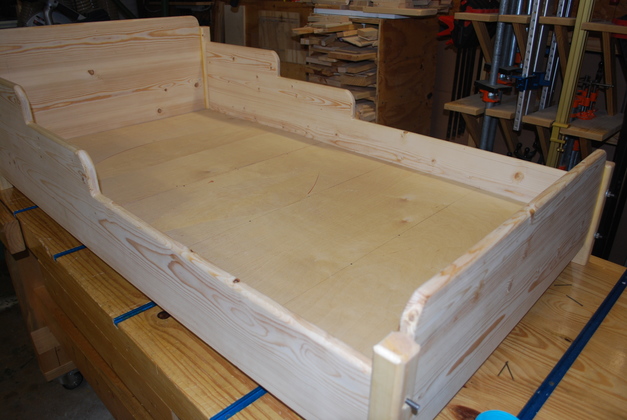
First test fit of sideboards and head/foot boards.
Note trial fit nuts and washers holding sideboards in place.
|
|
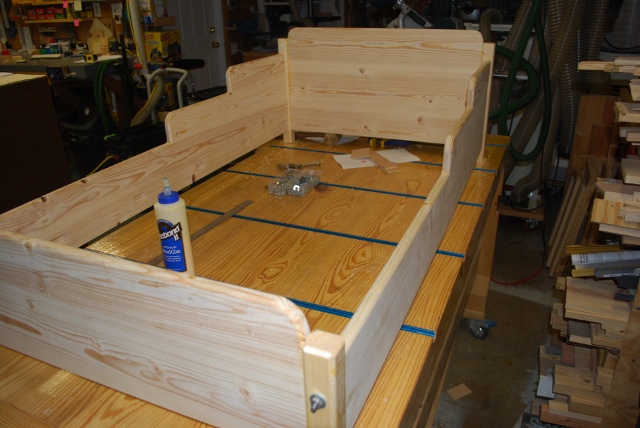
Slats in the frame.
The slats are not going to be glued into the frame but glued to the bottom to make a single unit.
|
|
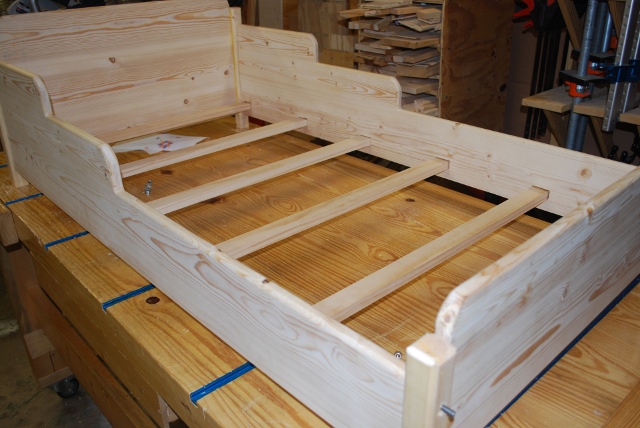
Plywood bottom glued to slats.
The bottom is held in by the slats in the sideboard mortises.
|
|
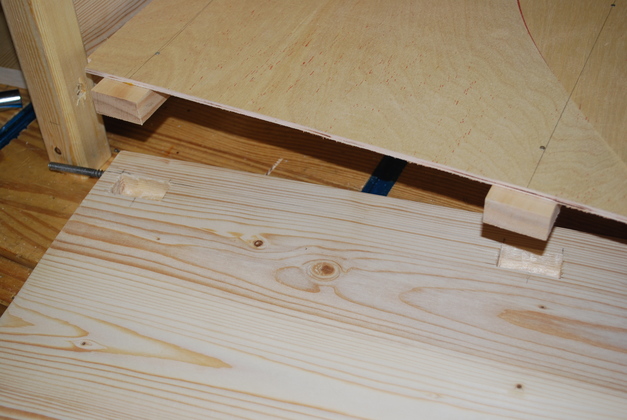
Slat mortise alignment.
When the bed is taken apart, there are 5 pieces, headboard, footboard, 2-sideboards, and the bottom (with slats).
|
|
Side off showing bottom and slats glued as one unit and the way it aligns with the sideboard.
You can see the heads of the wire nails used to hold the plywood to the slats while the glue dries.
I find this is easier than trying to clamp a large piece of plywood while glue dries.
|
|
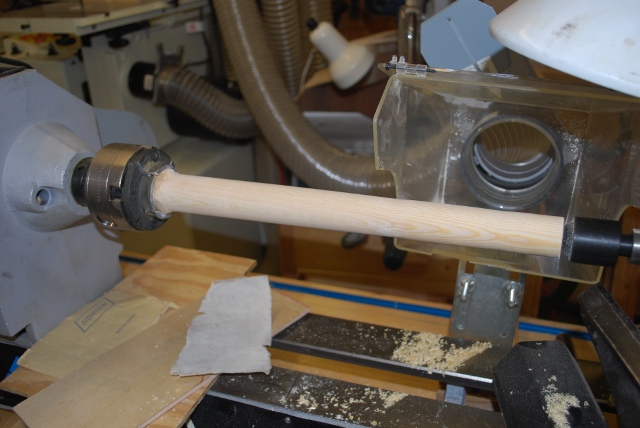
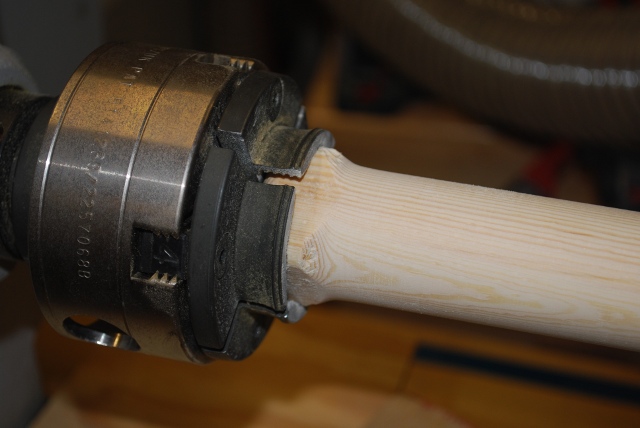
Large dowel turned from square leg stock.
This is what I am going to make the bed assembly knobs from.
|
|
Close up of chucked end showing original shape.
|
|
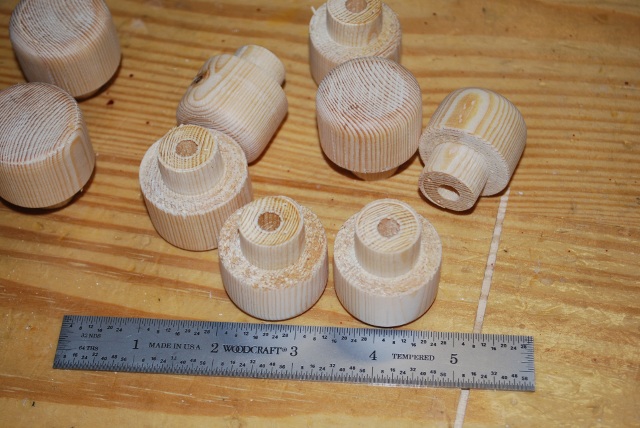
Turned knobs about 1-1/2" in diameter and almost 2" long, should be difficult for a child to swallow.
I'll epoxy tee nuts into the bores and they'll be ready to paint.
The epoxy should guarantee no child can get the tee nut out and swallow it.
|

|
Here are the knobs after painting showing the tee nuts epoxyed in.
The epoxy should prevent them ever coming out and possibly into the baby's mouth.
|
|
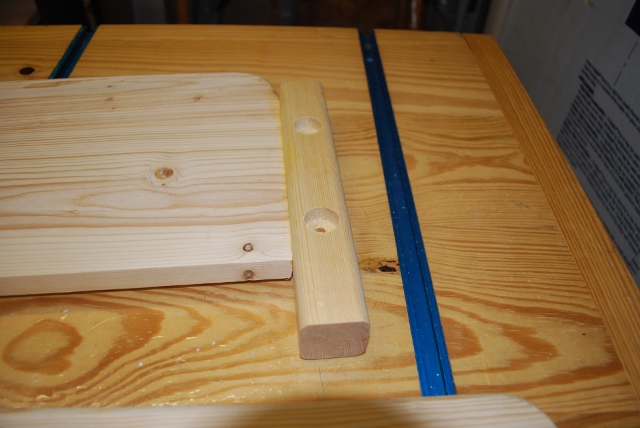
Counter bores for hanger bolts in legs.
|
|
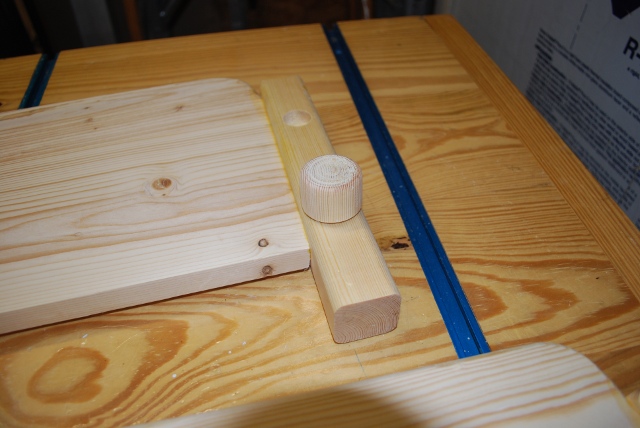
This is how the knob fits into the counter bore to attach sideboards to head/foot boards.
Notice there is a little space between the shoulder of the knob and the surface of the leg, this means that when tight, all the pressure will be on the face of the tee nut, not trying to pull the tee nut out of the knob.
|
|
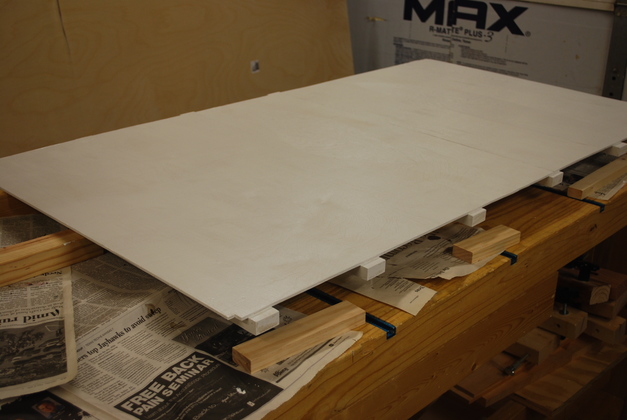
The bottom painted.
|
|
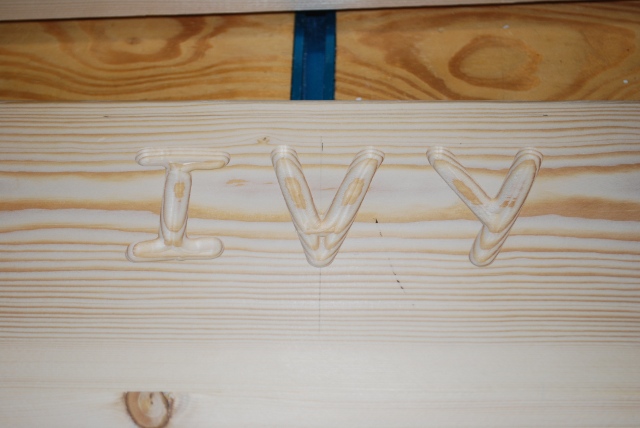
Ivy's Name routed into the head of her bed
|
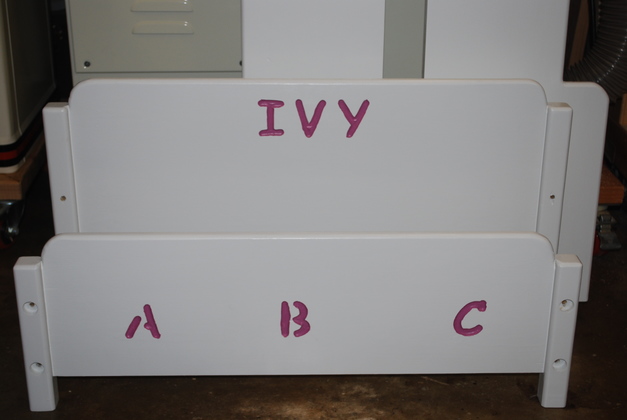
Finished
|
Head, foot, and sideboards painted and name engraving filled in with a contrasting color.
The Glidden paint took a long time to completely dry so you can stack the peices and they won't stick to each other or mar the finish.
I don't know how hard the paint will be after it finally drys.
We are keeping the bed about 4 or 5 extra days just to let the paint get good and dry.
|
|
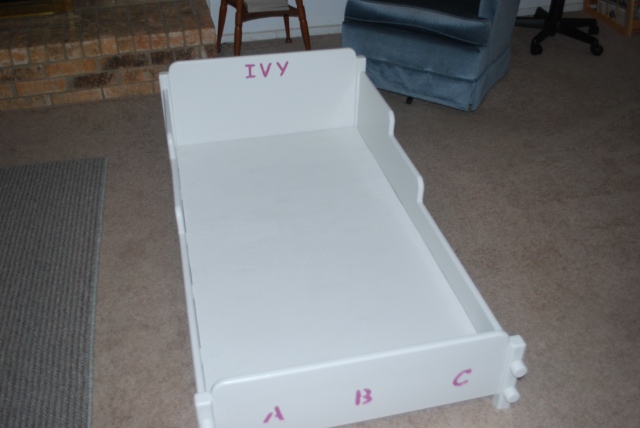
Another view of the finished bed.
|