|
|
| 
|
|
Back Bath Mirror
|
06/01/16: Page Origin.
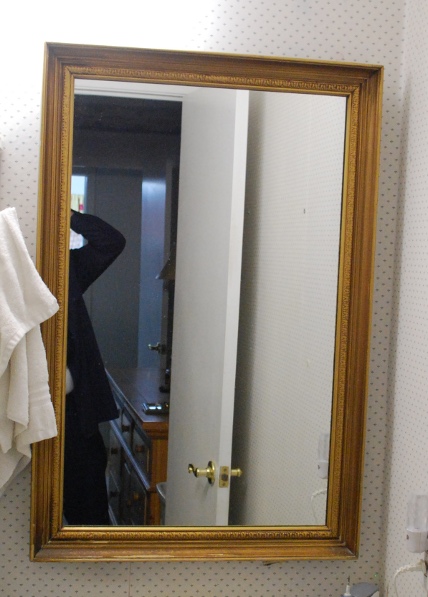
For years I have put up with a framed mirror hanging above the vanity sink which rocked from side to side when it was cleaned.
Apparantly there was a plumbing incursion in the wall which caused a bulge right behind the mirror.
The rocking must STOP!
During the back bath remodel, I removed the mirror from it's frame and made a new frame which would allow me to mount the mirror flat against the wall.
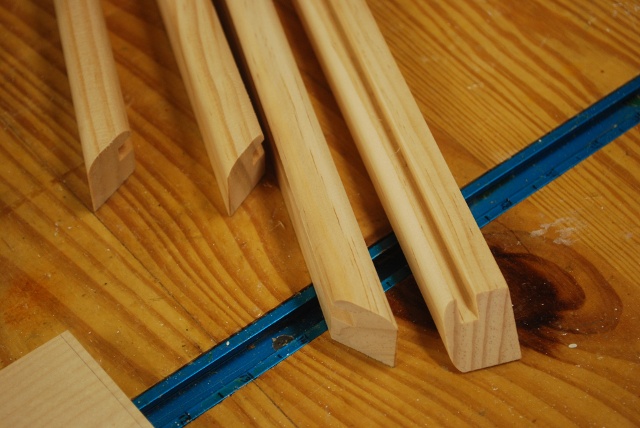
This required a frame which has at least 3/8" clearance behind the glass so I ripped some 3/4" thick pine to 1" wide, the 1" would stand out from the wall.
The top and bottom horizontal frame pieces had to be sculpted (a little concave) to fit over the vertical wall bulge and allow each side (vertical frame piece) to rest flat against the wall.
I slotted, mitered, rounded the face edges, and cut biscuit slots in the miters of each frame piece.
The primary difference between the mirror frame and a picture frame is a slot for the mirror instead of a rabbet for the glass, pic, and foam backing.
|
Mirror, being removed from old frame.
|
|
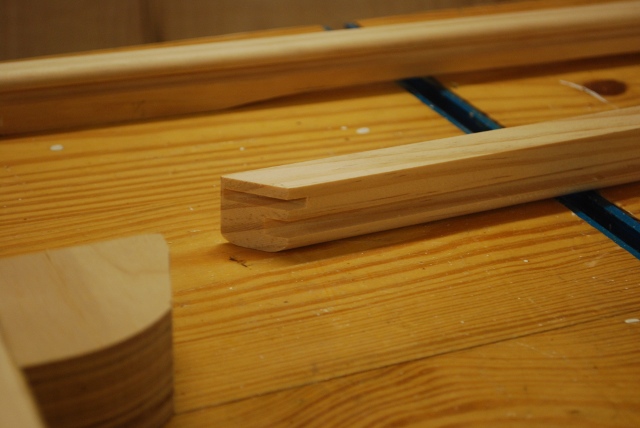
Frame pieces cut, grooved, mitered, and rounded for new frame.
|

|
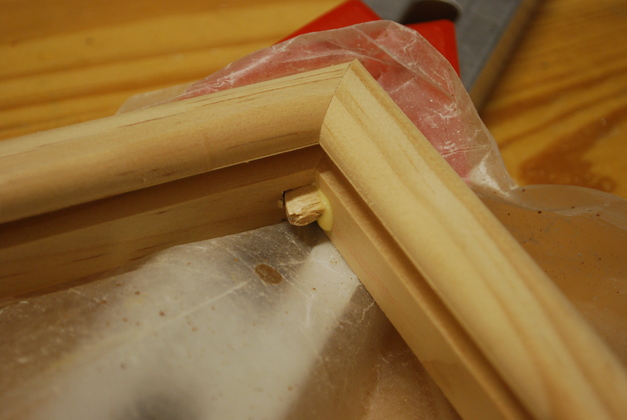
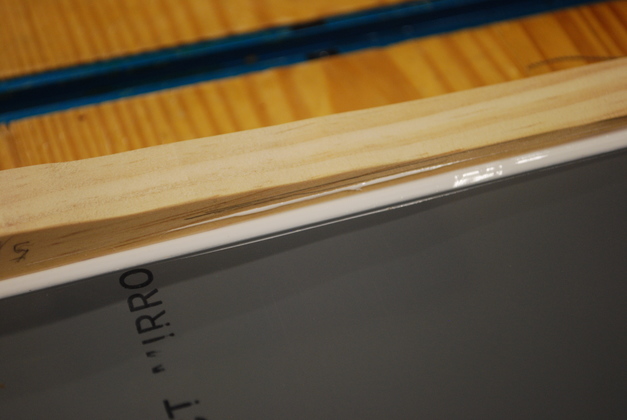
Closer look at frame piece miter showing face (top in pic), mirror slot, and biscuit slot.
The positioning of the biscuit slot was crucial, not show in front, get max gluing area.
This is for a type FF (Face Frame) biscuit.
I used my miter slot jig to cut this slot.
|
|
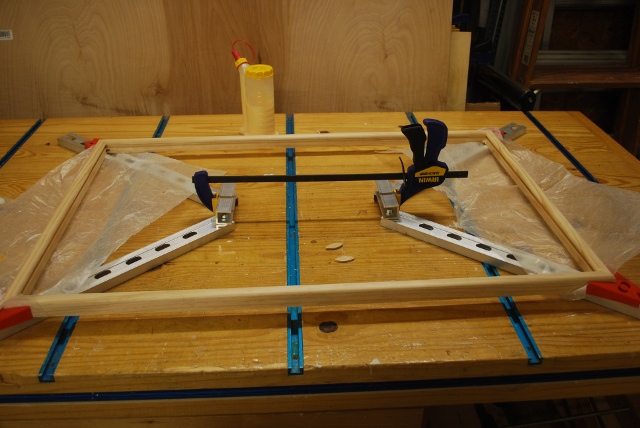
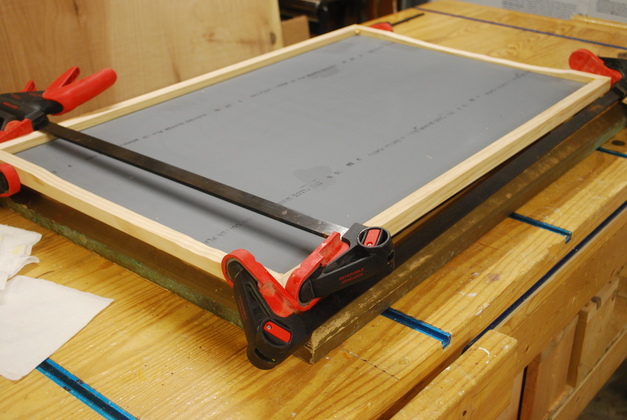
New frame in glue clamps.
Actually, I'm only gluing one end, the frame will be sanded then the mirror will be slid into the frame from the open end and the end glued on.
|
|
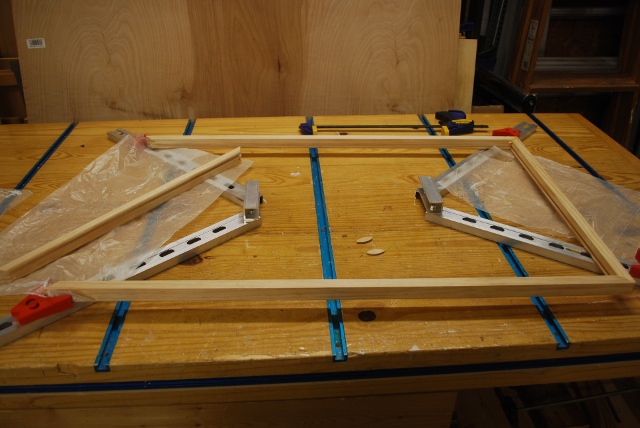
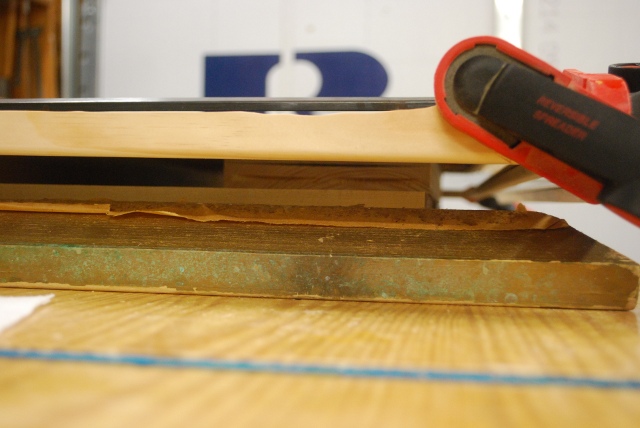
After glue is set, left end not glued.
|
|
I used type FF (Face Frame) biscuits, since the frame is only 3/4" wide, the type FF can be seen inside the frame.
The mirror will conceal the end of the biscuit when its installed.
You can clearly see the slot for the mirror above the biscuit.
One of the problems in making this frame is the exact postioning of the biscuit
slot so that it missed the mirror and still provided lots of support.
|
|
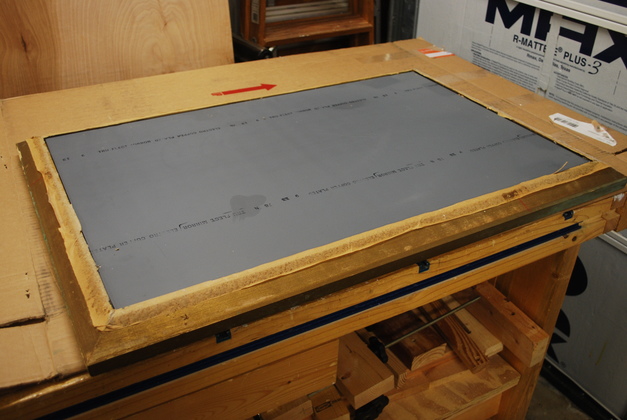
I had to move the mirror from the old frame to the new without damaging it.
So I stacked up some wood higher than the old frame to support the glass.
|
|
The open ended frame is laying face down, as is the mirror in it's old frame.
|
|
I laid the mirror, in old frame, face down on the wood support then let the old frame move on down to the table top, leaving the mirror, supported by the wood stack and it's edges free to accept the new frame.
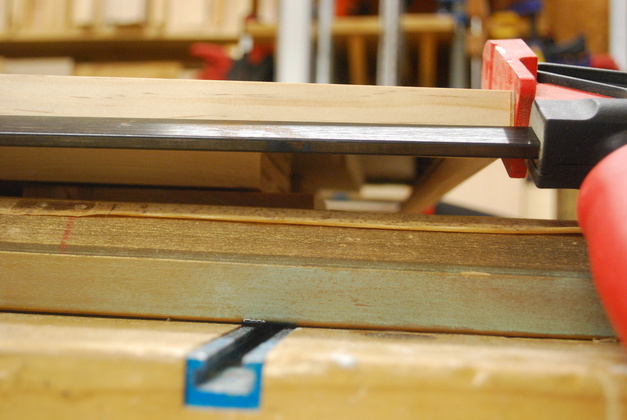
Here, after sliding the new frame onto the mirror, I am gluing the end on the new frame.
Note: you can see the concave section at the top (far side) of the frame in this pic.
You can also see the old frame laying on the bench top.
|
|
You can see the old frame on bottom, then the wood stack, then the new frame on top.
Note: the curved back edge of the new frame to accomodate the wall's bulge.
|
|
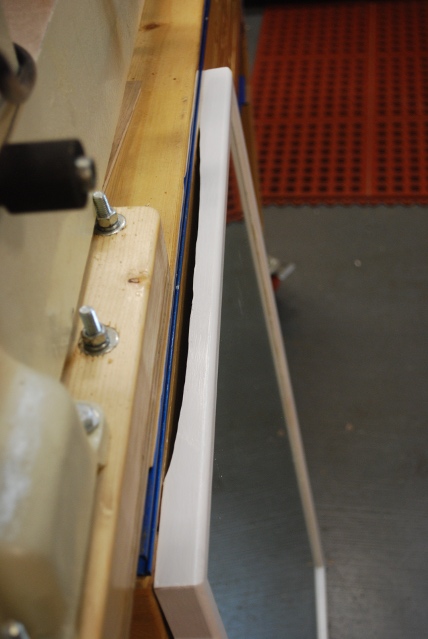
Side view.
|
|
After gluing the final frame piece I sealed the mirror in with silicone sealer.
You can also get an idea of how much I had to remove from the frame to get a fit to the wall.
|
|
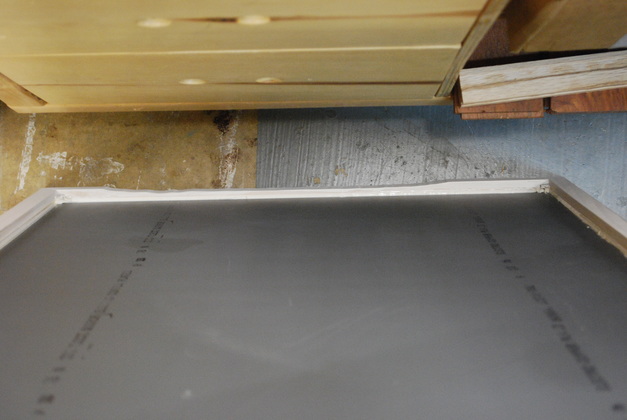
Looking down at the back, in the new frame, note the concave lower horizontal piece.
|
|
And the concave top piece, to clear the bulge in the wall..
|
|
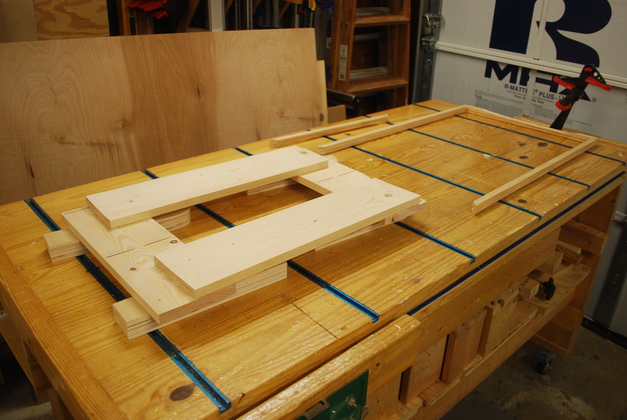
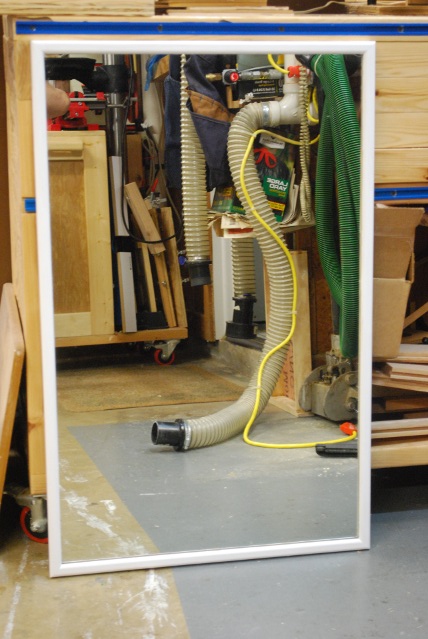
Front of old mirror in new frame.
|
|
|
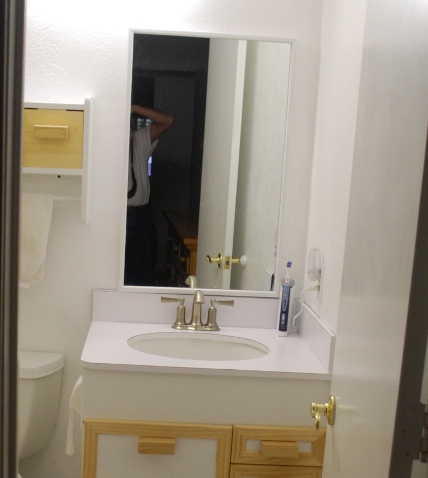
Old mirror in new frame atop new vanity.
|