Grill Casters
About 30 years ago (1991) we bought a Weber Genesis gas grill.  I had rebuilt
it once, new burners, grates, etc. and a new cover.
We really liked the Genesis, it cooked great, I knew just where to set the
valves to get the temperature I wanted, etc.

The only problem was it was physically much larger than we needed, We have a
limited space for it so when we are not cooking with the grill it is pushed
back against the shop (garage) wall, under the shop mini-split AC's external
unit.  Fortunately, the Genesis has casters on all 4 legs, making this easy.
It was also getting time to rebuild it again, (new grates, burners, cover) but
that would cost a lot of cash.

I took a loot at the new, smaller, Webers.
One problem with buying a new gas grill, most of them are Propane.  We are set
up for natural gas.  The same was true for the Genesis, but Weber sold a NG
conversion kit, which make it OK.
The problem is, now a days, Weber doesn't sell NG convertion kits.

I choose on a Weber Spriit II E-310, 3 burner natural gas grill.
When we got it, and I assembled it, it worked great, just right for Betty and I.
However, it only had fixed casters on one end. You had to pick up the other end
and I had to slide it away from the shop wall in order to get it out where I
could use it.  Then, when I was though cooking (and it had cooled), I rolled it
to the shop wall, but had to slide the other end up agains the wall.
Needless to say, it was unhandy to do this!

I decided to put casters on the left end, where there were no casters before.
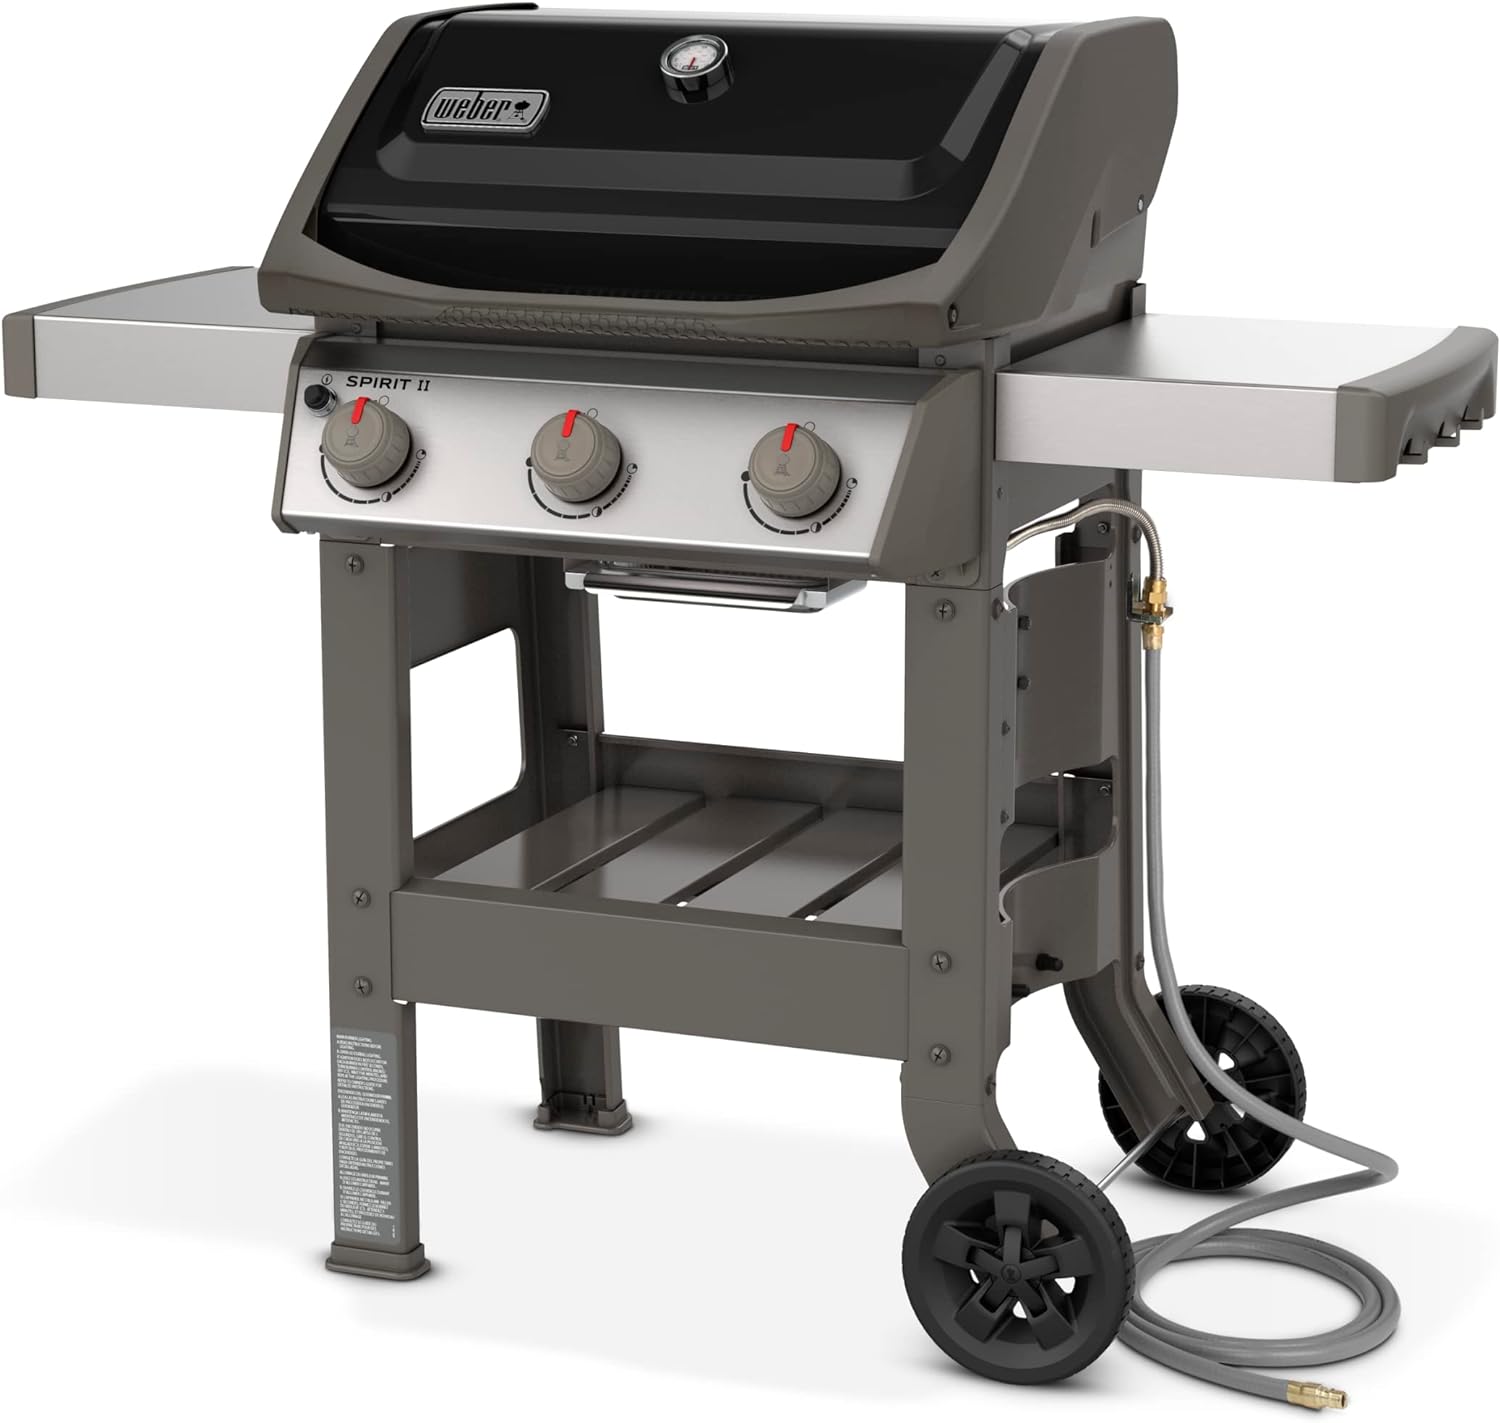
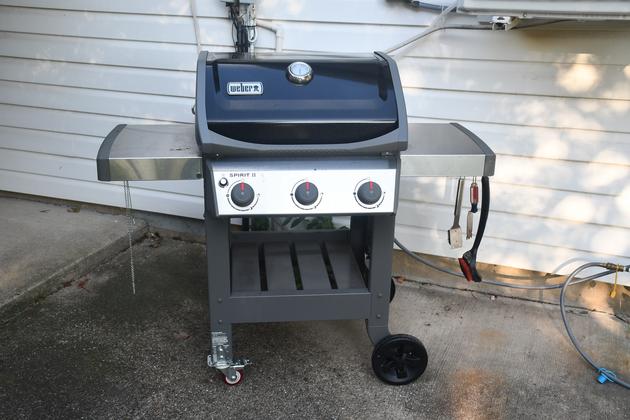
Original
|
Here is Weber's pic of the Spririt-II, note the legs on the left don't have
casters.
|
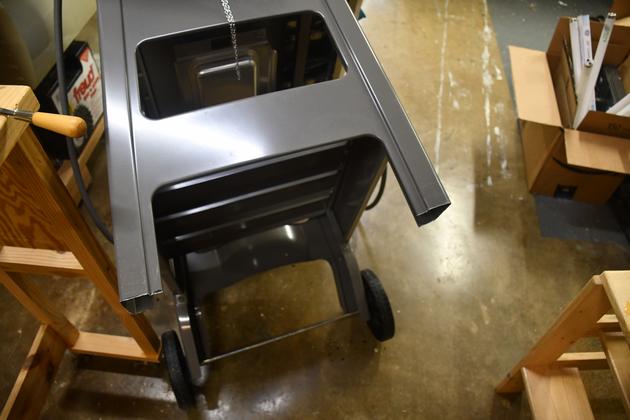
Modify Grill Legs
|
I measured the heigth of the caster plus it's new base to find where to cut
the legs.
In the shop I rolled it up on it's right end so It was easier to work on the
left.
Here I have already sawed off the left legs.
|
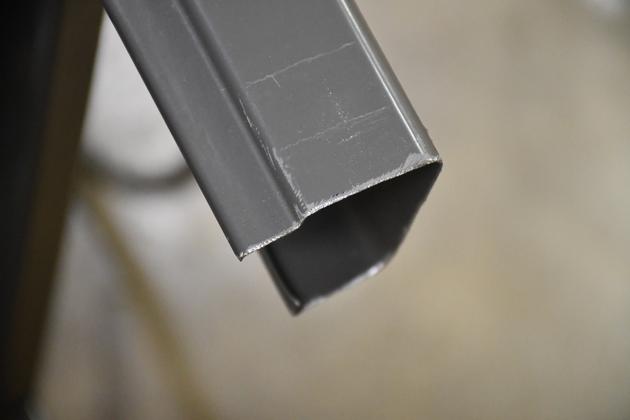
|
The end after sawing and filing.
I will paint everything with Krylon when I'm through.
|

|
These are the leg pieces I removed, with the original
 rubber boots.
If you do this leave the boot on when you measure.
You want your grill as level as possible, in case
you use it to fry something. I have fried schnitzel
on or old grill.
|
New Caster
|
Since my shop is tiny, I have all the machines on casters.
Originally I had bought some pricy casters from Woodcraft,
but after about 10 years the Poly wheels started disintegrating,
but the caster frames were great. I had a problem
finding good replacement wheels, and after trying a number
of caster sets, decided on replacing the whole caster. One
of the things I tried was buying rigid casters to get the
wheels and bearings, then using the wheels in the old
caster frames. It worked great.
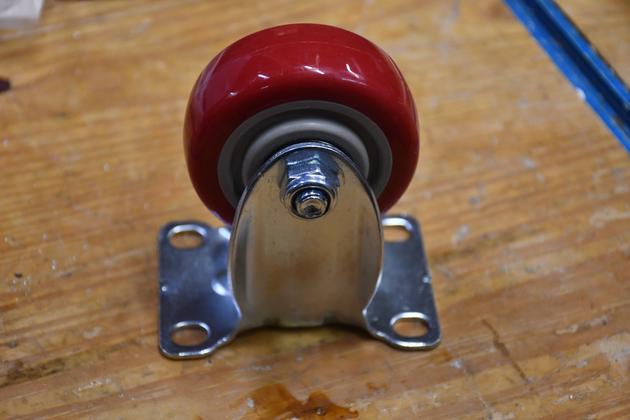
This yielded extra 3" casters
One of the rigid casters with a 3" ballbearing caster.
|
|
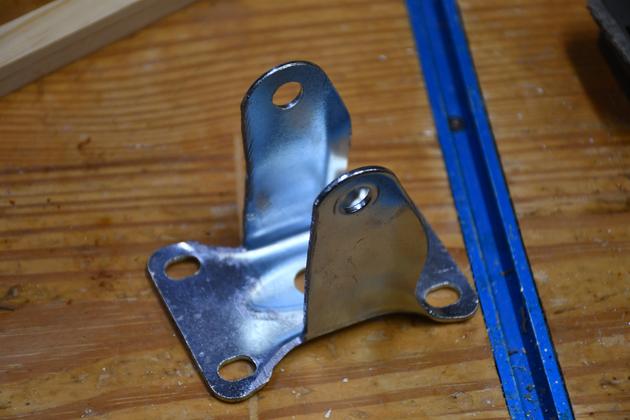
When I looked around the shop for metal to make the base
mounts and found the old rigid caster frames.  They were
made of tough stuff.

I modified them by sawinf a straight edge, then drilling
5/16" mounting holes.
|
|
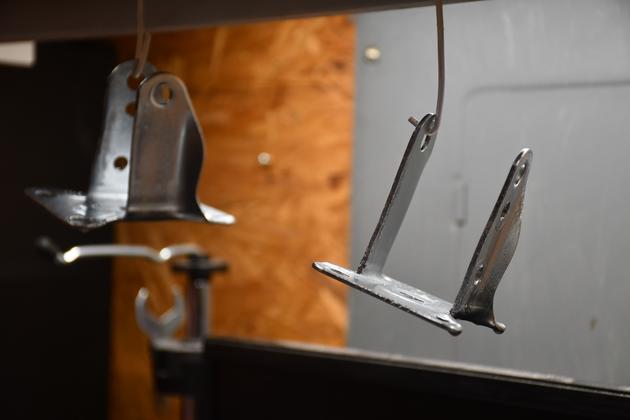
The modified rigid caster frames drying after spraying with
Clear Krylon.
|
|
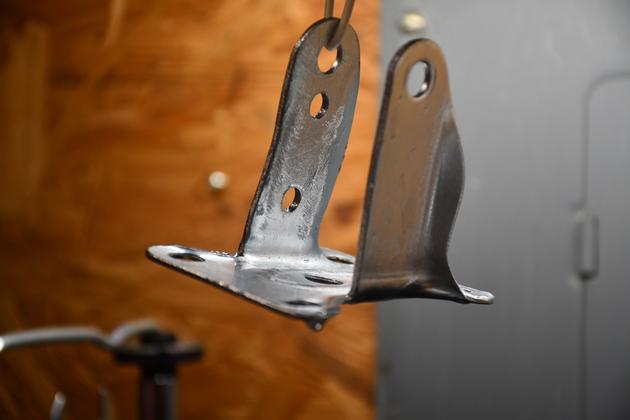
Close up of a drying caster frame. Note the two 5/16" mounting holes in
the far side.
|
|
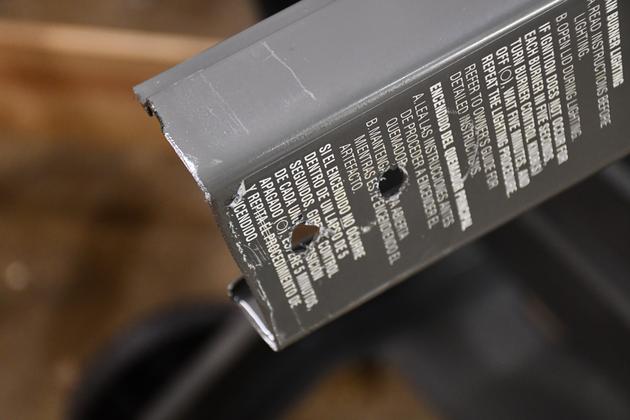
I drilled matching 5/16" holes in the leg.
I tried to get this as square as possible so
the caster swivel base would have good contact.
|
|
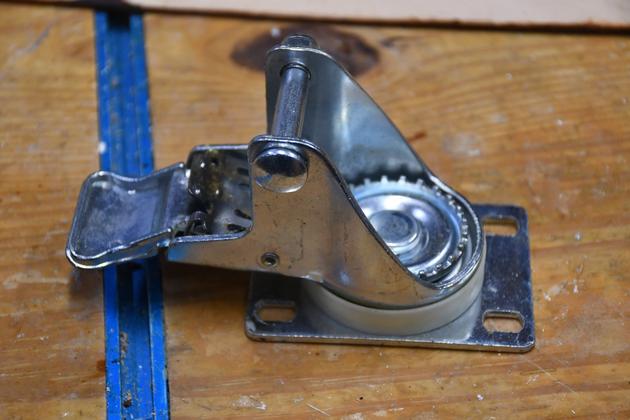
One of the old swivel locking caster frames.
|
|
With the 3" caster wheel installed.
|
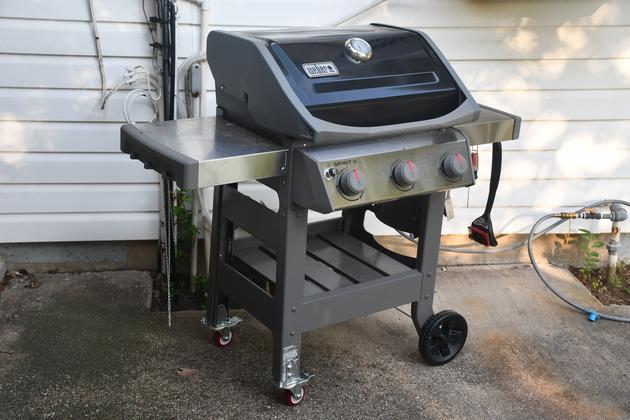
finished
|
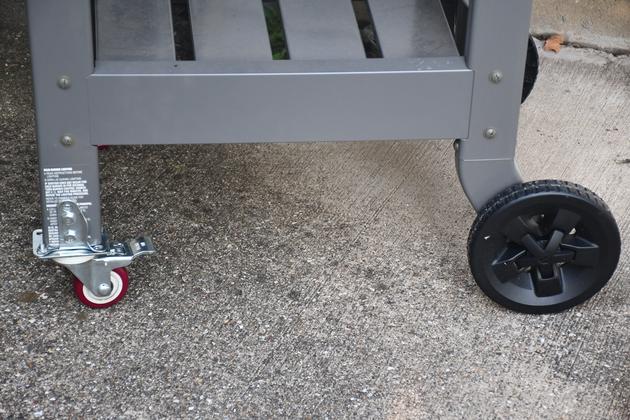
Here is the grill with it's new casters.
4" casters would probably been better for
this rough concrete, but I already had 3" so ...
|
|
Angle showing both new casters.
|
|
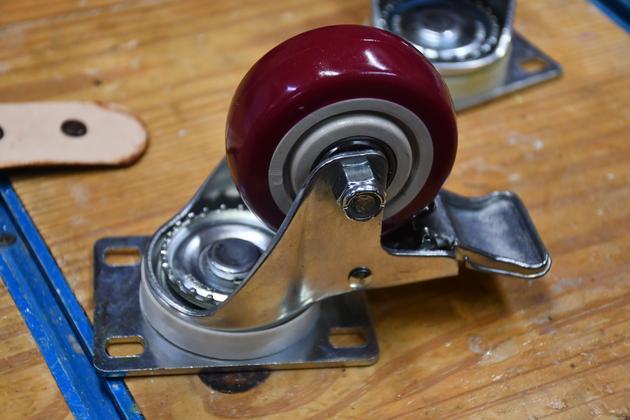
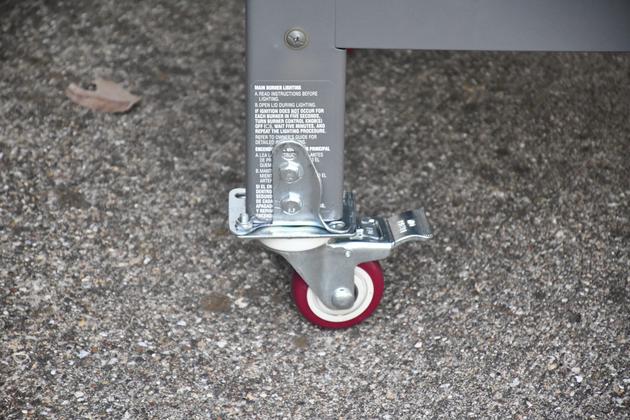
Closer look showing both the new caster and original wheel.
|
|
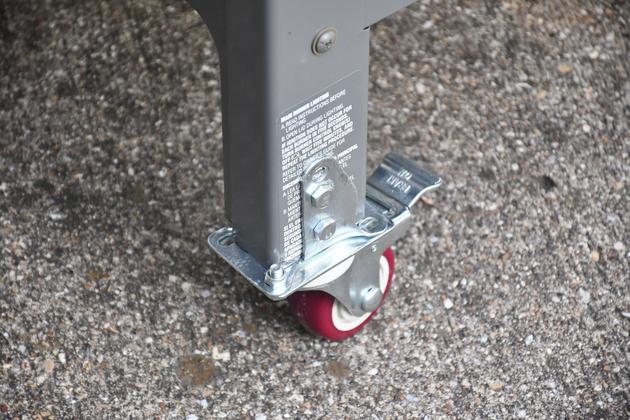
Closer look at the new caster.
|
|
A little different angle.
|
|
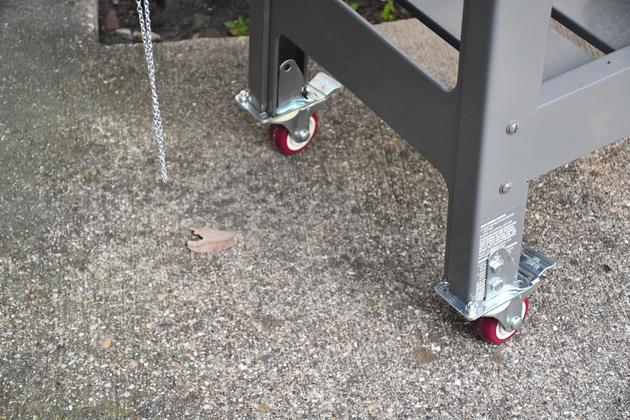
Both new casters.
|
