Metal BarnStar For Home Decoration
UNDER CONSTRUCTION
Betty and I have been seeing metal stars decorating houses and thought it looked nice, so I began looking at making them.
After some research, I found theye are called "BarnStars" and are supposed to be for good luck.
These BarnStars are 3 dimensional, have 5 points, and usually have a metal ring around them (I assume for support).
In my first attempt I used tin (from a roll of metal flashing) which turned out very rough looking, the tin soldered OK, but I couldn't weld it to the metal ring.
In my next attempt I am going to try 22 ga. sheet steel.
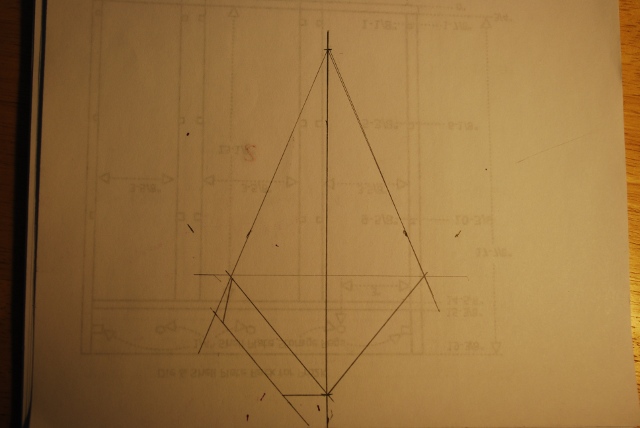
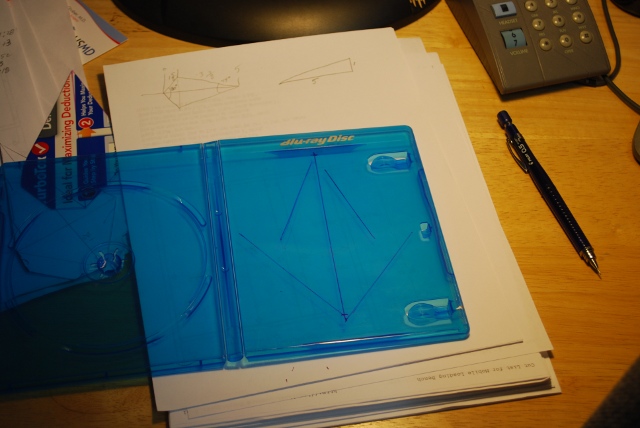
I will put up some diagrams with angles etc. as soon as I am happy with the numbers.
|
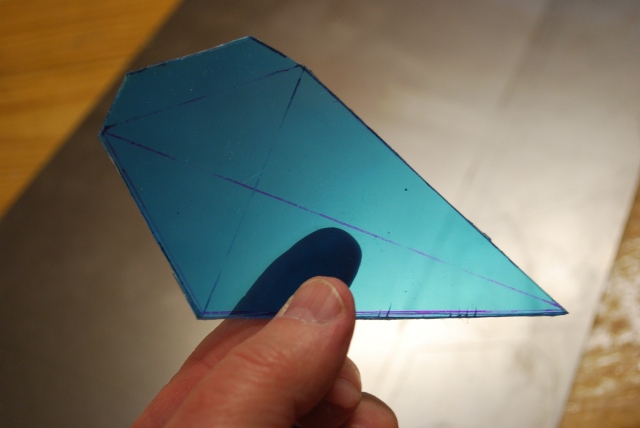
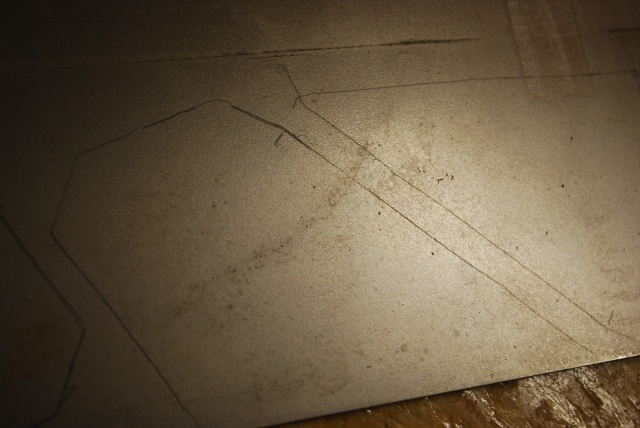
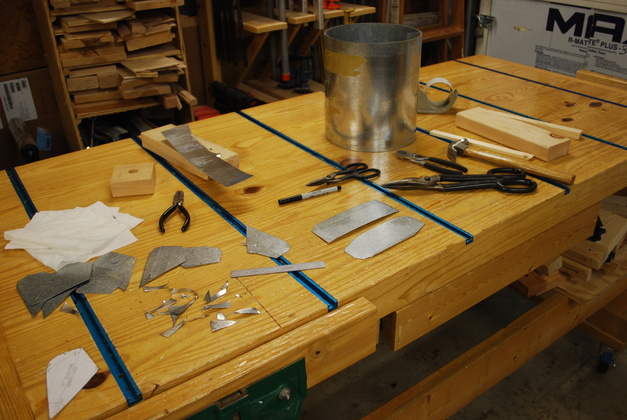
Marking and cutting tin pieces.
|
|
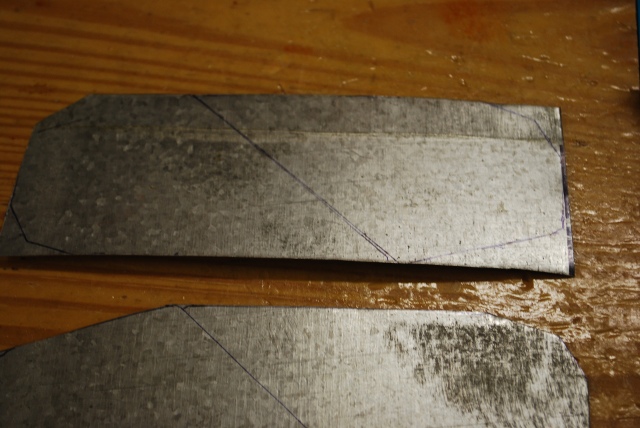
Two star points marked for cutting.
|
|
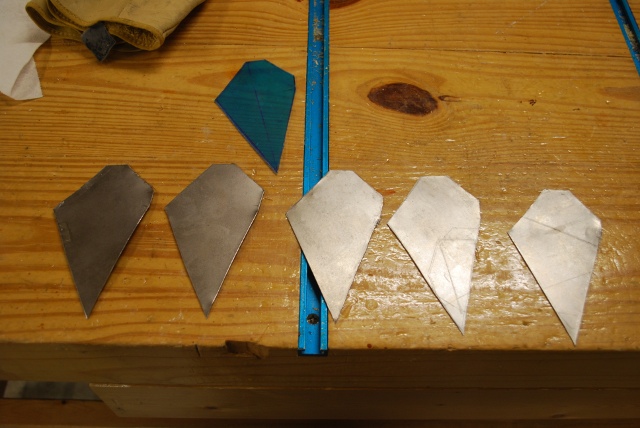
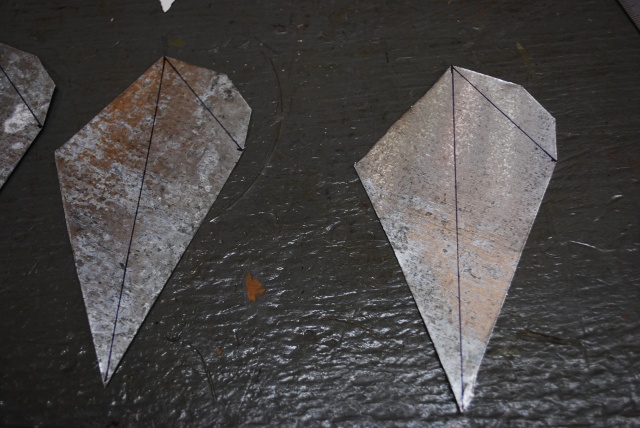
Several star points marked and cut out.
Notice the elongated diamond is the actual star point, the flap at the upper right is for attaching to the next point of the star.
Next, I'll bend at the marks.
|
|
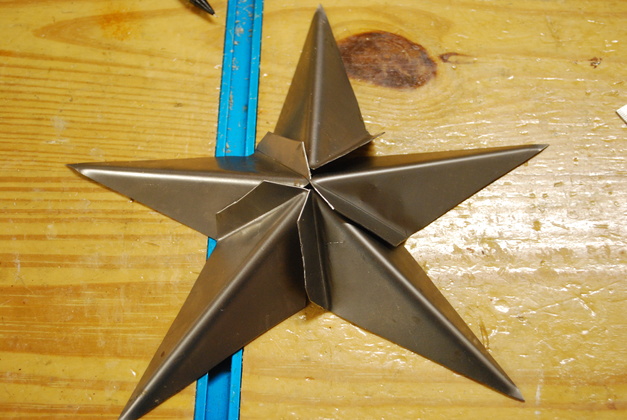
The star points bent and ready to solder.
|

|
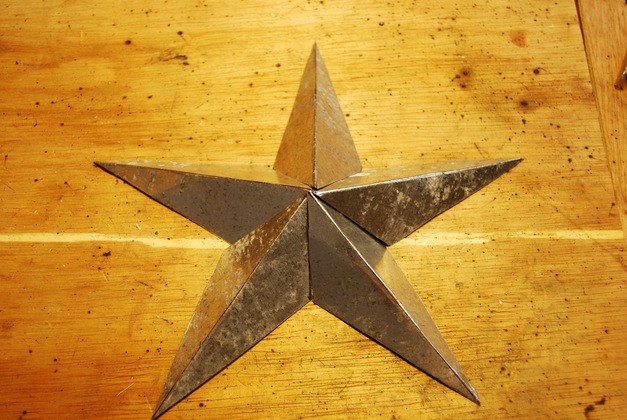
The star after soldering (on the back side) with some extra points I cut out.
|
|
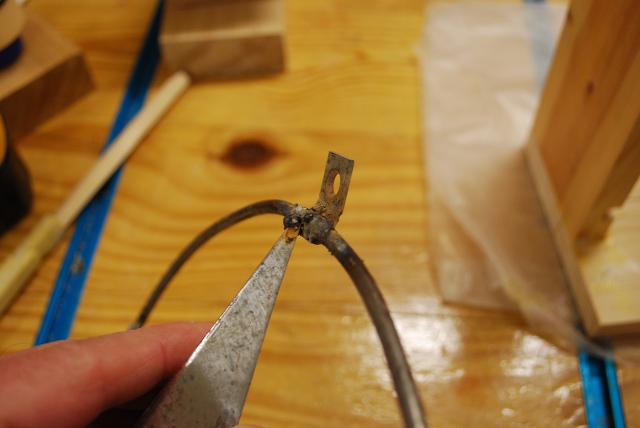
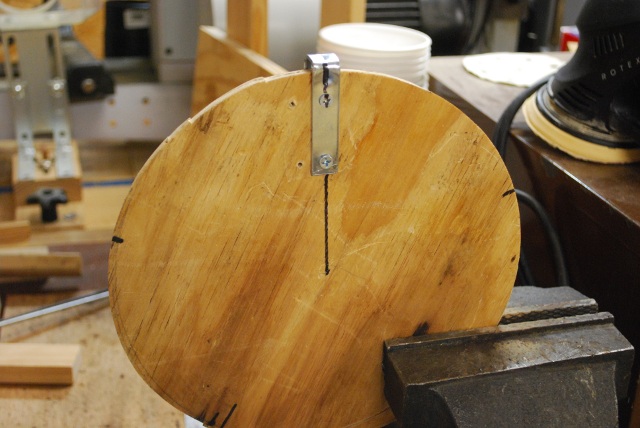
In order to make the ring around the periphery of the star, I bought some 3/16" steel rod and made this board to form it into a circle.
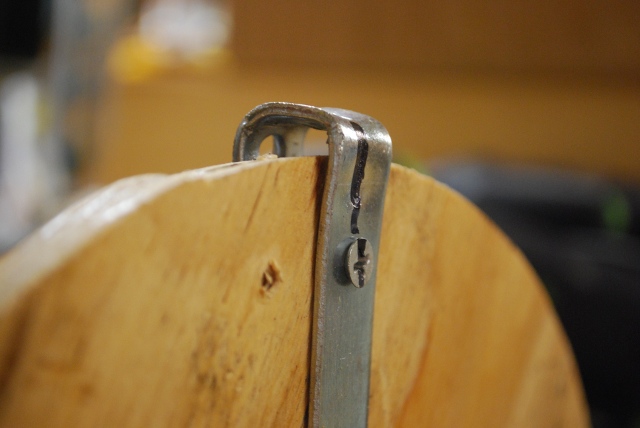
I tucked the free end of the rod under the metal bracket at the top then wrapped the rod around the circle forming it into a circle.
After I had a circle, I welded the ends together.
You can see the marks every 72%deg; around the board help me assemble the star.
|
|
This was an angle bracket that I bent and screwed to the wood to hold the end of the rod while bending.
|
|
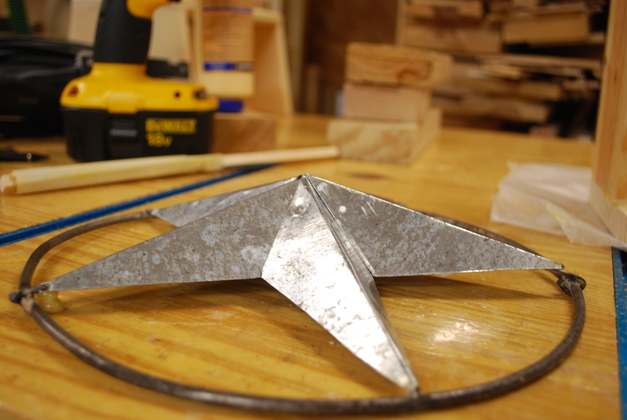
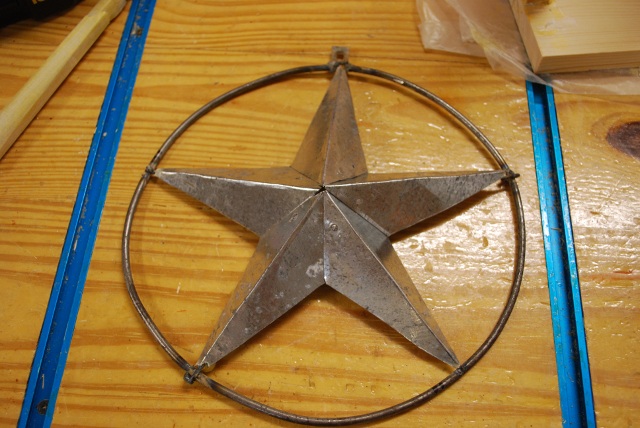
The end result tin star.
I couldn't weld the star to the ring, I even tried to reinforce the star tip contact points with nails but it didn't work (for me, I'm not a great welder).
|